> ## Documentation Index
> Fetch the complete documentation index at: https://cal.id/docs/llms.txt
> Use this file to discover all available pages before exploring further.
# Complete your Cal ID Onboarding
> Sign up for Cal ID with Google or email, then complete the profile, calendar connection, and video app steps to prepare your account for bookings.
Create your Cal ID account in a couple of minutes, then set up your profile, calendar, and video apps so you're ready to take bookings.
## Sign up for Cal ID
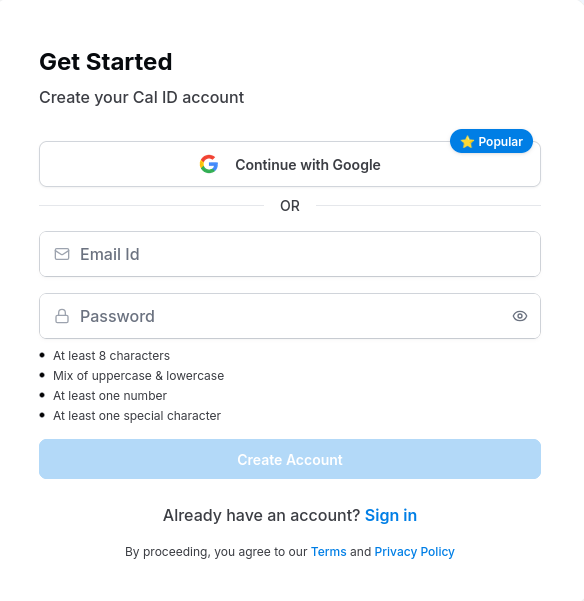
To get started, visit [https://cal.id/signup](https://cal.id/signup) and choose how you'd like to create your account.
Signing up with Google is the fastest way to get started — it verifies your identity automatically.
On the sign-up page, click the **Continue with Google** button.
Select your preferred Google account from the pop-up.
Your email is verified instantly. You'll be redirected straight to the [onboarding steps](#the-onboarding-process).
Google sign-up skips the email verification step entirely, so you can jump straight into setting up your account.
Use this if you prefer a specific email address and a unique password.
Enter your **Email ID**.
Create a **Password** that meets the security requirements.
Click the **Create Account** button.
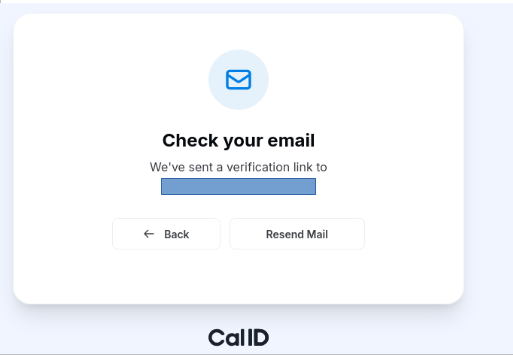
 Go to your inbox (or Spam folder) and look for the verification email from Cal ID.
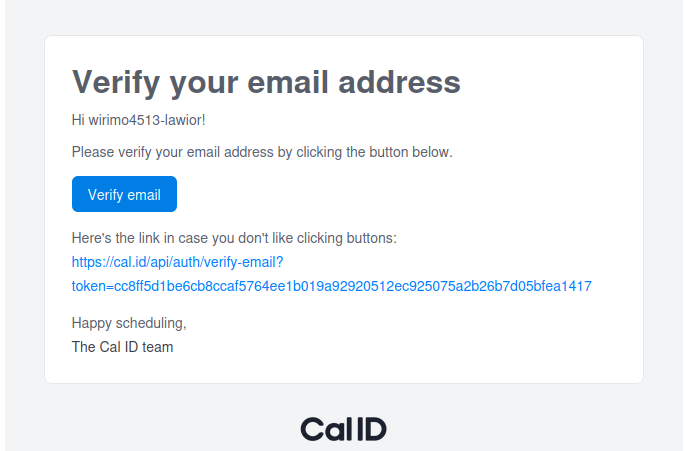
 Click the link inside the email. Once verified, you'll be redirected to the [onboarding steps](#the-onboarding-process).
 ## The onboarding process
Once verified, you'll be redirected to complete these three essential onboarding steps.
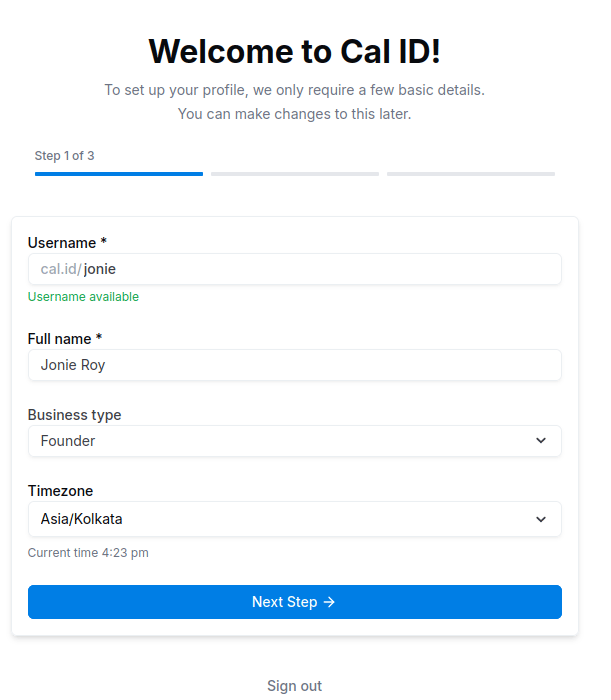
Set up your basic profile information:
* **Username:** Choose your unique Cal ID link (e.g., `cal.id/yourname`).
* **Full Name:** Enter the name you want people to see when booking with you.
* **Business Type:** Select your role from the dropdown menu.
* **Timezone:** Select your local timezone to ensure meeting times are accurate.
Click **Next Step**.
## The onboarding process
Once verified, you'll be redirected to complete these three essential onboarding steps.
Set up your basic profile information:
* **Username:** Choose your unique Cal ID link (e.g., `cal.id/yourname`).
* **Full Name:** Enter the name you want people to see when booking with you.
* **Business Type:** Select your role from the dropdown menu.
* **Timezone:** Select your local timezone to ensure meeting times are accurate.
Click **Next Step**.
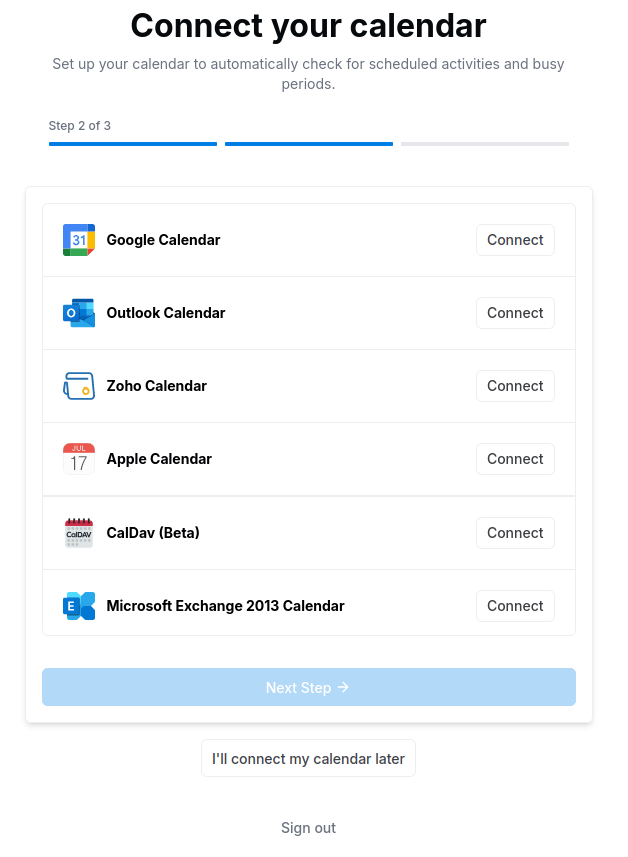
 Connect your preferred calendar so Cal ID can automatically check your availability:
* Choose from options like **Google Calendar**, **Outlook**, **Zoho**, **Apple Calendar**, or **Microsoft Exchange**.
* Click **Connect** next to your preferred service.
You can also choose *I'll connect my calendar later* at the bottom if you prefer.
Connect your preferred calendar so Cal ID can automatically check your availability:
* Choose from options like **Google Calendar**, **Outlook**, **Zoho**, **Apple Calendar**, or **Microsoft Exchange**.
* Click **Connect** next to your preferred service.
You can also choose *I'll connect my calendar later* at the bottom if you prefer.
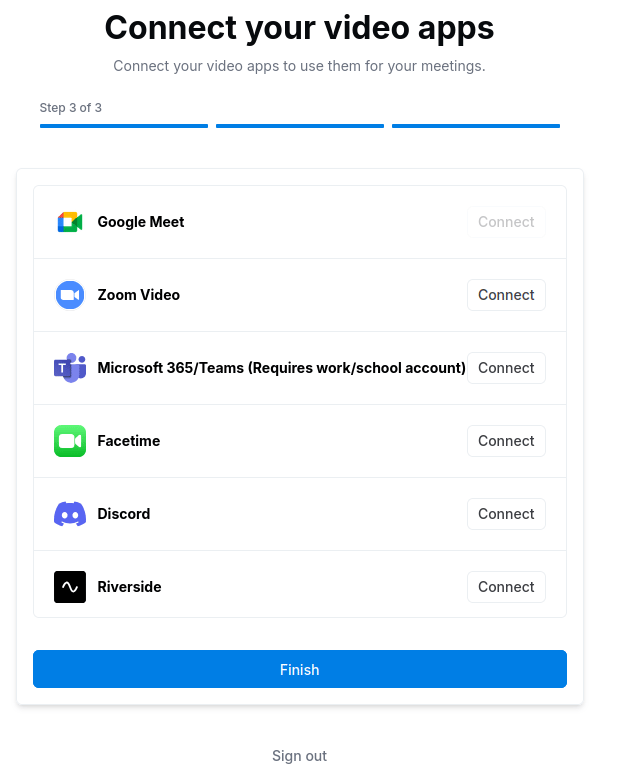
 Connect the apps you use for virtual meetings:
* Select from tools like **Google Meet**, **Zoom Video**, **Microsoft Teams**, **Facetime**, **Discord**, or **Riverside**.
* Click **Connect** to link your accounts.
Click **Finish**.
Connect the apps you use for virtual meetings:
* Select from tools like **Google Meet**, **Zoom Video**, **Microsoft Teams**, **Facetime**, **Discord**, or **Riverside**.
* Click **Connect** to link your accounts.
Click **Finish**.
 After clicking Finish, you're welcomed to the [Cal ID Home Page](https://cal.id/home).
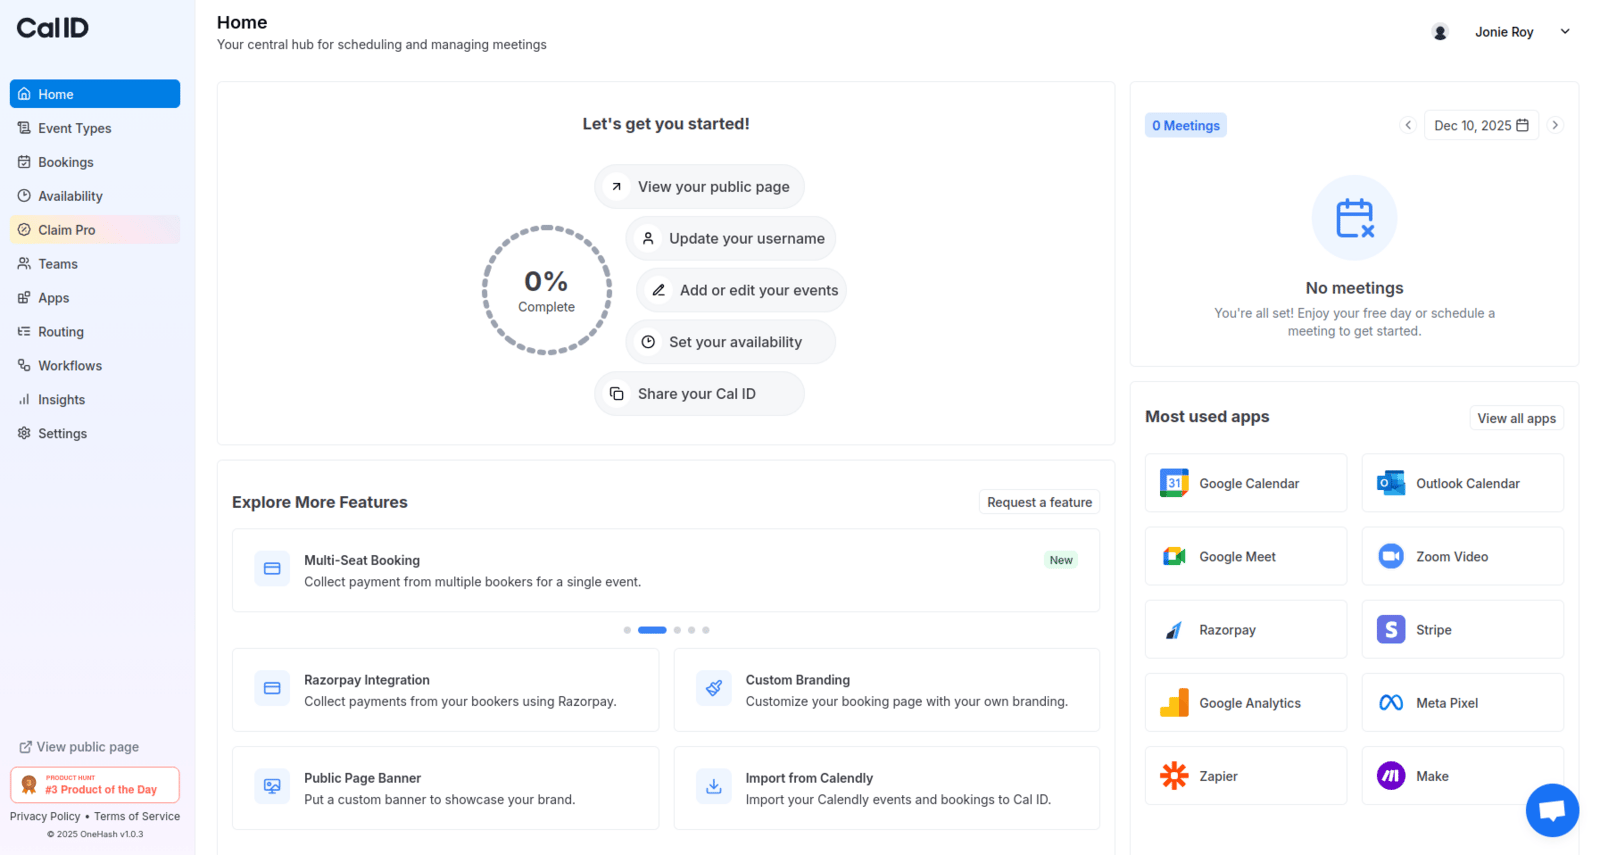 You're all set — your Cal ID account is ready to take bookings.
## Next steps
Find your personal booking URL and send it to others.
Set up the meeting types people can book with you.
## Related topics
- [How to Find and Share Your Cal ID URL](/docs/getting-started/share-your-url.md)
- [How to Schedule a Meeting through Cal ID](/docs/getting-started/schedule-a-meeting.md)
- [Mastering the Unified Calendar in Cal ID](/docs/getting-started/unified-calendar.md)
- [How to Seamlessly Import Your Data from Calendly to Cal ID](/docs/getting-started/import-from-calendly.md)
- [Setting Necessary Permission for Google Calendar Integration](/docs/apps/google-calendar.md)
You're all set — your Cal ID account is ready to take bookings.
## Next steps
Find your personal booking URL and send it to others.
Set up the meeting types people can book with you.
## Related topics
- [How to Find and Share Your Cal ID URL](/docs/getting-started/share-your-url.md)
- [How to Schedule a Meeting through Cal ID](/docs/getting-started/schedule-a-meeting.md)
- [Mastering the Unified Calendar in Cal ID](/docs/getting-started/unified-calendar.md)
- [How to Seamlessly Import Your Data from Calendly to Cal ID](/docs/getting-started/import-from-calendly.md)
- [Setting Necessary Permission for Google Calendar Integration](/docs/apps/google-calendar.md)