

Prefer no-code? You can trigger automations without building a listener by connecting Cal ID to your other apps through an automation platform. For the full payload schemas and delivery details, see the Webhook events reference.
Available triggers
Create a webhook subscription
1
Open webhook settings
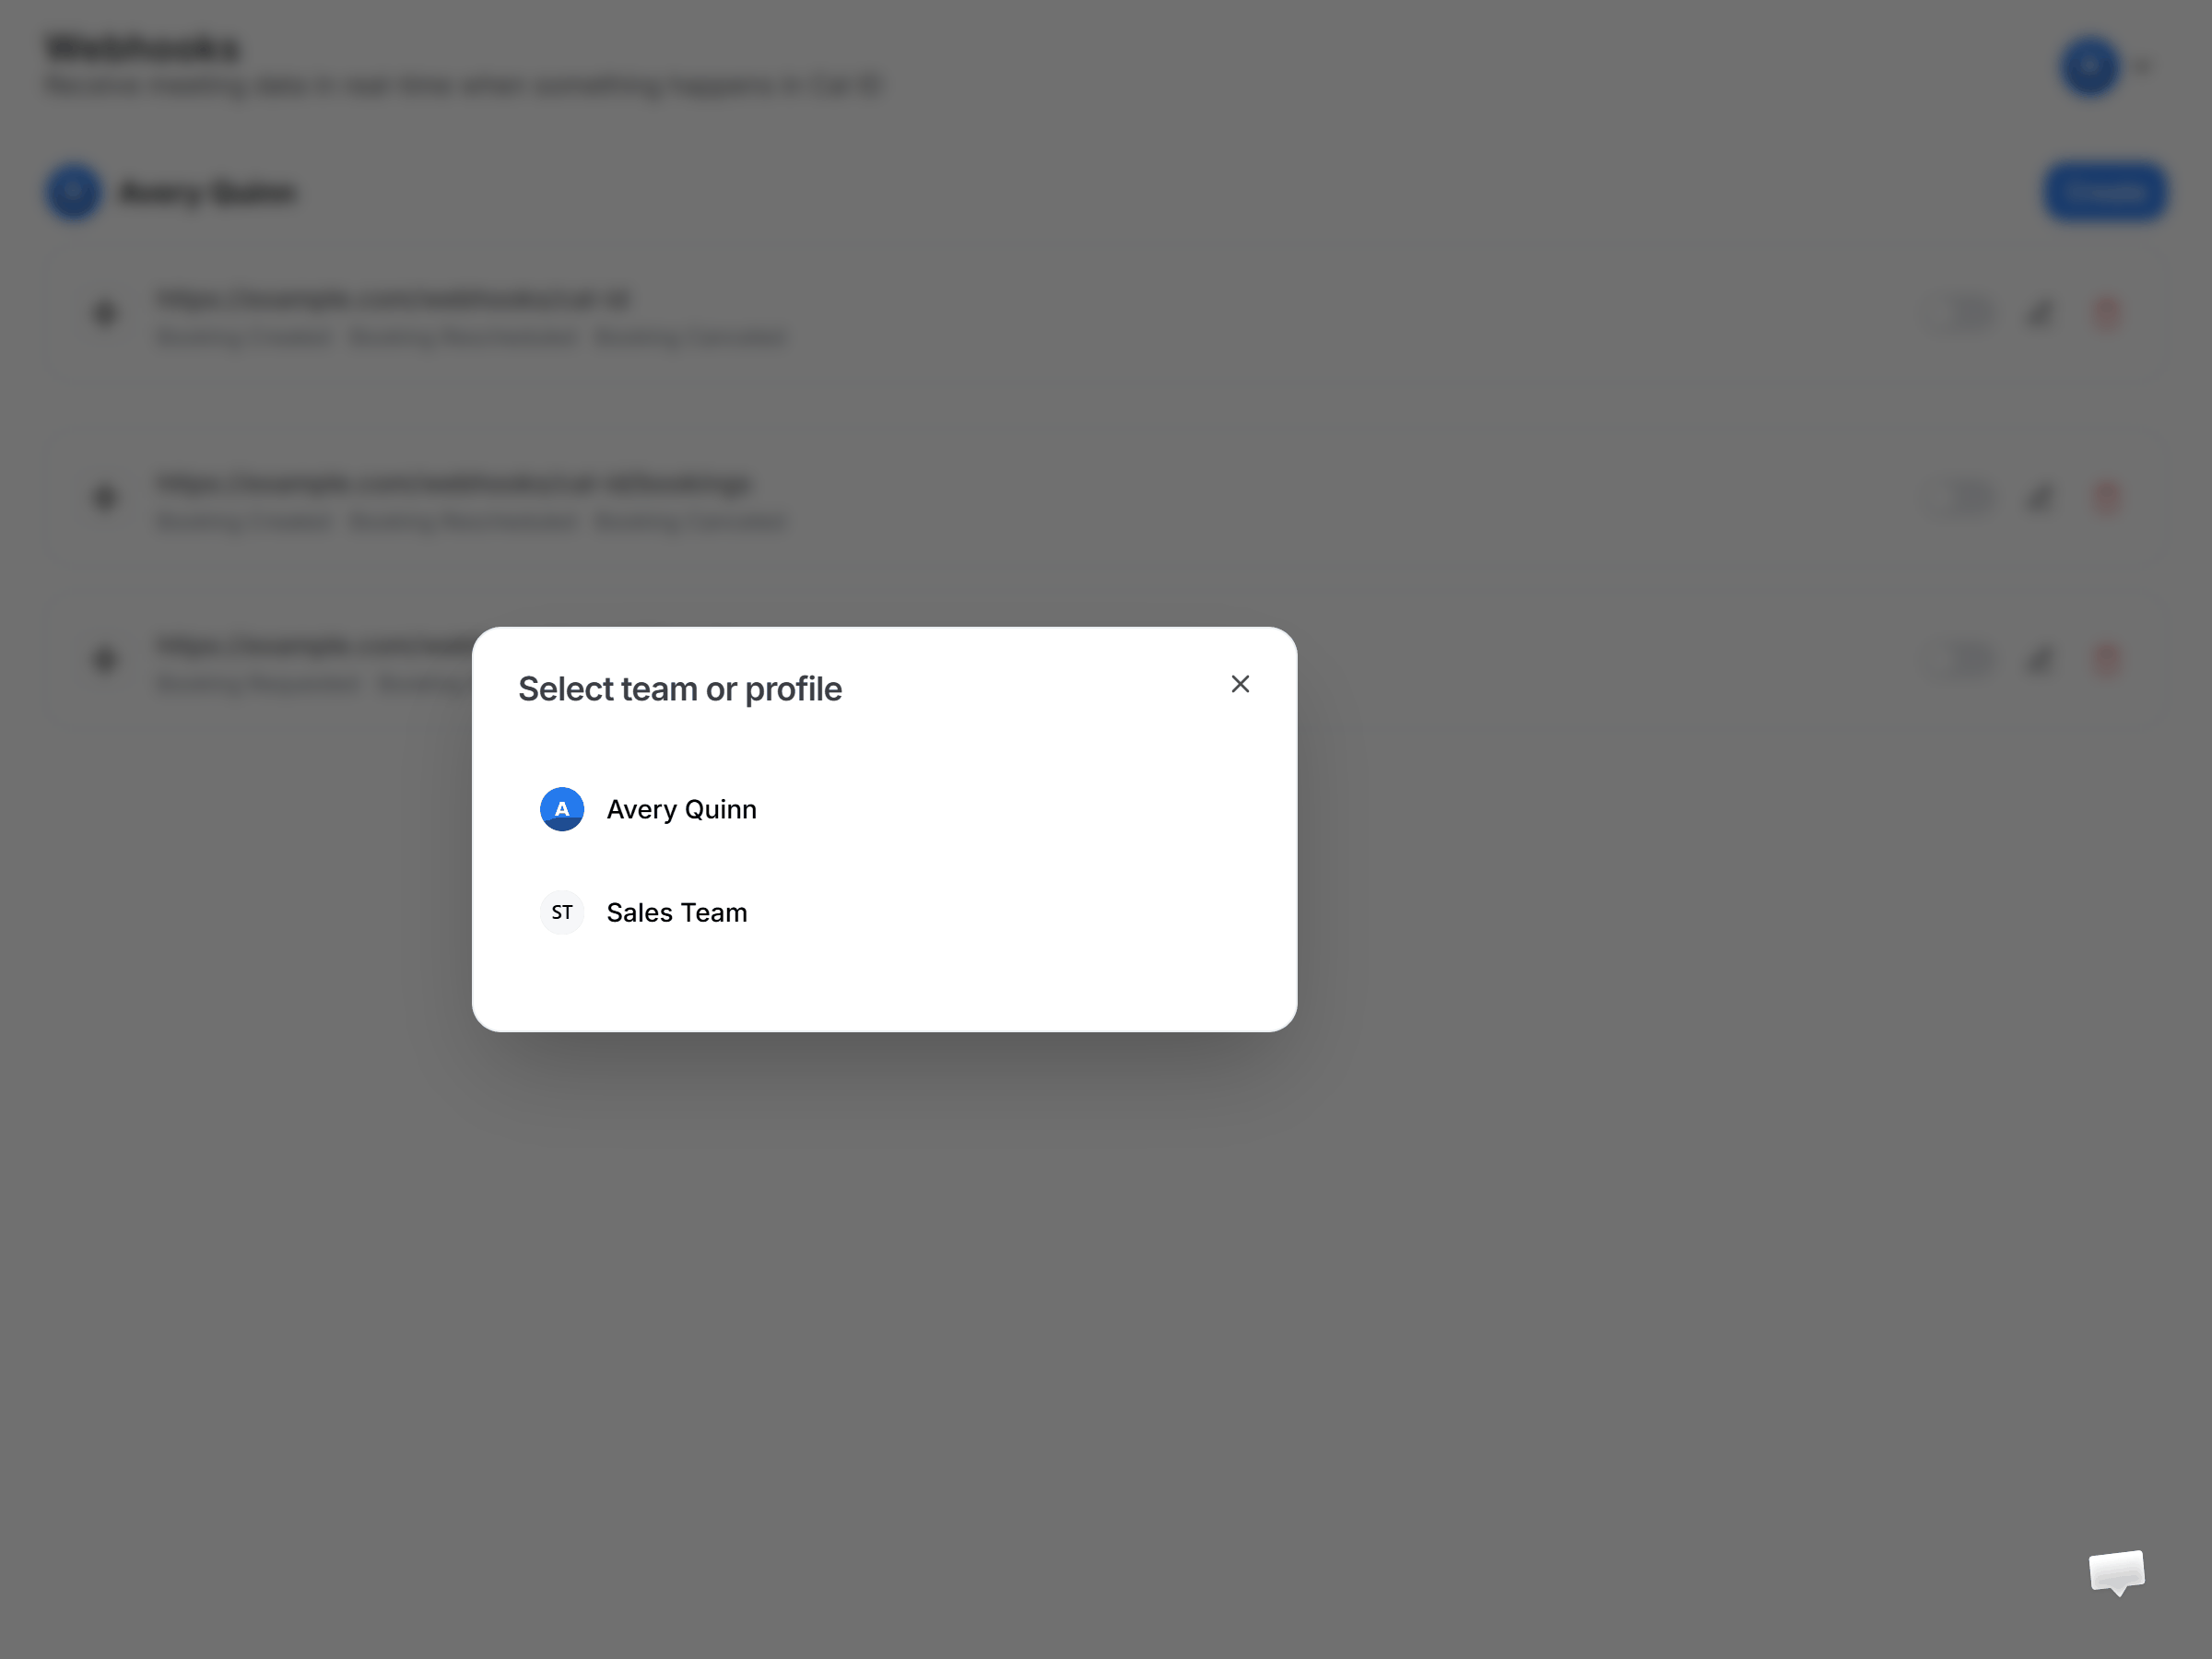
Go to Settings → Developer → Webhooks and click + Create.
2
Enter the Subscriber URL
This is the listener URL that receives the payload whenever a subscribed trigger fires.
3
Choose your event triggers
Select which triggers to listen to from the list above.
4
Add a secret (optional)
Provide a secret key to verify incoming payloads on your subscriber URL — this confirms a payload is authentic and hasn’t been tampered with. Leave it blank to skip.
5
Customize the payload (optional)
Optionally tailor the payload you receive when a subscribed event fires (see custom payload templates below).
Pointing Cal ID at your listener
An example webhook payload
Verify the authenticity of a payload
When you set a secret, Cal ID signs each request so you can confirm it genuinely came from Cal ID.1
Add a secret key
Add a secret key to your webhook and save.
2
Wait for a trigger
Wait for the webhook to fire — a booking is created, cancelled, rescheduled, and so on.
3
Compute an HMAC over the raw body
Compute
HMAC-SHA256 using your webhook secret as the key and the raw request body as the message, then render the digest as lowercase hex:4
Compare in constant time
Compare your digest with the value in the
X-Cal-Signature-256 header using a constant-time comparison — crypto.timingSafeEqual in Node, hmac.compare_digest in Python.Do not use ==. A normal string comparison returns as soon as it finds a difference, so how long it takes reveals how many leading bytes were correct, and an attacker can recover a valid signature one byte at a time.If the values don’t match, reject the delivery with 401 and do not process it.Verifying a delivery in code
Both examples read the raw body, compute the digest, and compare in constant time.Deliveries without a secret configured arrive unsigned. If verification matters to you, set a secret on the subscription — an endpoint that accepts unsigned deliveries can be called by anyone who learns the URL.
Adding a custom payload template
Customizable webhooks are a great way to reduce development effort — in many cases they remove the need to build an additional integration service. Here’s an example custom payload template:{{type}} represents the event type slug and {{title}} represents the title of the event type. Variables must be wrapped in double curly braces as shown above. The full set of supported variables is listed below.
Webhook variable list
Person structure
More webhook guides
Webhook events reference
Full trigger list, payload schemas, and signature verification details.
Build a webhook receiver
A step-by-step recipe for verifying and handling webhook deliveries.