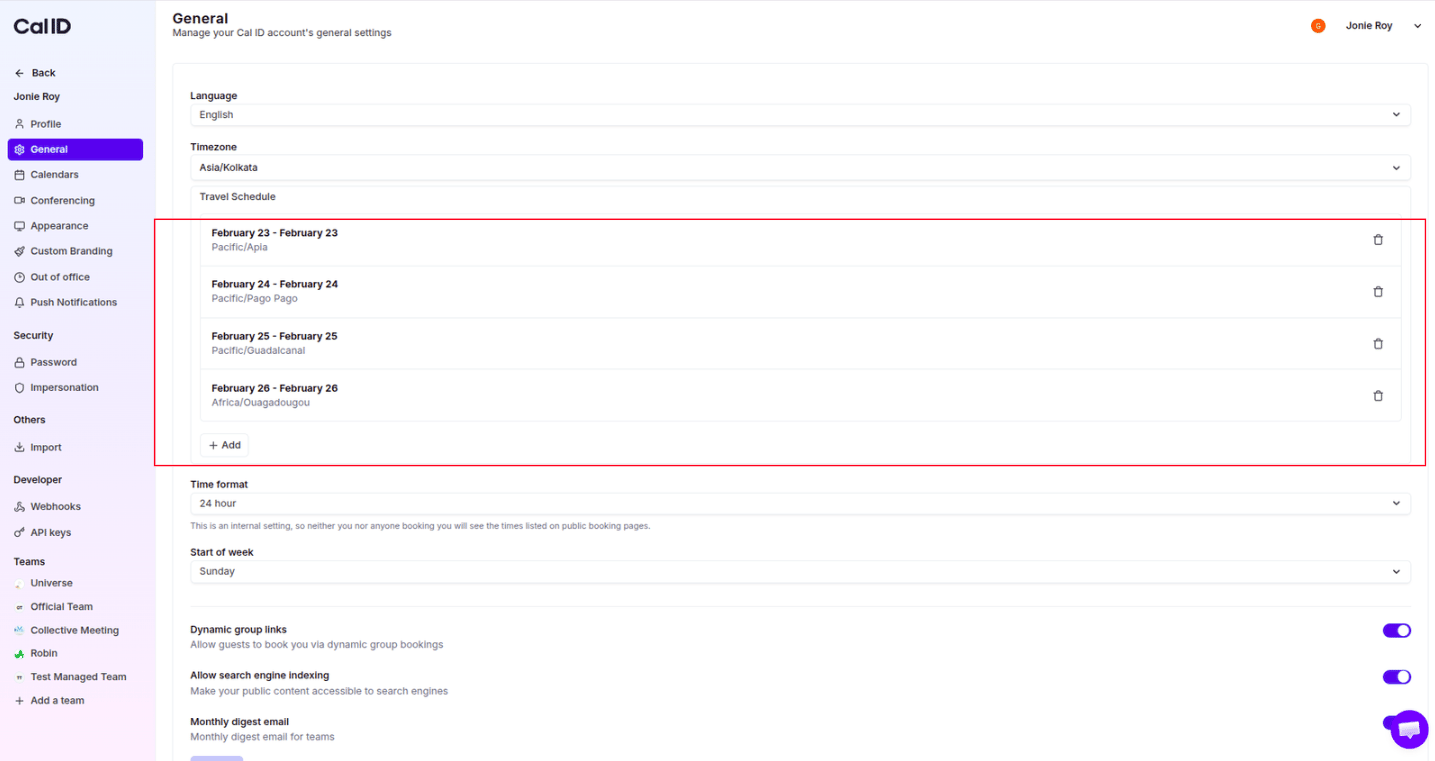
Configure Language, Timezone, and Travel Schedule in Cal ID
Set your preferred language, adjust your primary timezone, and configure travel schedules in Cal ID to keep bookings accurate even when you’re on the move.
Set your preferred language, adjust your primary timezone, and manage travel schedules so your bookings stay accurate even when you are on the move.
The travel schedule lets you plan a trip ahead of time to keep your existing schedule in a different timezone, so clients can’t accidentally book you at midnight while you are traveling.
Keeping bookings sane while travelling
Set it up in a few steps:
1
Add a travel schedule
Click the Add button next to Travel Schedule.
2
Choose your time range
Select the dates you will be traveling using the calendar picker.
Telling Cal ID where you'll be
3
Set an open-ended trip (optional)
If you don’t know when you are coming back, toggle Schedule timezone without end date to ON.
4
Select the destination timezone
Choose the timezone of the place you are visiting from the Timezone dropdown in the dialog.
5
Update
Click the blue Update button to save your changes and activate the travel schedule.