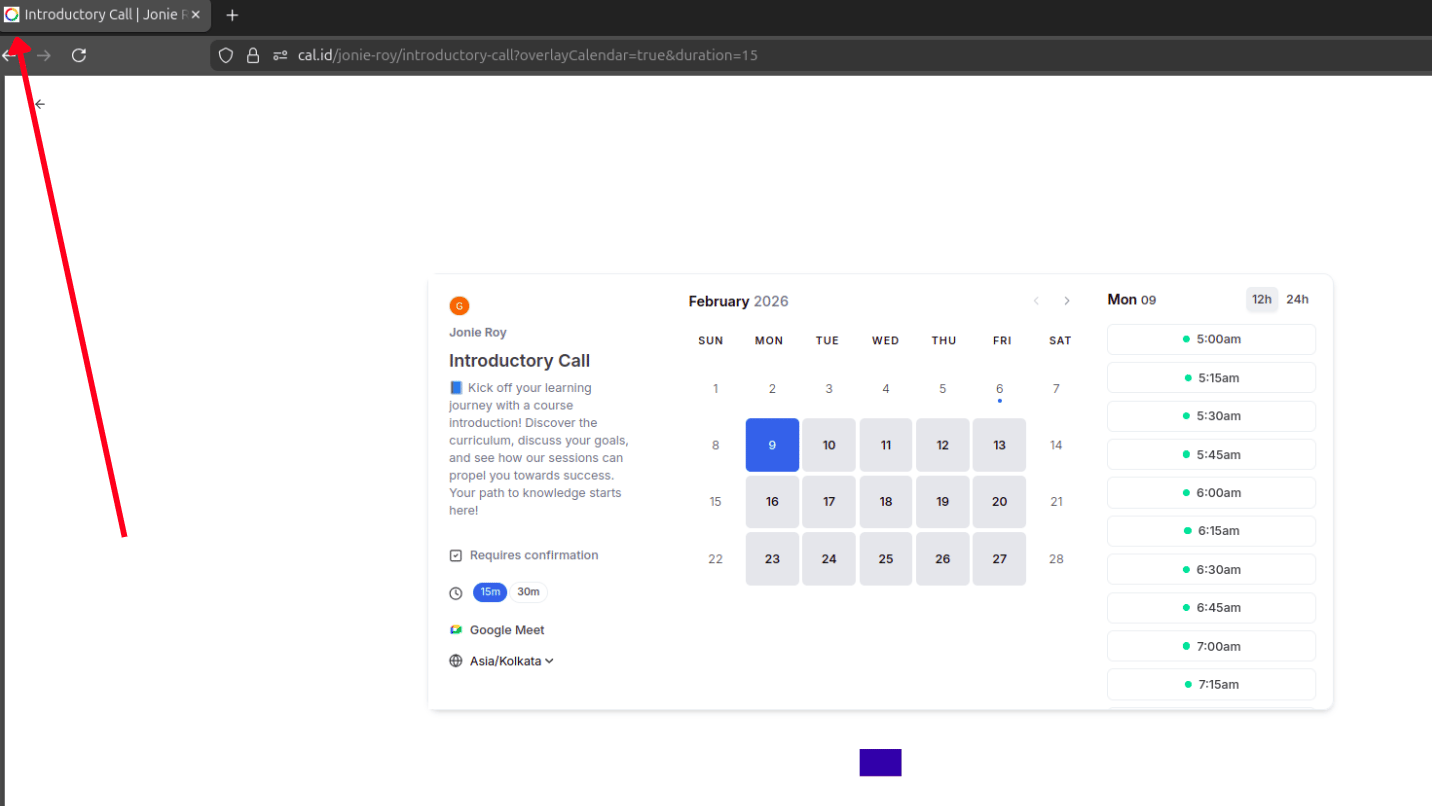
Replace the default Cal ID branding on your personal booking page with your own logo and browser tab favicon for a fully white-labeled experience.
The Custom brand logo and favicon section replaces the Cal ID branding on your personal booking page with your own logo and browser icon, so bookers see your brand from the tab title to the footer. You set it under Settings → Custom Branding.
Have your files ready before you start:
Logo — a 600 x 400 px image. A transparent-background .PNG is strongly recommended.
Scroll to the bottom and ensure the toggle for Custom brand logo and favicon is switched ON.
Replacing the default Cal ID mark
5
Upload your brand logo
Click the Upload logo button, then select your 600 x 400 px image.
Putting your logo on the page
6
Upload your brand favicon
Click the Upload favicon button, then select your icon file (ensure it is under 1 MB).
Branding the browser tab icon
7
Save
Click the Update button at the bottom of the section to apply the changes.
For the brand logo, using a file with a transparent background (like a .PNG) is highly recommended. This ensures your logo looks natural whether the booker is viewing your page in Light or Dark mode.