

Have your files ready before you start:
- Logo — a 600 x 400 px image. A transparent-background
.PNGis strongly recommended. - Favicon — an icon file under 1 MB.
Step-by-step configuration
1
Log in to Cal ID
Sign in to your account.
2
Go to Teams
Click the Teams icon in the left-hand sidebar.
3
Access the team menu
Locate the team, click the three horizontal dots next to its name, and select Edit team.
4
Open the Custom Branding tab
Click the Custom Branding tab at the top of the page.
5
Enable the feature
Scroll to Custom brand logo and favicon and switch the section toggle to ON.
6
Upload your brand logo
Click the Upload logo button, then select your 600 x 400 px image.
7
Upload your brand favicon
Click the Upload favicon button, then select your icon file (ensure it is under 1 MB).
8
Save
Click the Update button at the bottom of the section to apply the changes.
Visible changes for your team’s booking page
- Booking page — your custom logo appears clearly at the bottom of your booking interface, replacing the default branding.
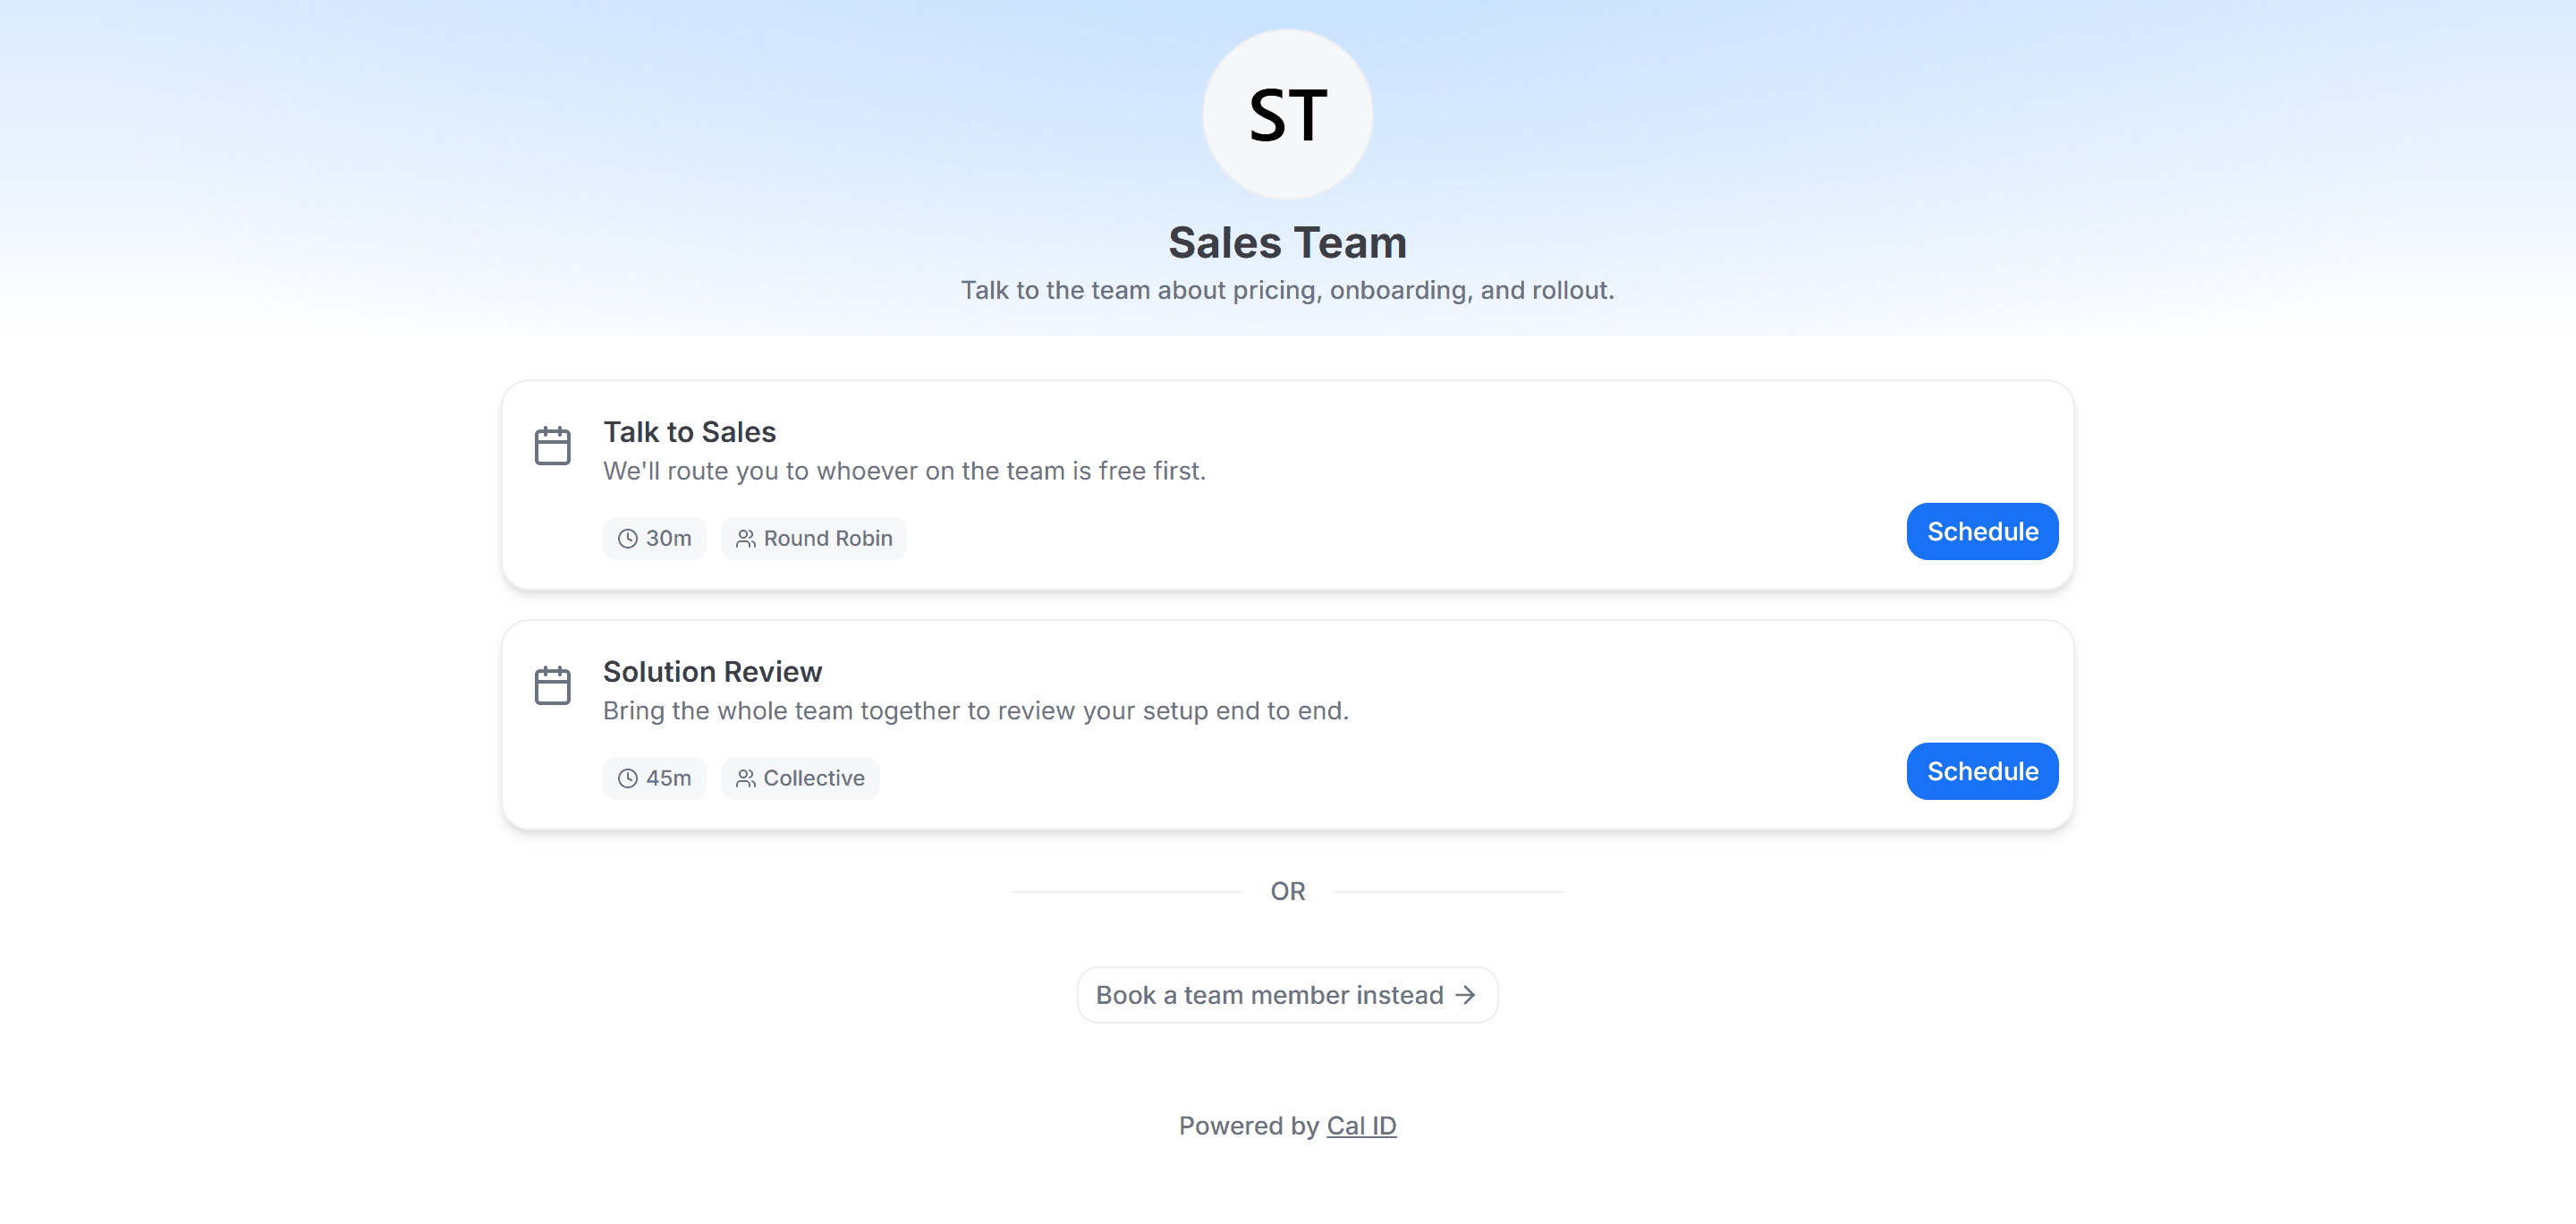
Your team's logo in place of ours
- Browser tab — your uploaded favicon is displayed in the browser tab whenever a booker opens your booking link.
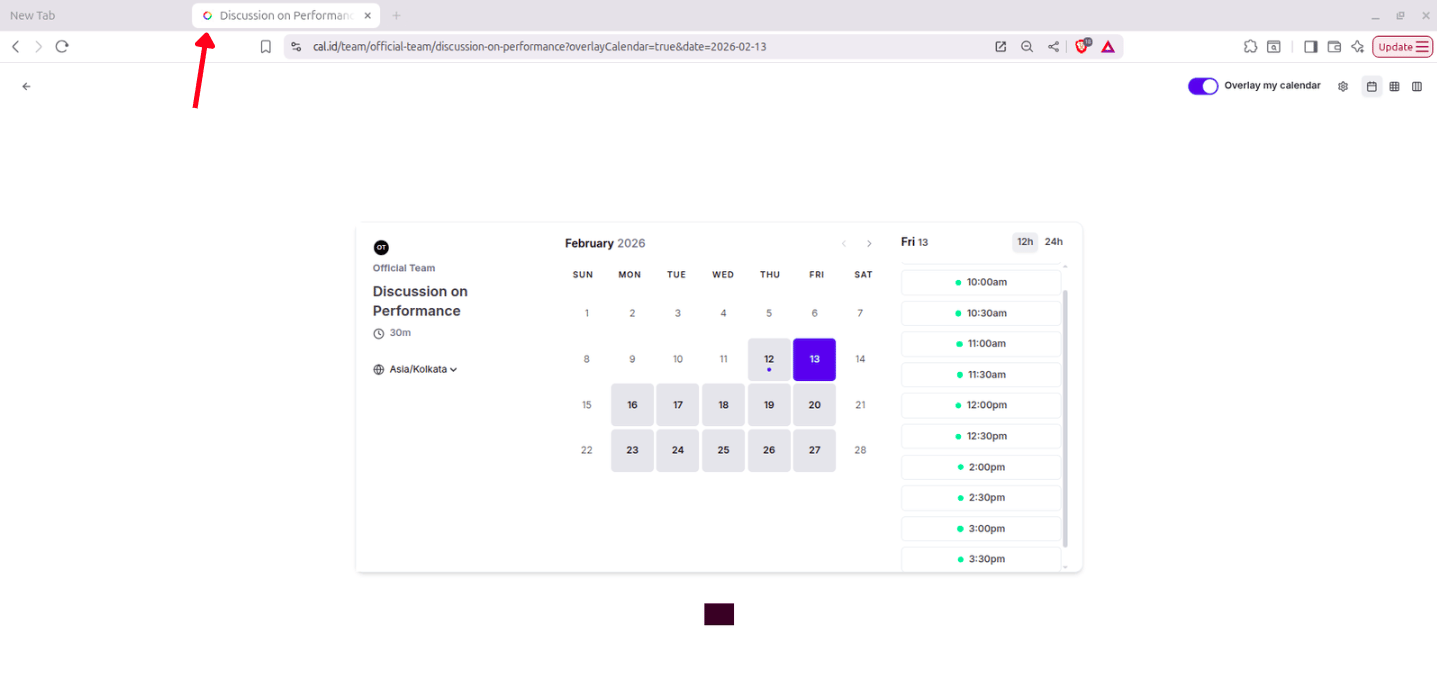
Spotting the team brand in the tab
Personal logo and favicon
Set a logo and favicon for yourself
Configure custom branding on your personal booking page.