

These settings apply to a team’s booking page. To brand your own personal page instead, see Custom Branding for Personal.
Open a team’s Custom Branding
1
Log in to Cal ID
Sign in to your account.
2
Go to Teams
Click on the Teams icon in the left-hand sidebar.
3
Access the team menu
Locate the team, click the three horizontal dots next to its name, and select Edit team.
4
Go to the Custom Branding tab
Click on the Custom Branding tab at the top of the page.
Public page banner
Upload a professional header image with exact 3200 x 320 px dimensions. For more detail, visit: Public Page Banner for Team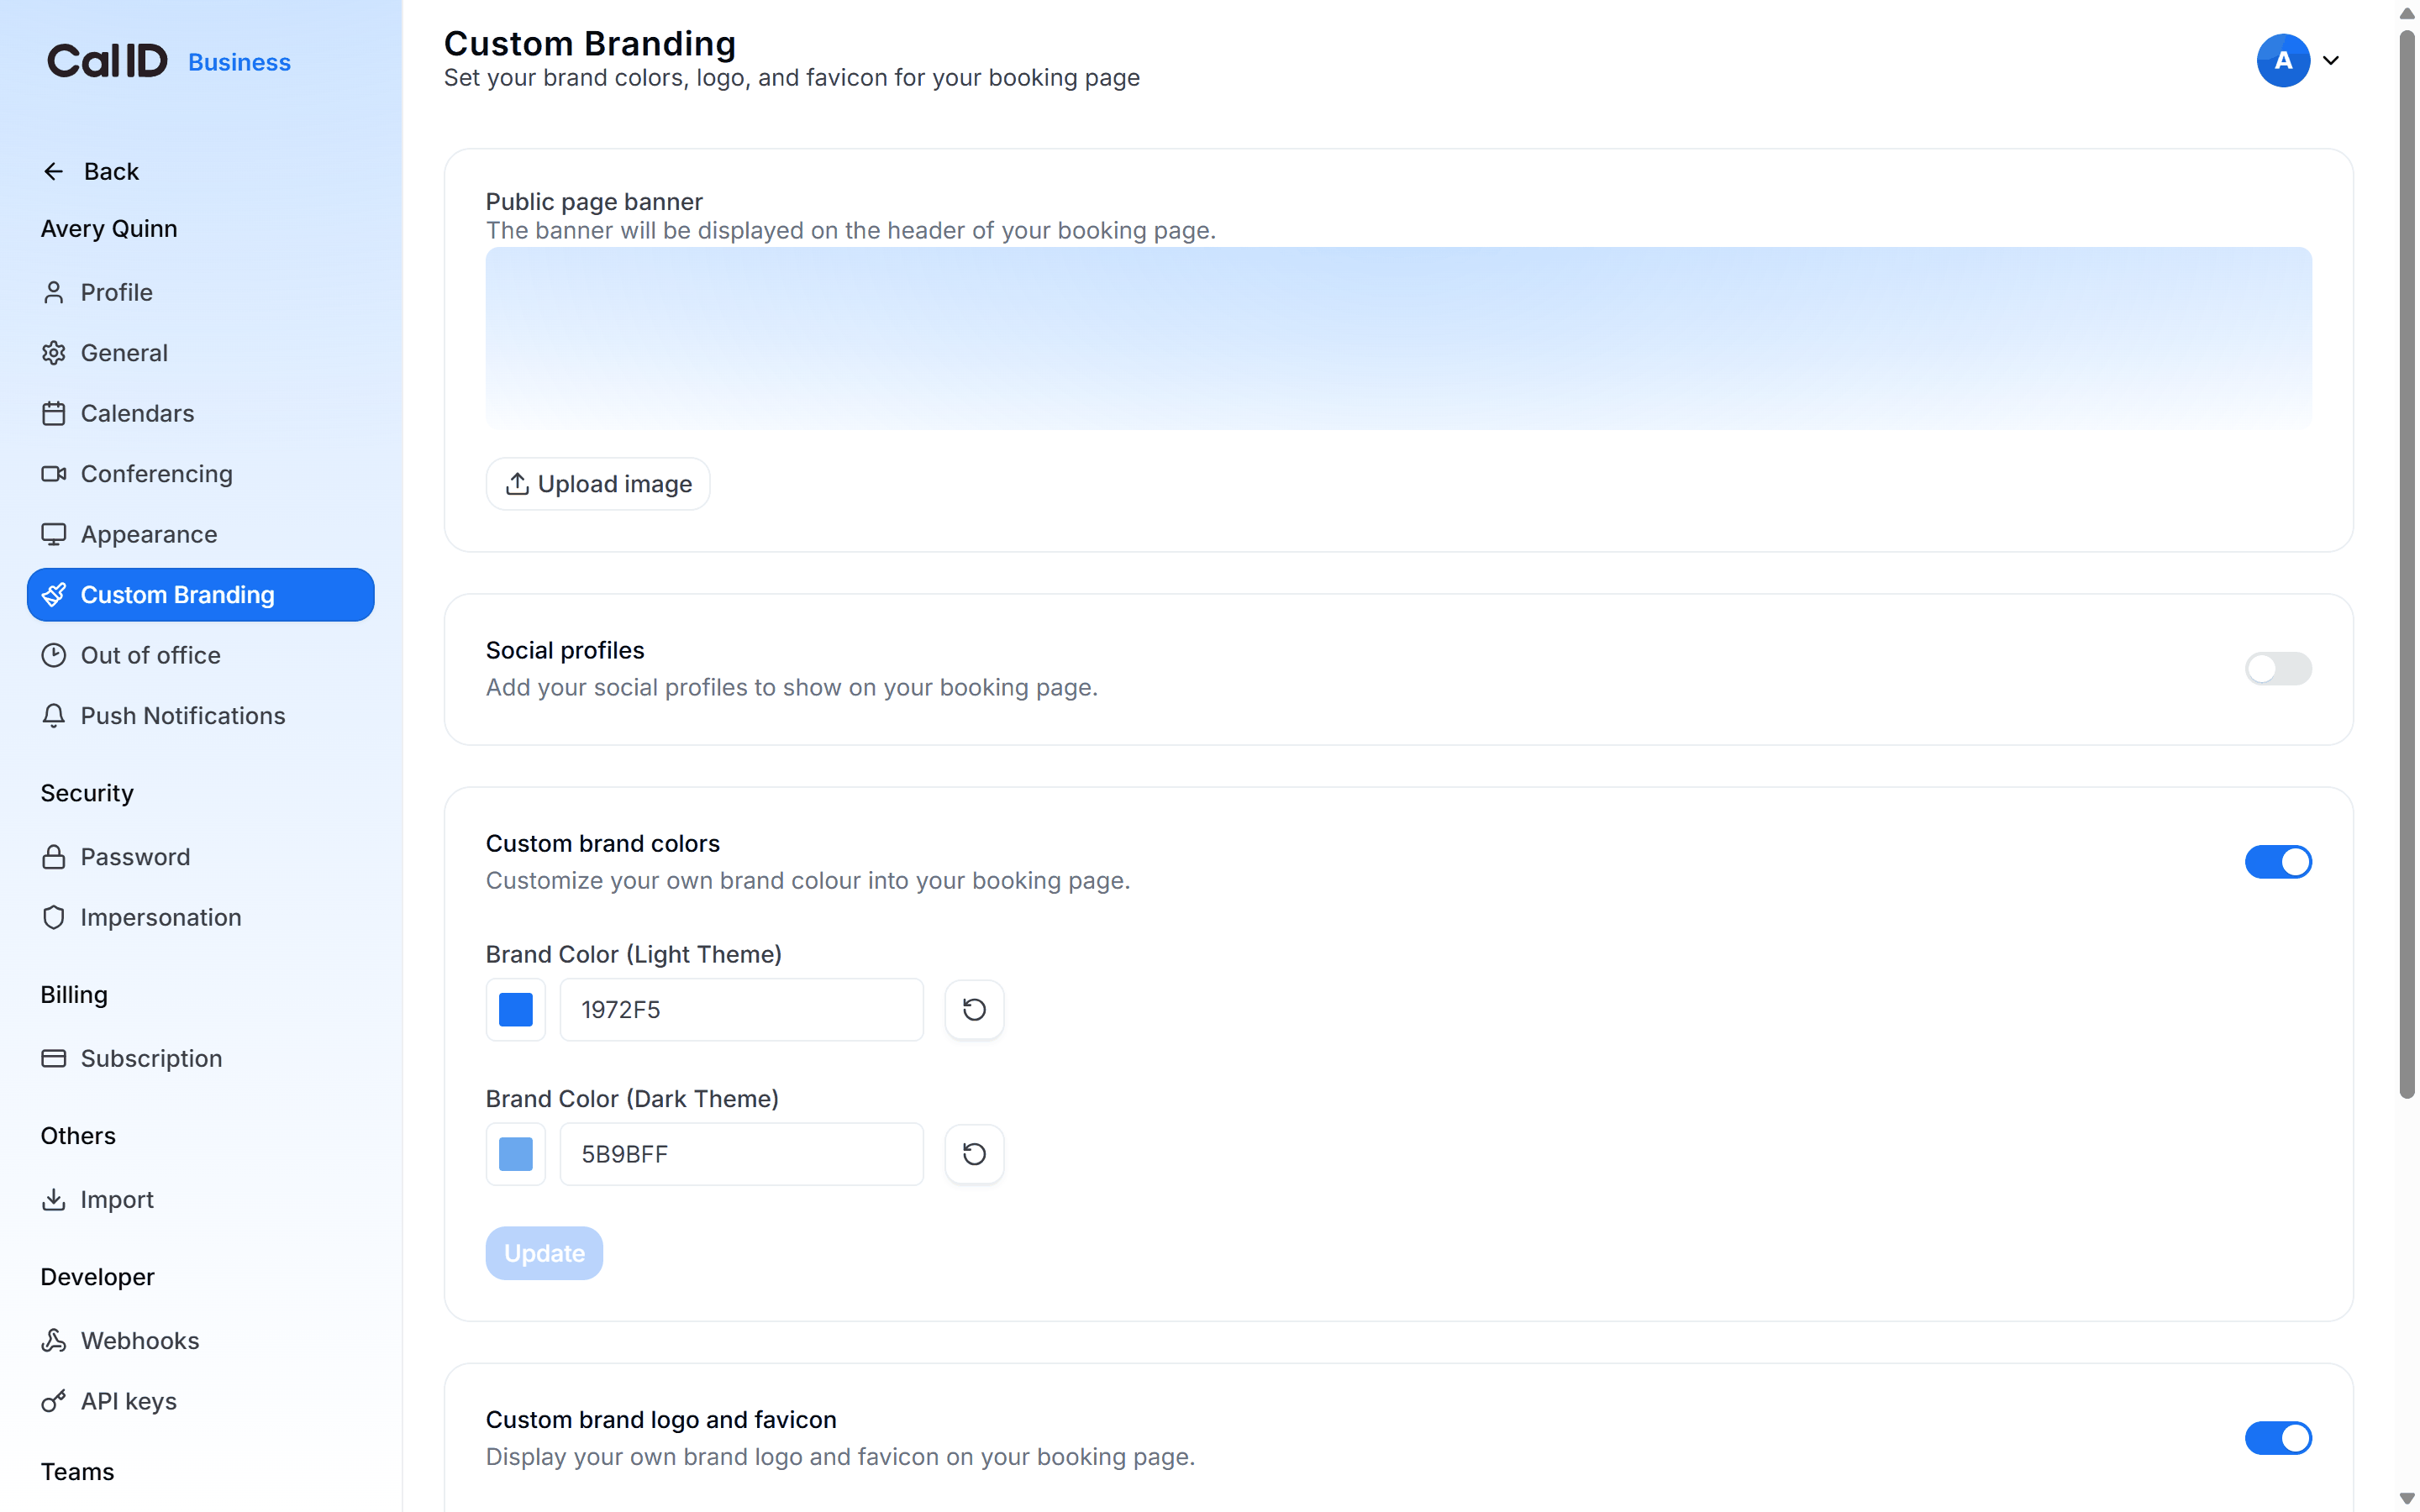
Where the team header image goes
Custom brand colors
Set specific Hex codes for both light and dark themes to match your brand palette. For more detail, visit: Custom Brand Colors for Team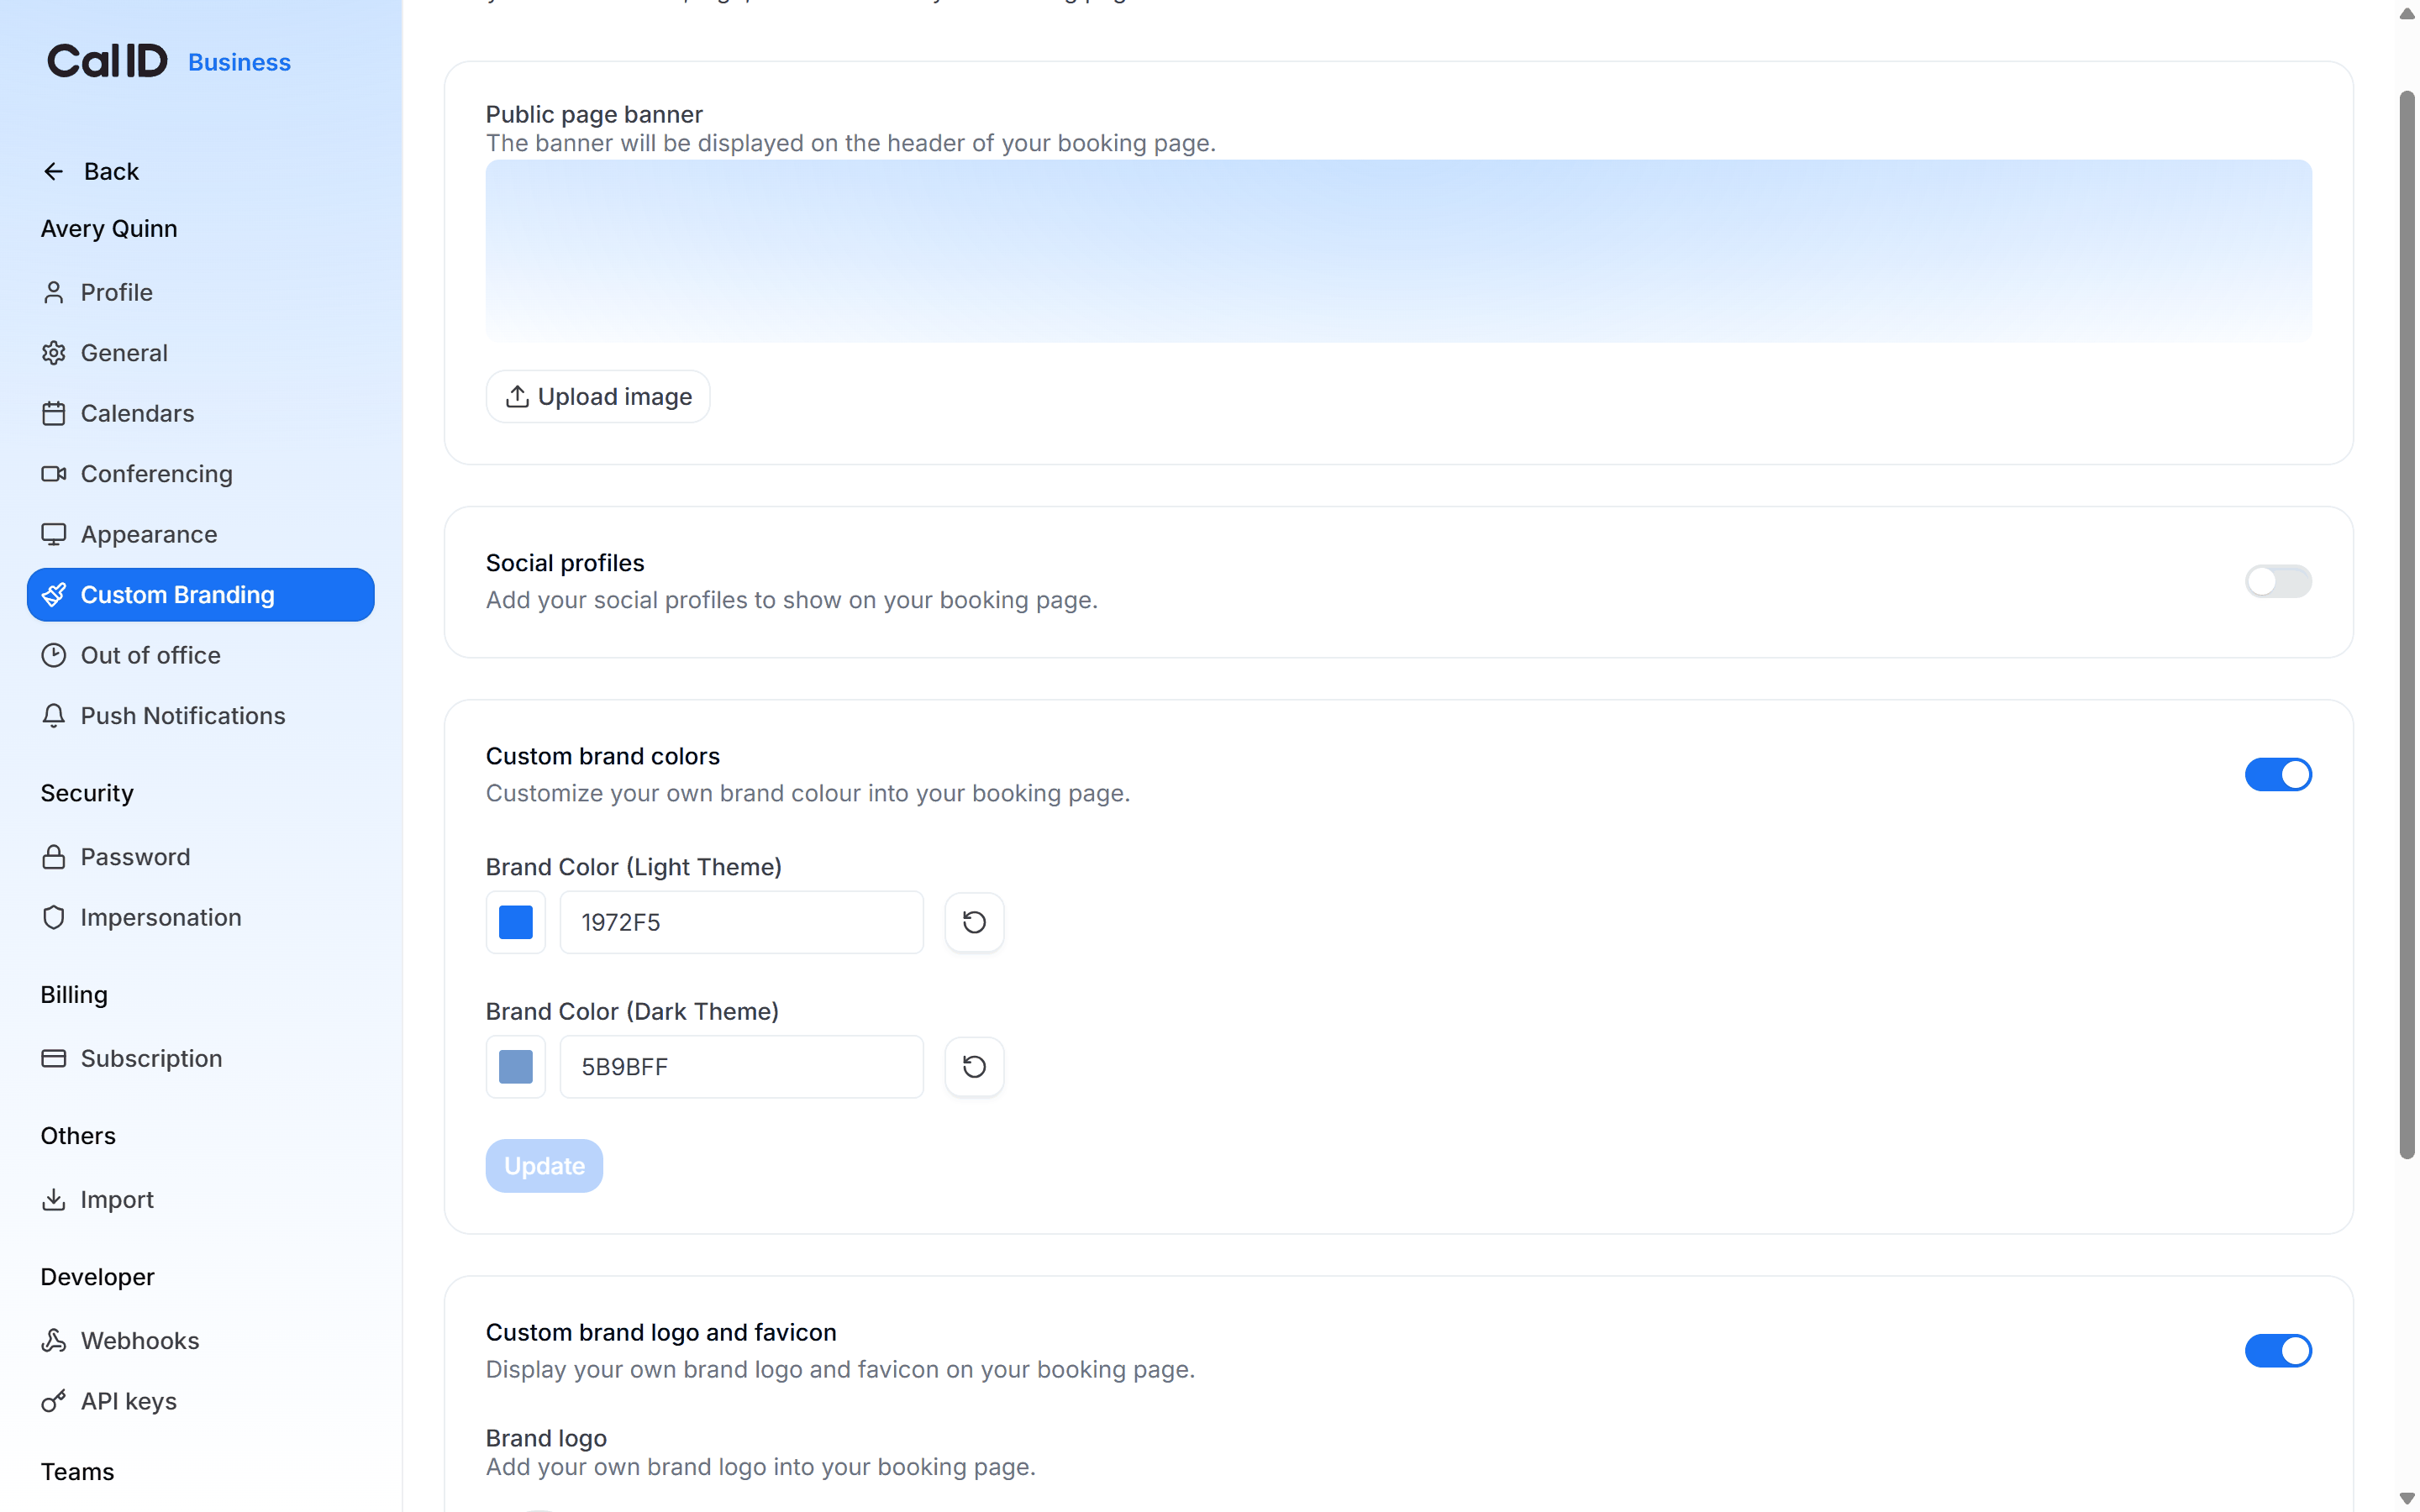
Matching the team page to your palette
Custom brand logo and favicon
Upload your 600 x 400 px logo and browser tab icon to fully customize your page. For more detail, visit: Custom Brand Logo and Favicon for Team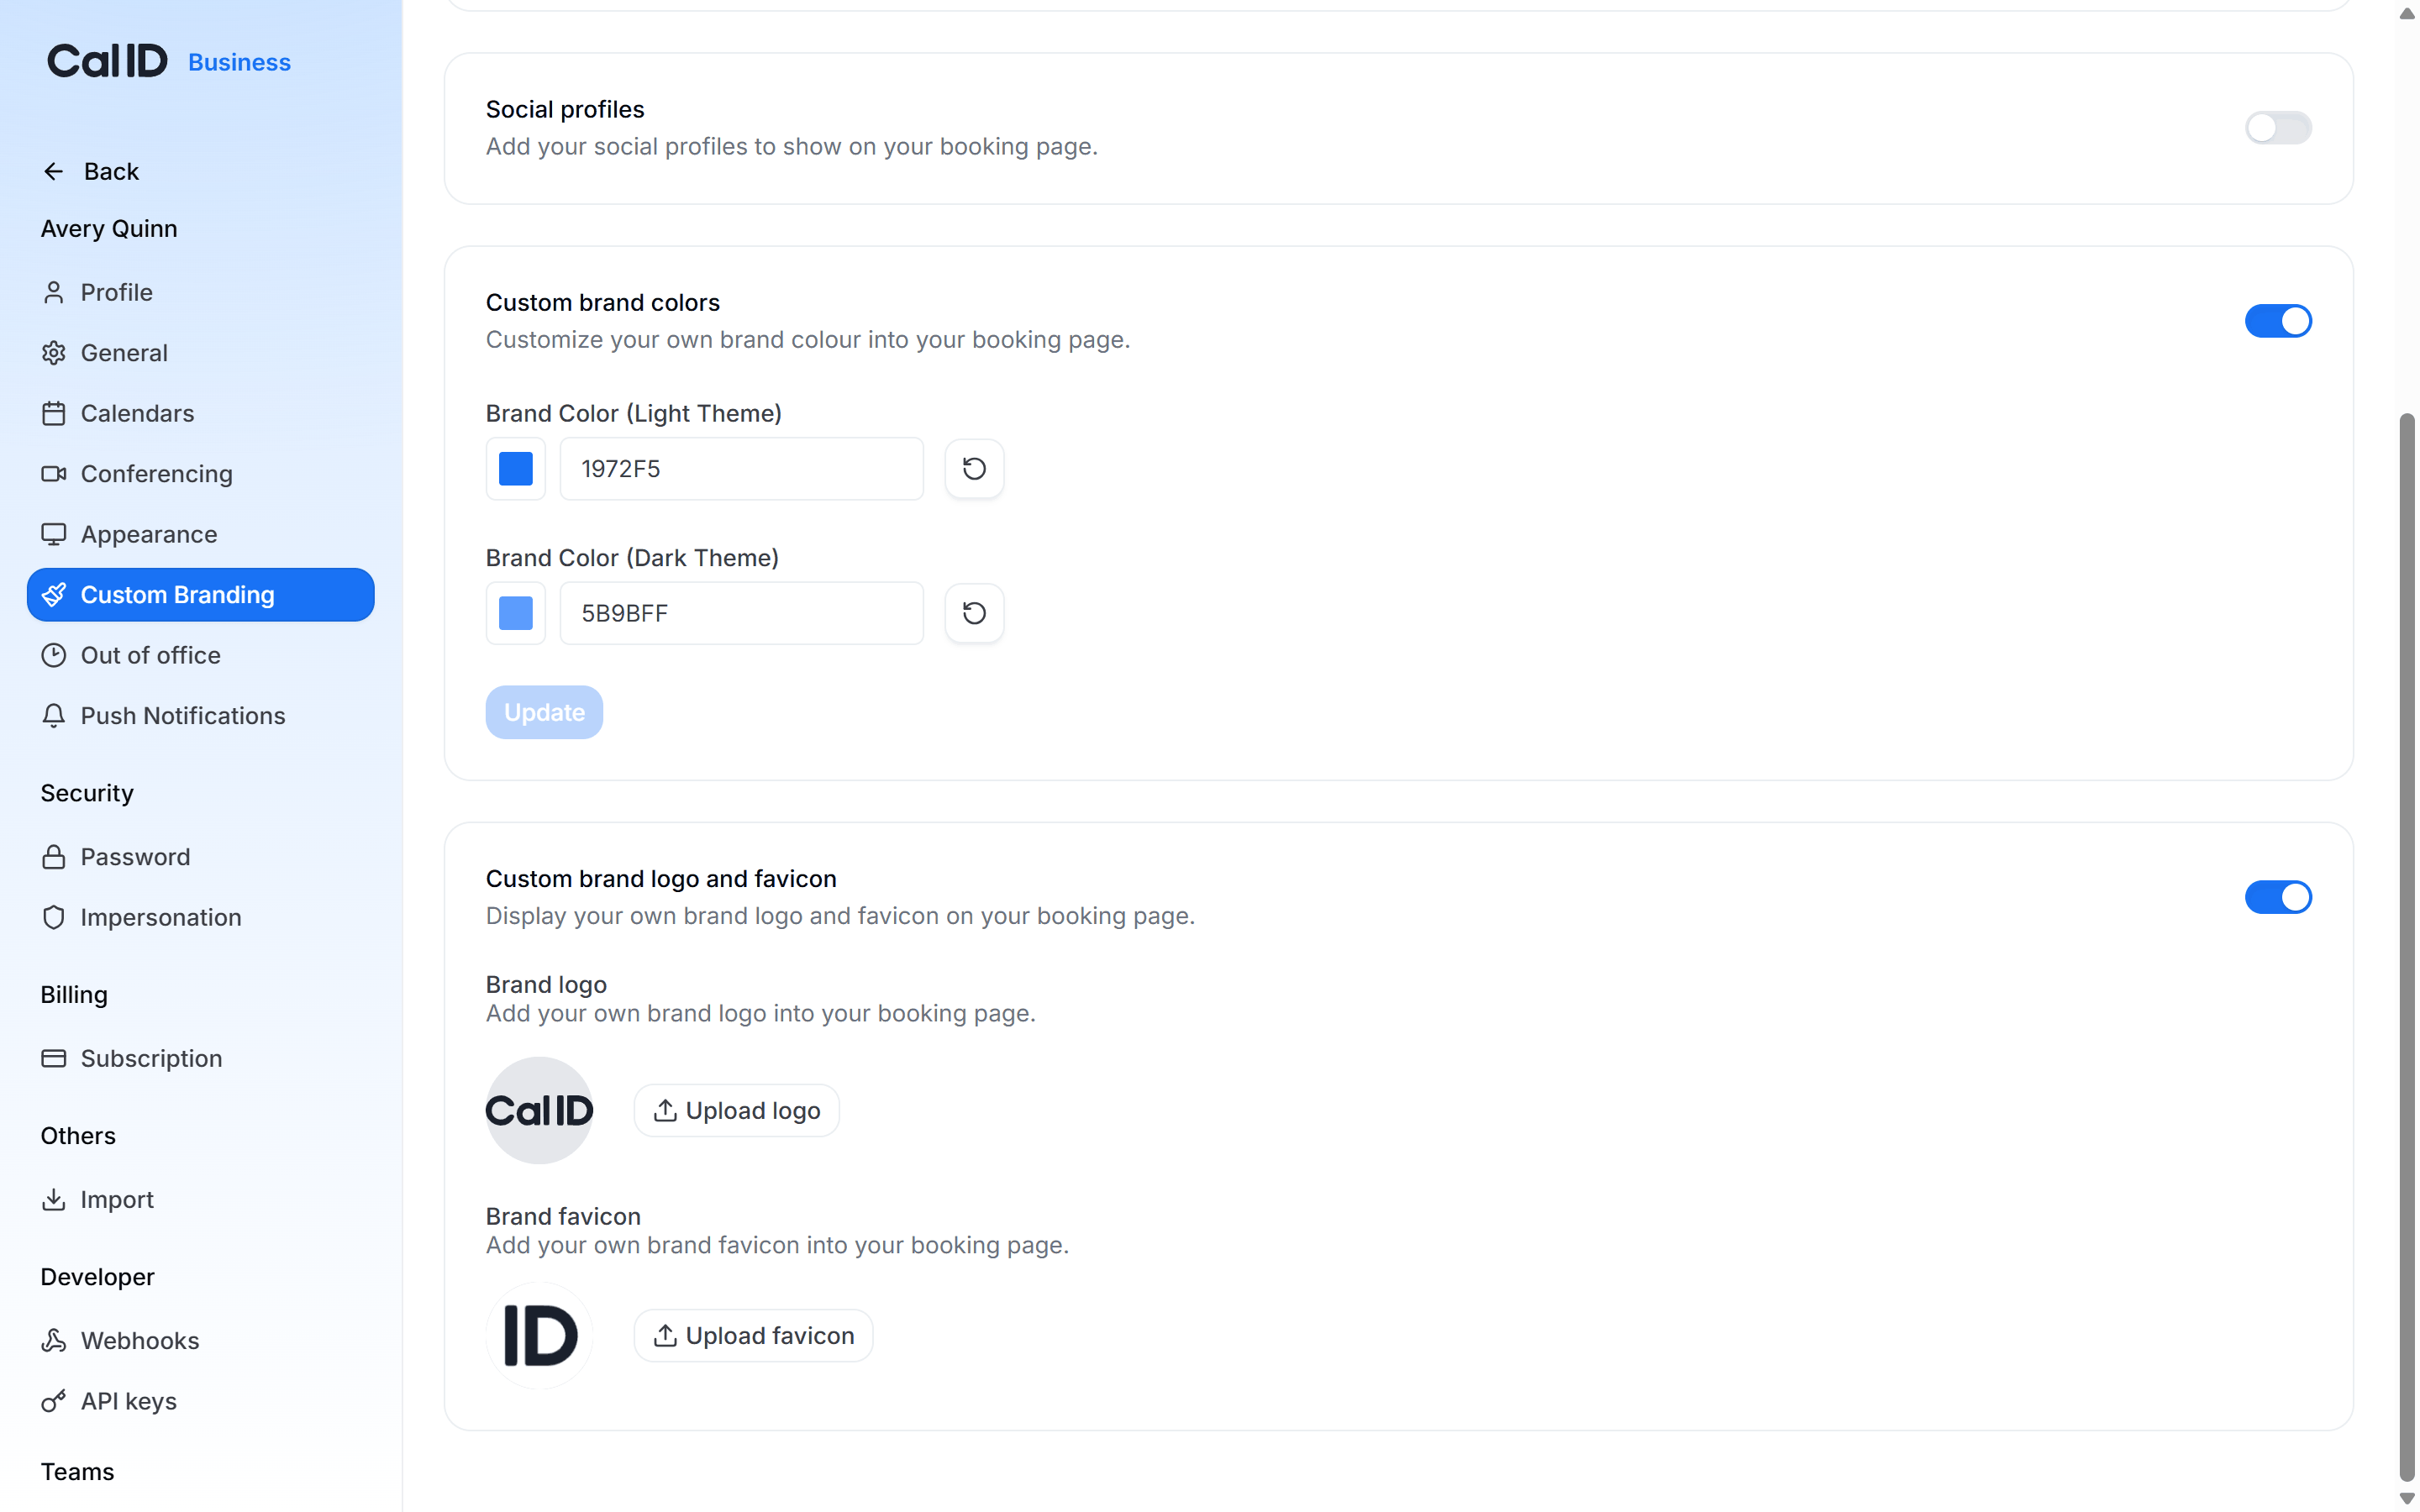
Swapping in the team's own marks
Other team brand controls
Custom Branding for Personal
Brand your own personal booking page with a banner, colors, and logo.
Team appearance
Set the theme and button visibility for your team’s page.