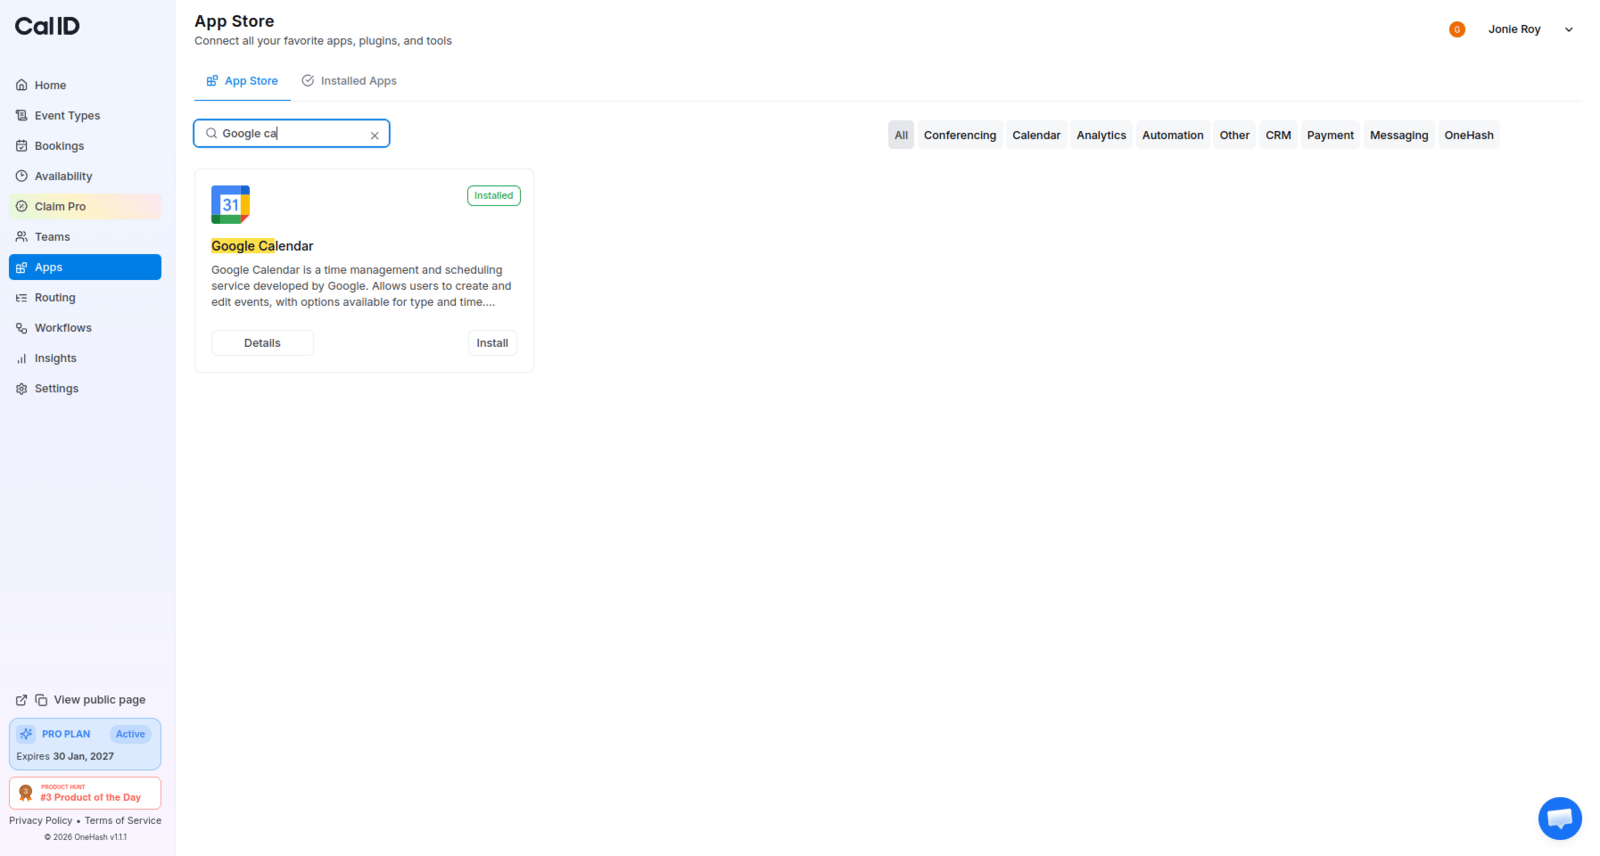
Browse 70+ integrations in the Cal ID App Store to connect calendars, video tools, payments, and automation platforms to your booking workflows.
The App Store is where you connect Cal ID to 70+ integrations — from video conferencing tools like Zoom to automation platforms like Zapier. Connect an app to automate your scheduling workflow and keep your tools in sync.
The App Store is where you discover and connect integrations. To browse and install an app, open the Apps section in your Cal ID sidebar — then enable each app on the specific event types where you want to use it.
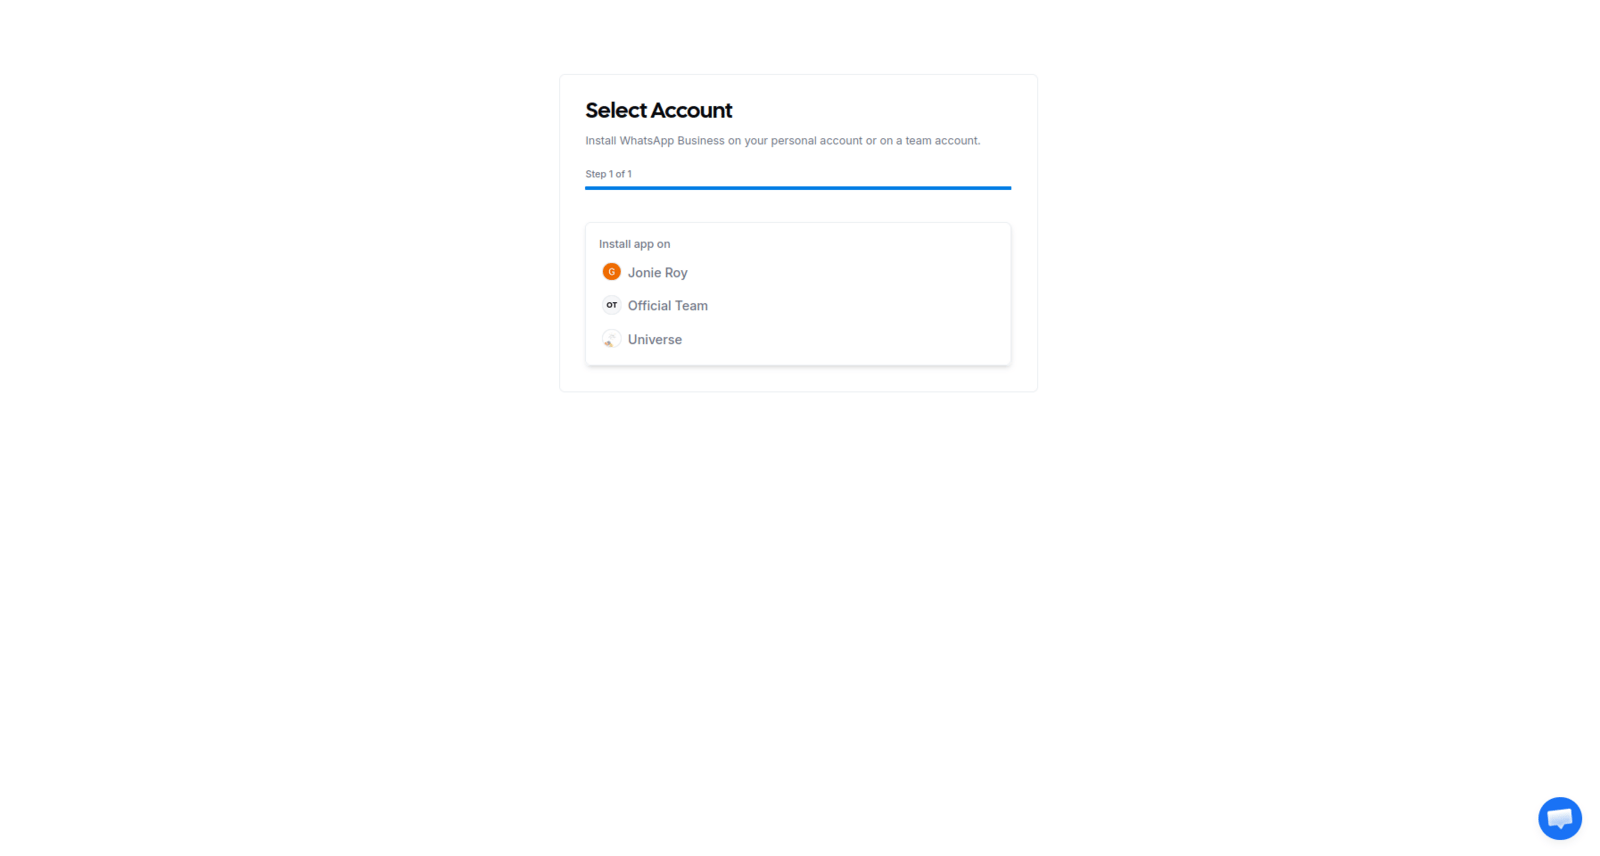
After clicking Install, a popup will appear asking where you want to add the integration:
Team Account: If you are part of a team or organization, you will be prompted to select whether to install the app for your Team Profile or your Personal Profile.
Personal Account: If you are not part of any team, select your personal account to proceed.
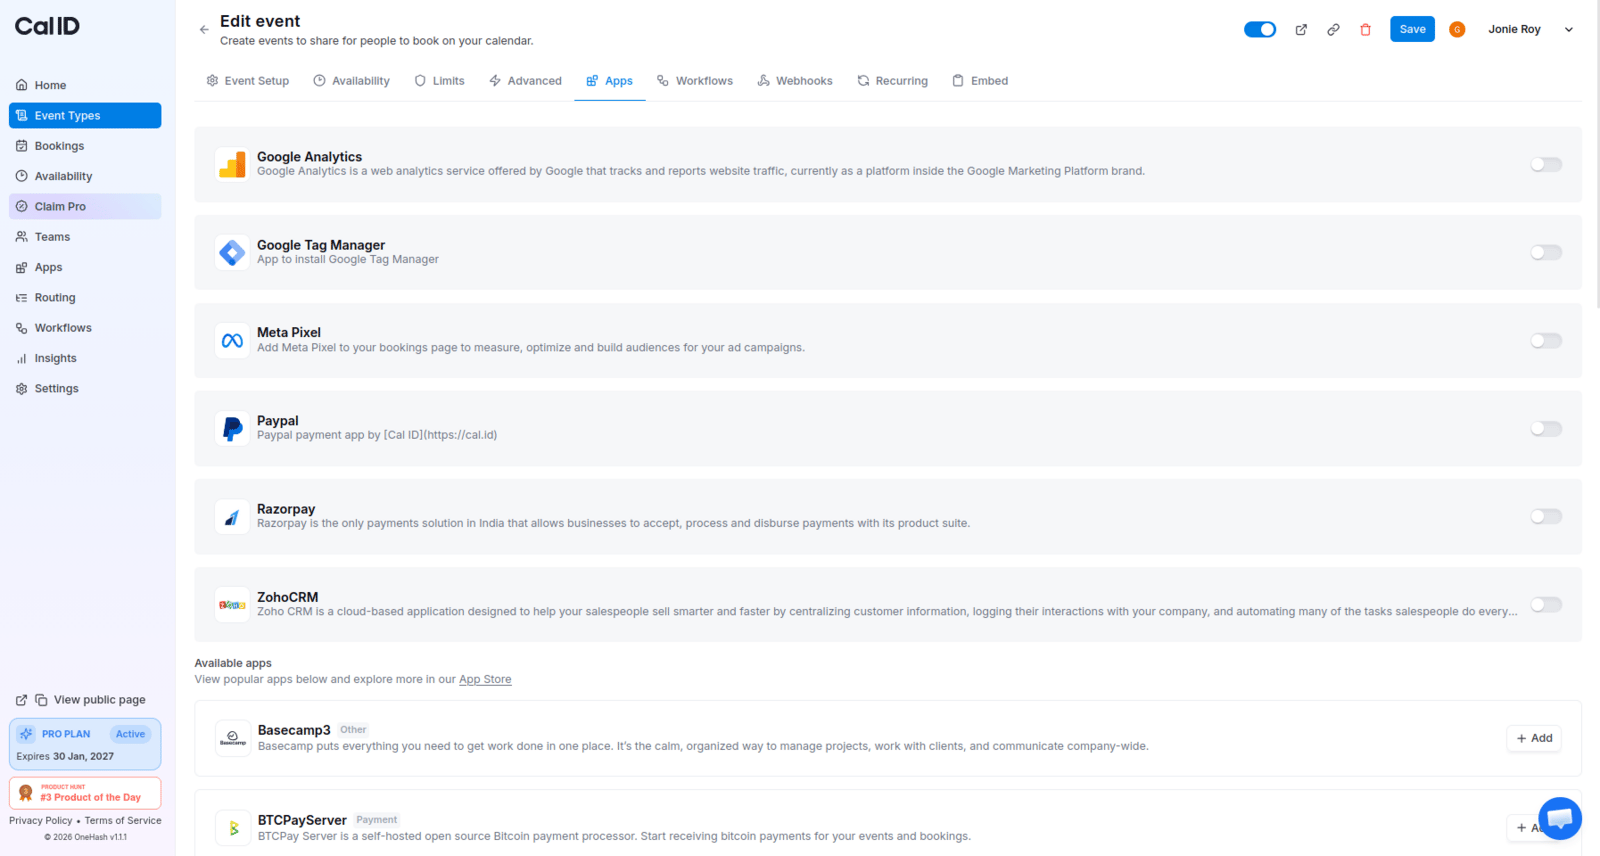
Once an app is installed, you must enable it for the specific event types where you want to use it:
1
Edit an event type
Go to the Event Types tab and click Edit on your chosen event.
2
Open the Apps tab
Click on the Apps tab within that event’s settings.
3
Enable the app
Toggle the switch for the installed app to ON.
4
Set the details
Configure any specific settings required for that app (e.g., selecting a specific video room or CRM folder).
5
Save
Click Save at the top of the page.
Switching the app on for one event
App Management — You can manage your global integrations at any time by going to Installed Apps in the main sidebar. From there, you can adjust settings, change linked accounts, or uninstall apps you no longer need.