

Why connect Slack?
- Instant Alerts: Know immediately when a new client books you.
- Team Sync: Send notifications to a shared channel so your team stays updated.
- All-in-One Place: Track new bookings, reschedules, and cancellations without leaving Slack.
To post into a channel, your automation tool (Zapier, Pabbly, Make, or ViaSocket) needs permission to your Slack workspace. When you connect Slack, you’ll be asked to authorize it — if you want alerts in a private or shared channel, make sure you have permission to add apps to that workspace, or ask a Slack workspace admin to approve the connection.
Step 1: Install Zapier (any automation tool) in Cal ID
1
Log in to Cal ID
Log in to your Cal ID account.
2
Open the App Store
Go to the App Store in the sidebar.
3
Install Zapier
Find the Zapier app and click Install. For the full walkthrough of connecting and authorizing it, see Integrate Cal ID with Zapier.
4
Generate your API key
Generate the API key and Copy it.
Step 2: Create your automation (the Zap)
Log in to your Zapier account and follow these 3 mini-steps.A. The trigger (when this happens…)
- App: Choose Cal ID.
- Event: Select Booking Created.
- Account: Connect your Cal ID account (you may be asked for your API Key).
B. The action (do this…)
- App: Choose Slack.
- Event: Select Send Channel Message (to alert a team) or Send Direct Message (to alert only yourself).
- Message: Type what you want the alert to say. You can click the “Insert Data” button to include the Booker’s Name and Meeting Time.
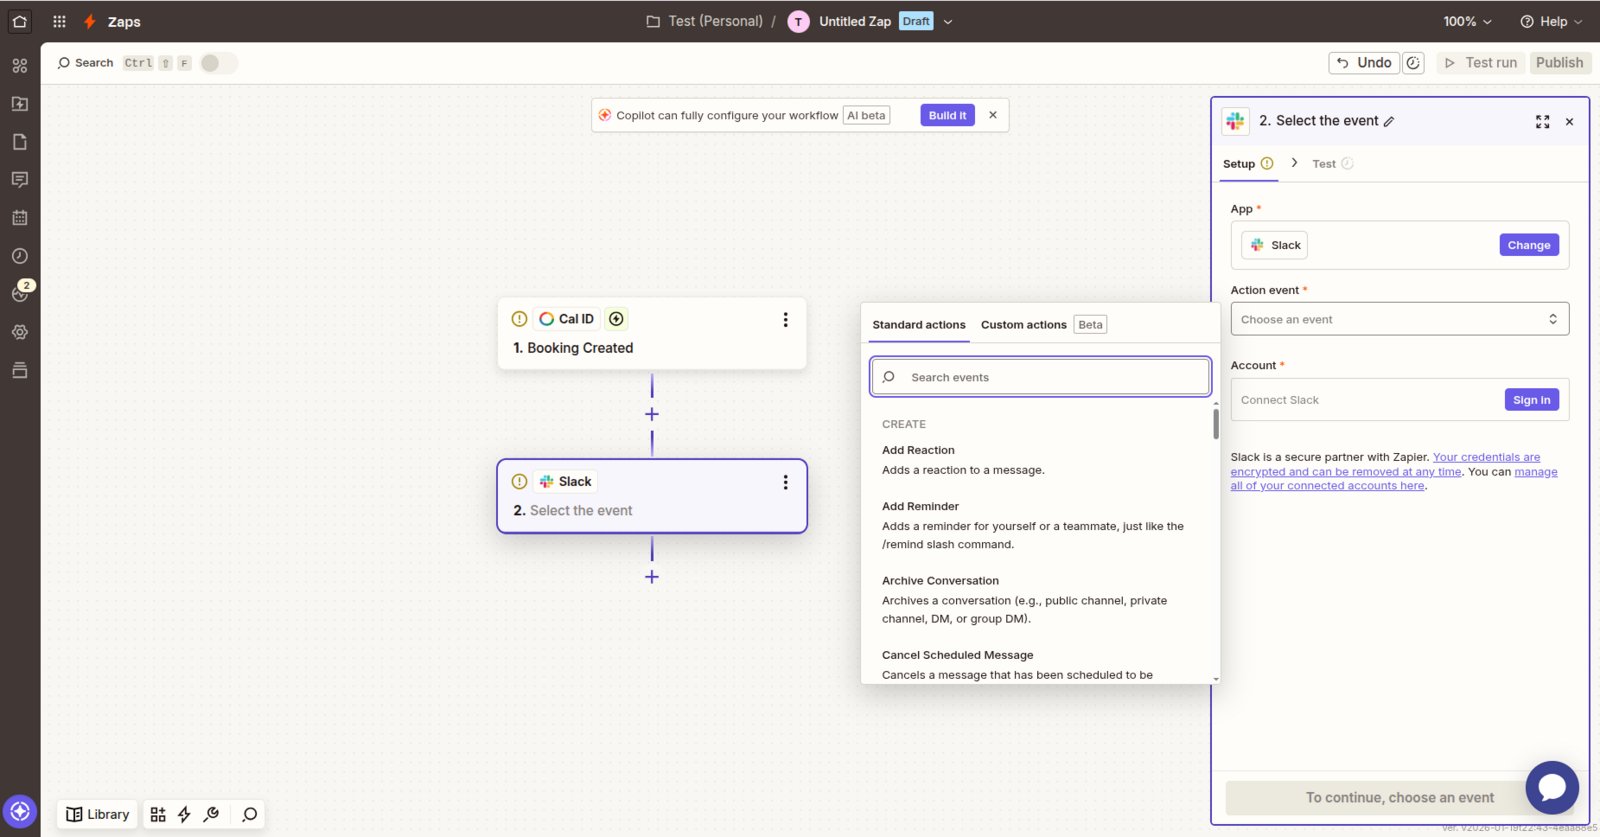
Writing the alert your team sees
C. The finish
- Click Test to see a sample message appear in Slack.
- If it looks good, click Publish.
That’s it — new bookings will now post to Slack automatically.
Other useful triggers
You can create separate Zaps for these other common events:- Booking Rescheduled: Get an alert if a client moves the meeting.
- Booking Cancelled: Know instantly if a slot has opened back up.
- Booking Requested: Get pinged the moment someone requests a slot that needs your approval.
More notification options
Automate with Zapier
Set up the Cal ID Zapier connection used in the steps above.
Automate with Make
Connect Cal ID to thousands of apps through Make scenarios.
Automate with Pabbly
Forward booking events to over 1,000 apps with Pabbly Connect.
Automate reminders with workflows
Send Email, SMS, or WhatsApp reminders around each booking.
Browse the App Store
Discover more integrations to connect to your workflows.