Connect Razorpay to Cal ID to accept payments on paid event types, set booking amounts, and define refund rules for cancellations or reschedules.
Connect Razorpay to Cal ID to accept payments while bookers book your events. When someone selects your event, they must pay to confirm the booking, and once payment succeeds the meeting is scheduled automatically. You can also set refund rules and payment amounts for each event type.
You’ll need a Razorpay account to authorize the connection. Your account must be activated and in Live Mode with any required verification complete — Test Mode is not supported and the connection will fail. Cal ID uses Razorpay to let you receive payments when someone books your paid event type.
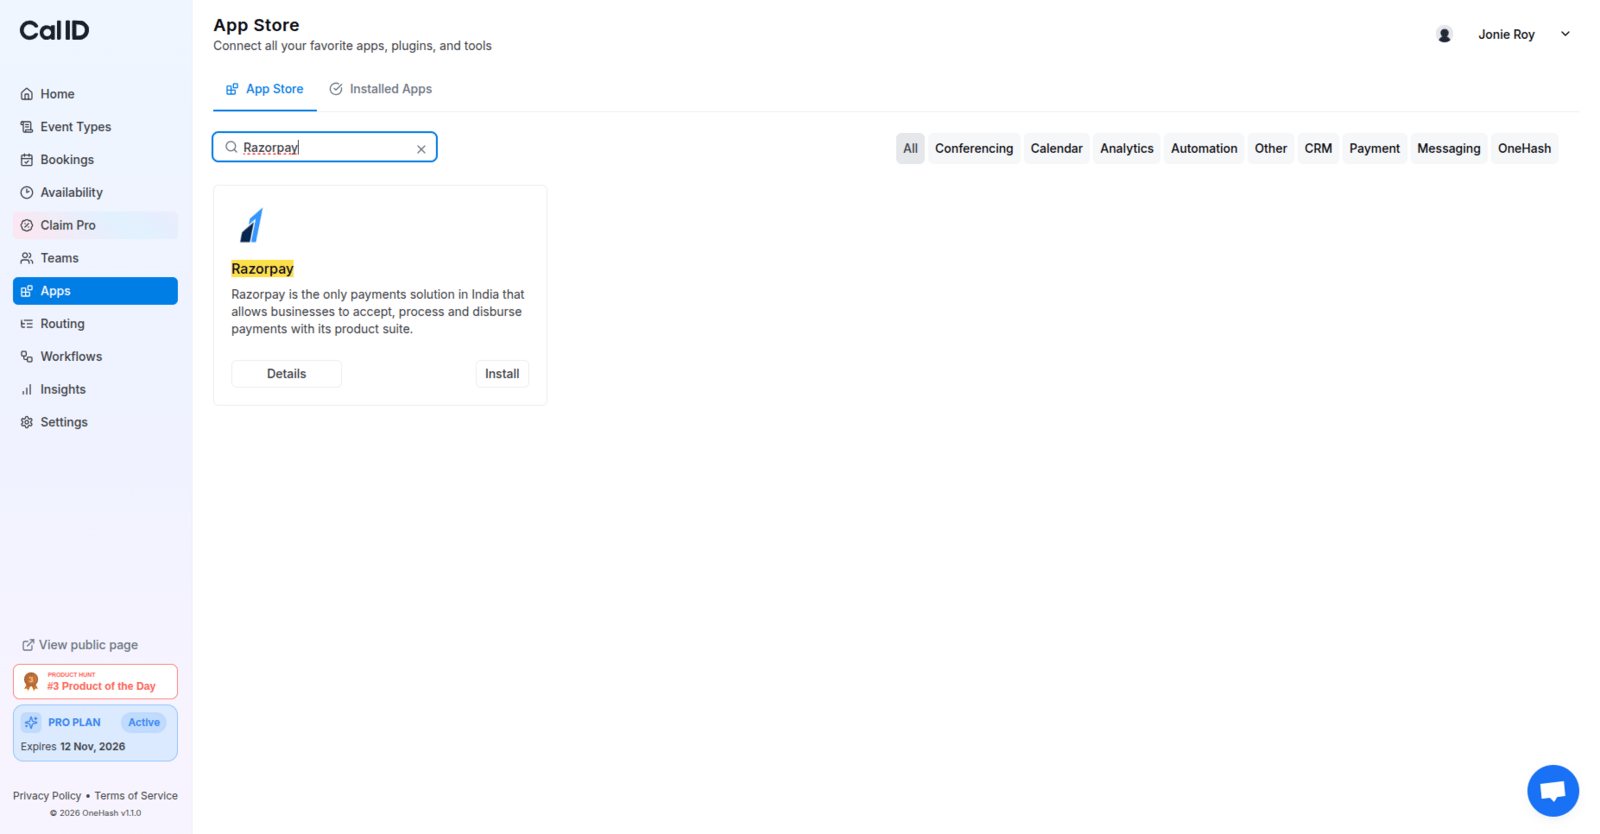
Go to the Cal ID App Store and search for Razorpay.
Adding Razorpay as a payment option
2
Install and connect your account
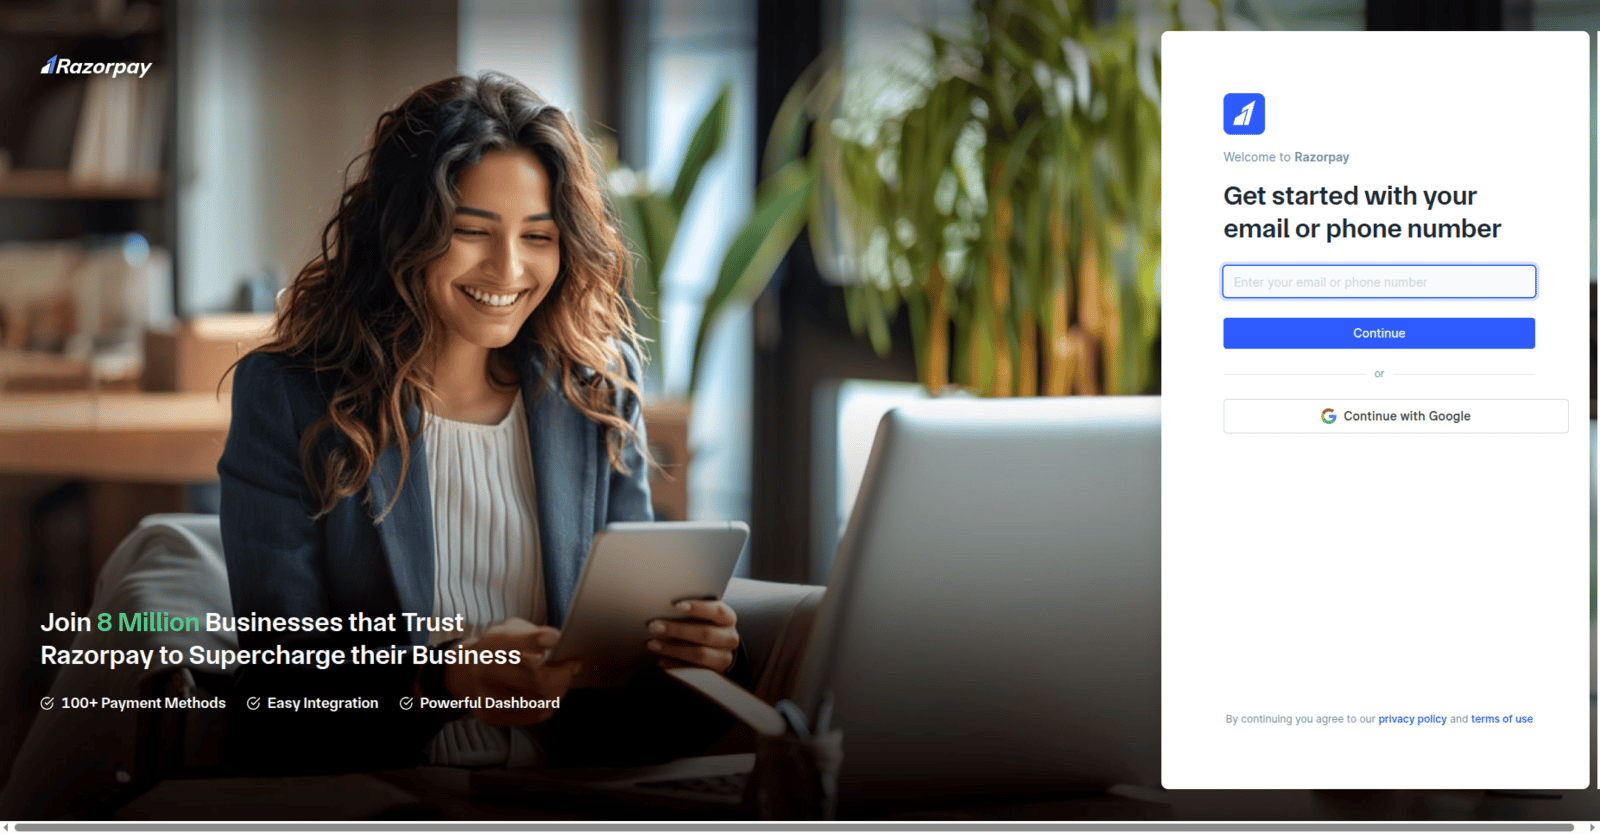
Click Install, then connect the Razorpay account with your credentials.
Signing in to your payment gateway
3
Authorize the connection
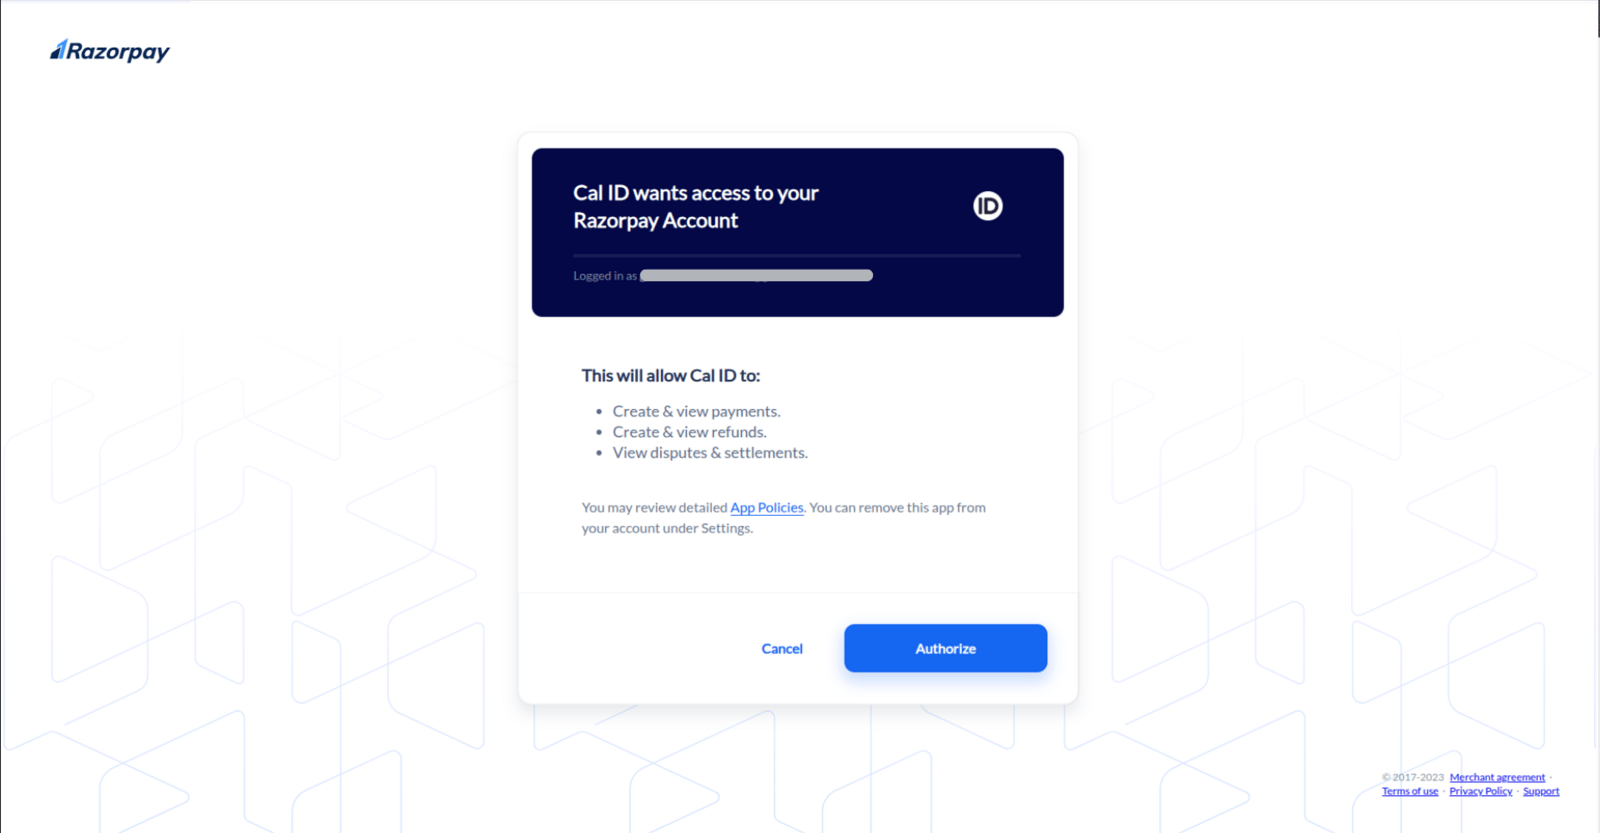
Once logged in, click on the Authorize button to connect your account with Cal ID.
Granting Cal ID access
4
Confirm the installation
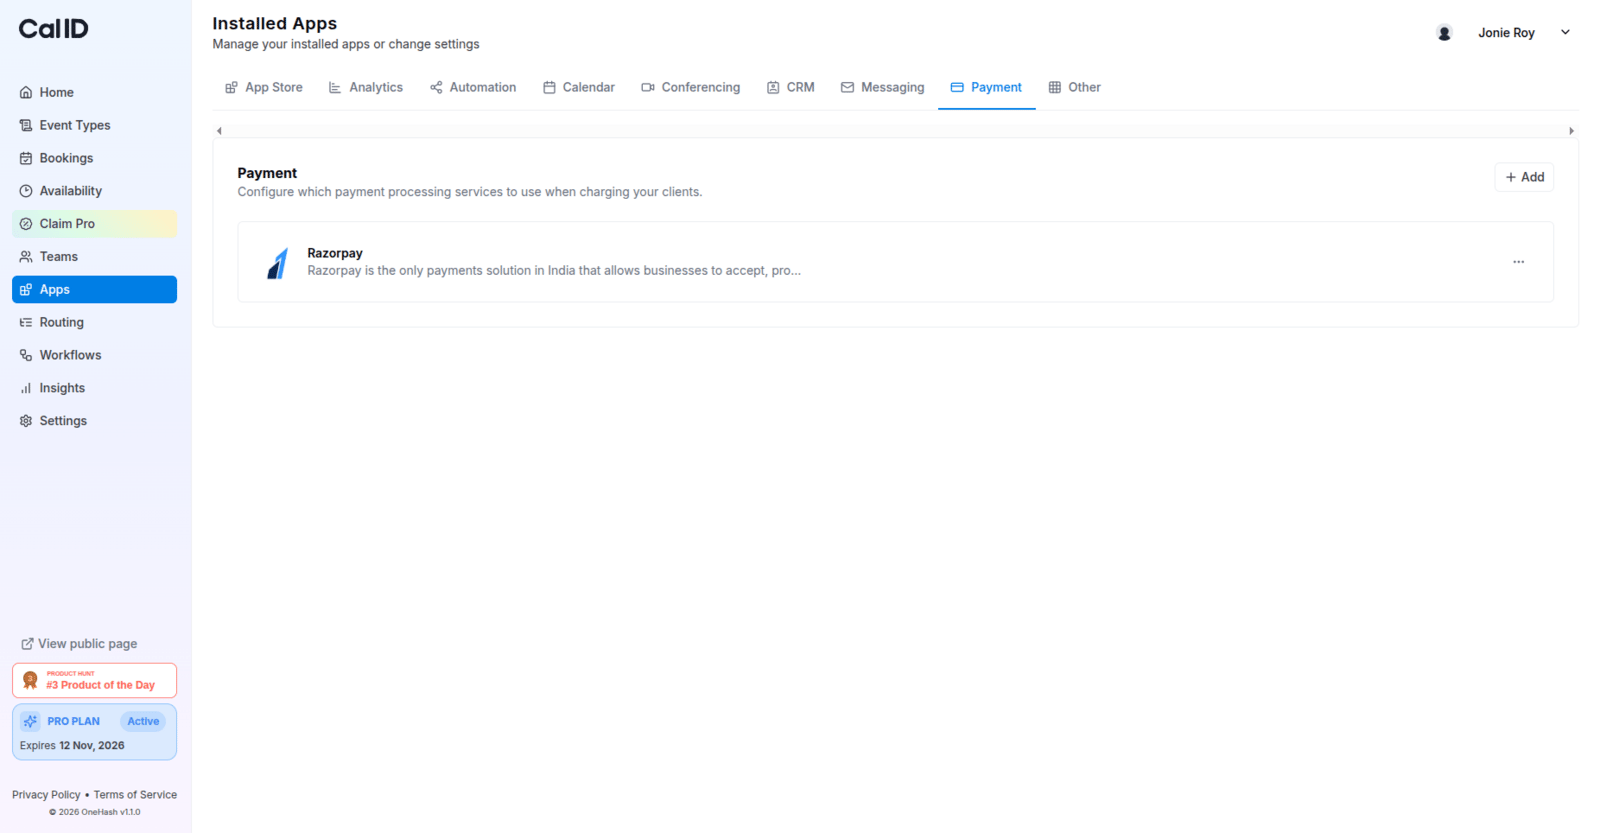
Once authorized, you will be redirected to the Cal ID page, where you can see that the Razorpay app has been installed. Now you can add the Razorpay app as a payment method to any of your event types, whether it is a new or an existing one.
Go to Event Types, select the event type you want to add Razorpay to, and click Edit.
2
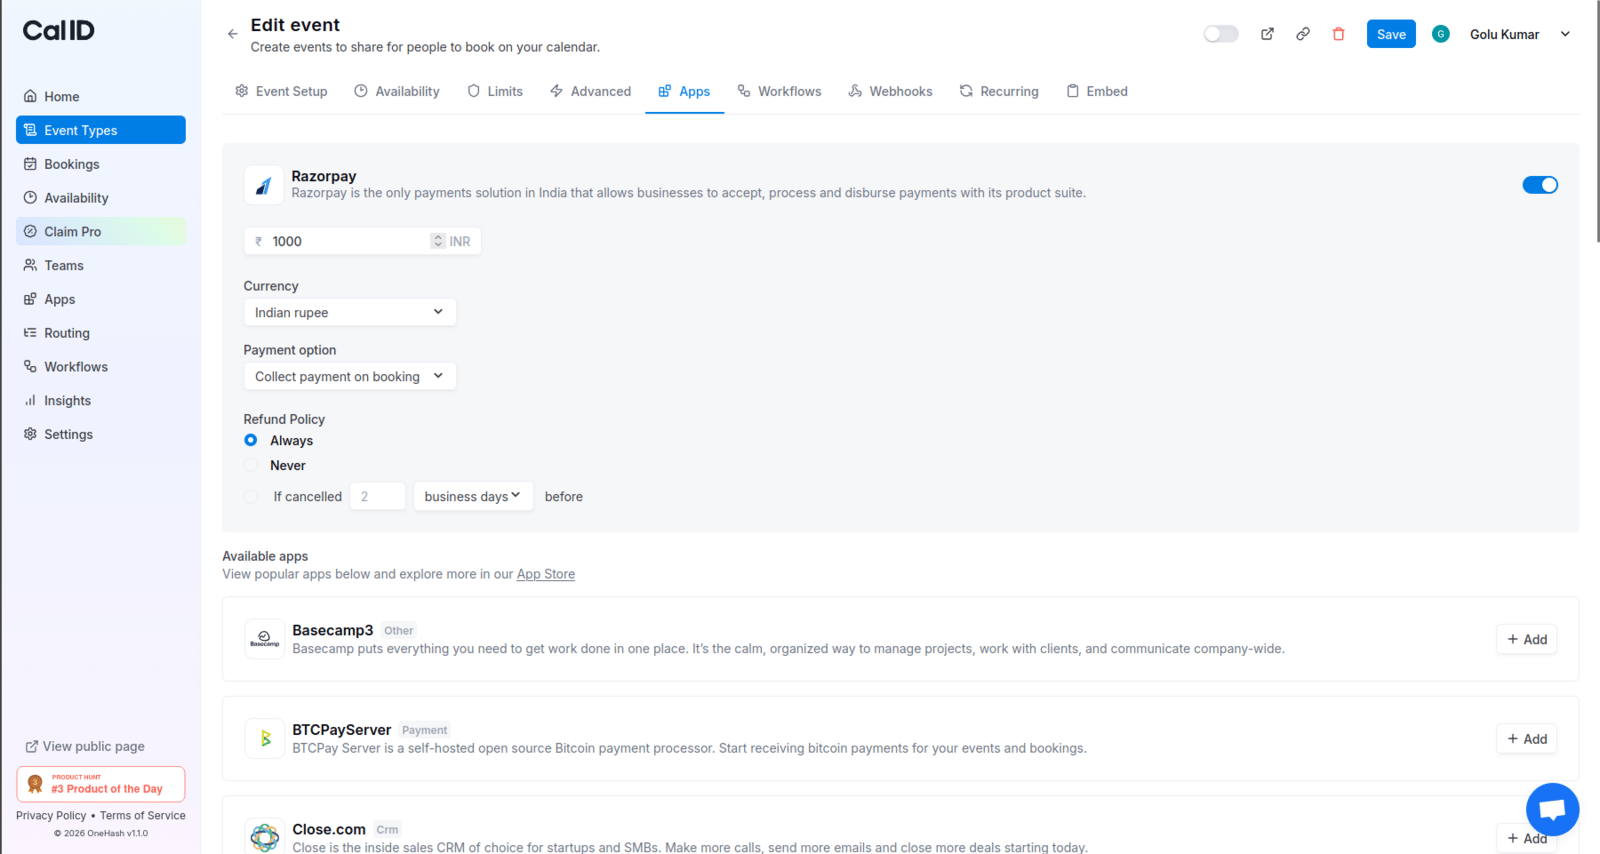
Turn on Razorpay
Go to the Apps section and turn ON the Razorpay app toggle.
3
Set the amount and save
Enter the amount you want to collect for this event type, then save it.
Cal ID also provides a Refund Policy option. You can choose what happens if a booker cancels a paid booking:
Always – The booker will always get a refund.
Never – The booker will not get a refund.
If cancelled {defined} business/calendar days before – The booker will get a refund only if they cancel at least {defined} business/calendar days before the event.
Deciding when to refund a cancellation
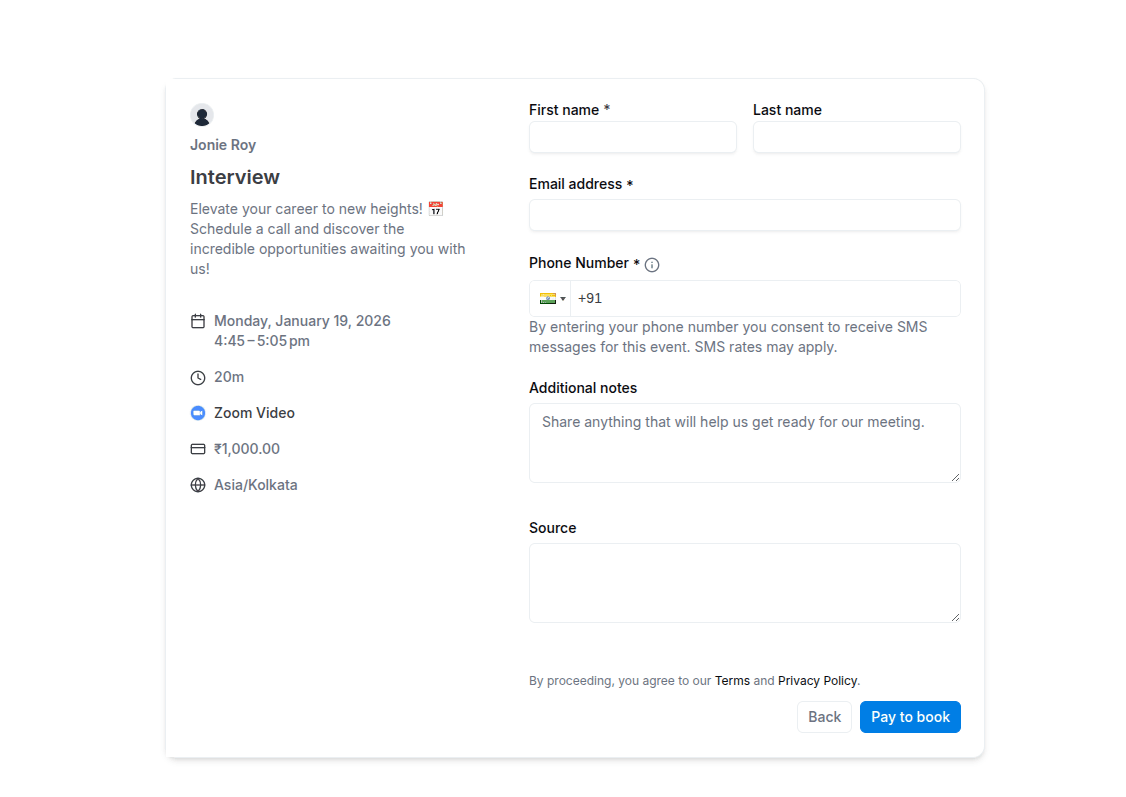
Now your booking page looks like this:
What bookers see at checkout
Once the booker fills in the required questions, they need to click the Pay to Book button and complete the payment. After the payment is successful, the meeting will be scheduled.
That’s it. You will receive payments as soon as someone books you using this event type.