Configure an event type in Cal ID to collect payments through Stripe so attendees pay upfront when they book a paid meeting on your calendar.
Connect Stripe to Cal ID to collect payments upfront when someone books your paid event type. Cal ID offers Razorpay, Stripe, and PayPal for this, and this guide covers Stripe.
You’ll need a Stripe account to complete the connection. During install you’ll be redirected to Stripe to authorize the link with Cal ID.
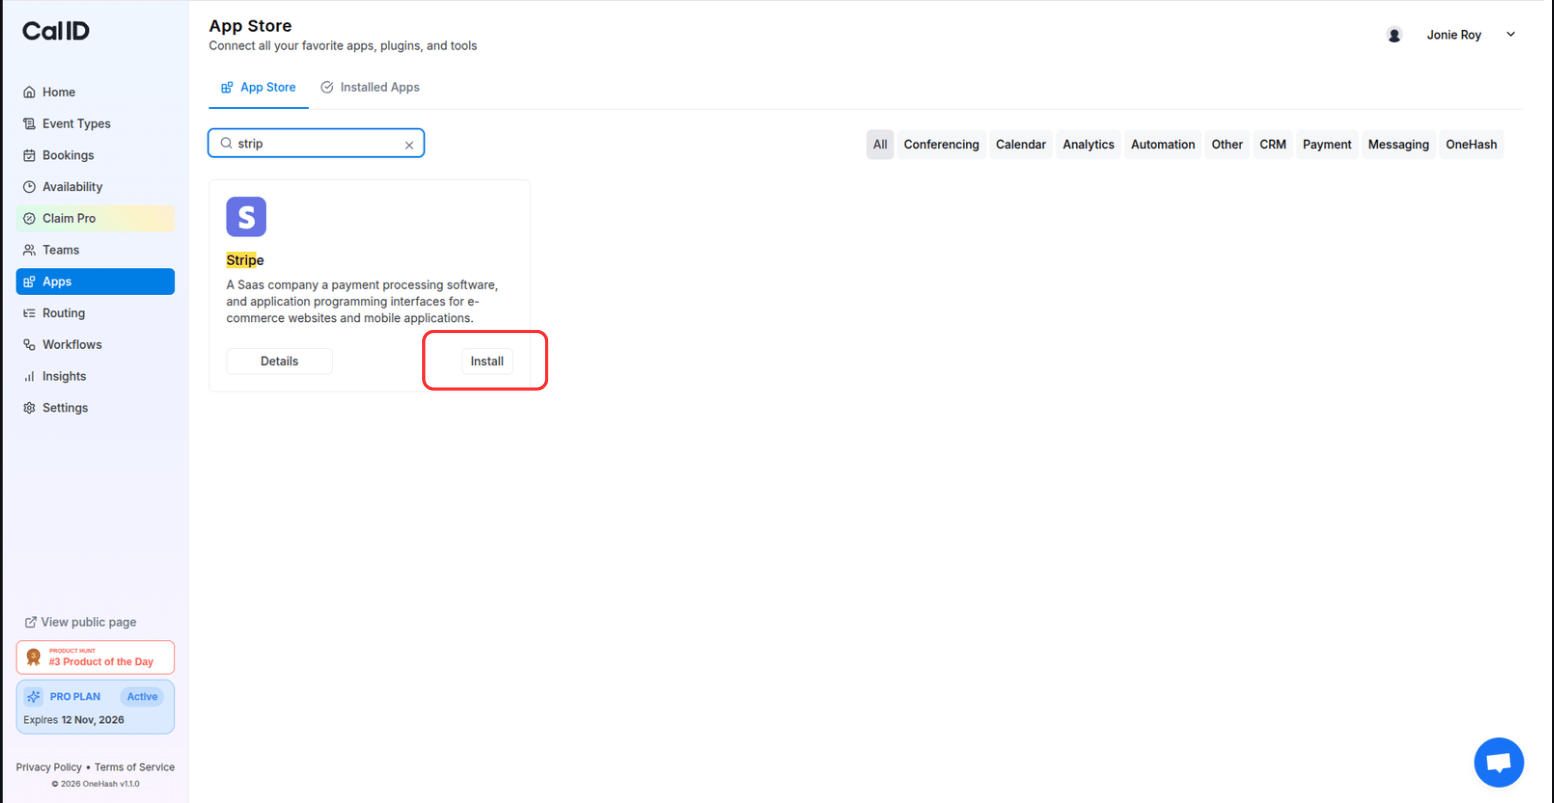
Go to the Cal ID apps, search for Stripe (Payment gateway), and click Install.
Adding Stripe as a payment option
2
Connect your Stripe account
Proceed through to connect your Stripe account with Cal ID. Now that Stripe is connected to your account, you can either open an existing event type or create a new one.
3
Add Stripe to an event type
Go to Event Types and open the event you want to change. Go to the Apps tab, toggle the payment method, and confirm the price you want your bookers to pay, then click on Save.
That’s it. You will receive payments as soon as someone books you using this event type.