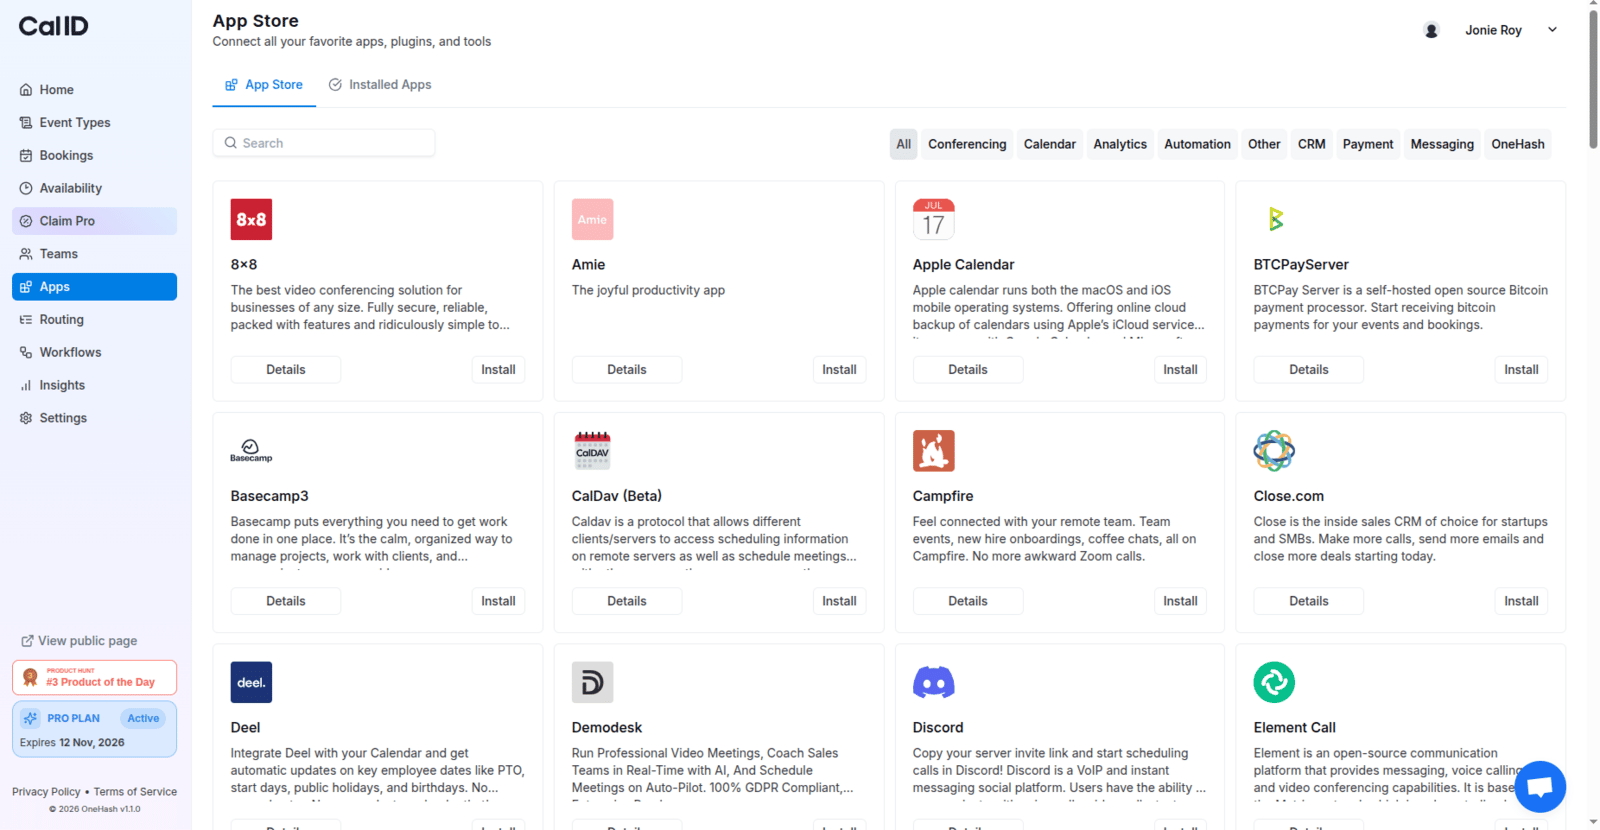
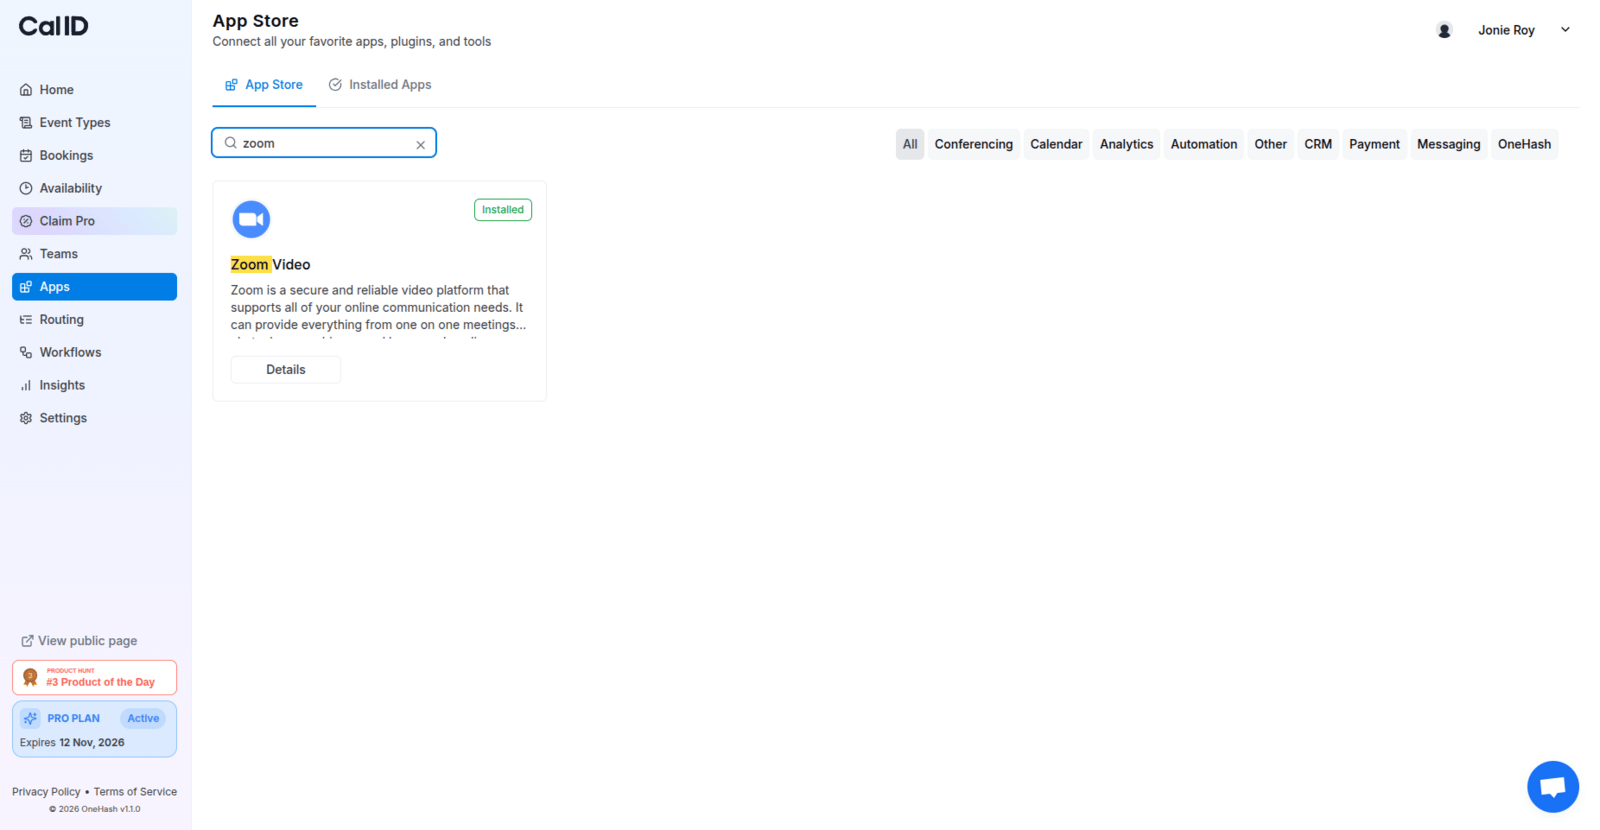
Install the Zoom integration from the Cal ID App Store, authenticate your account, and set Zoom as the meeting location for any event type.
Install the Zoom app from the Cal ID App Store and set it as the meeting location for an event type, so every booking automatically includes a unique Zoom link.
Don’t have a Zoom account, or don’t want to manage one? Cal ID Rooms is the built-in alternative — it creates a unique video room for every booking with nothing to install and no third-party sign-in.
You’ll need a Zoom account to authorize the integration. If you’re not already signed in, you’ll be prompted to log in during setup.
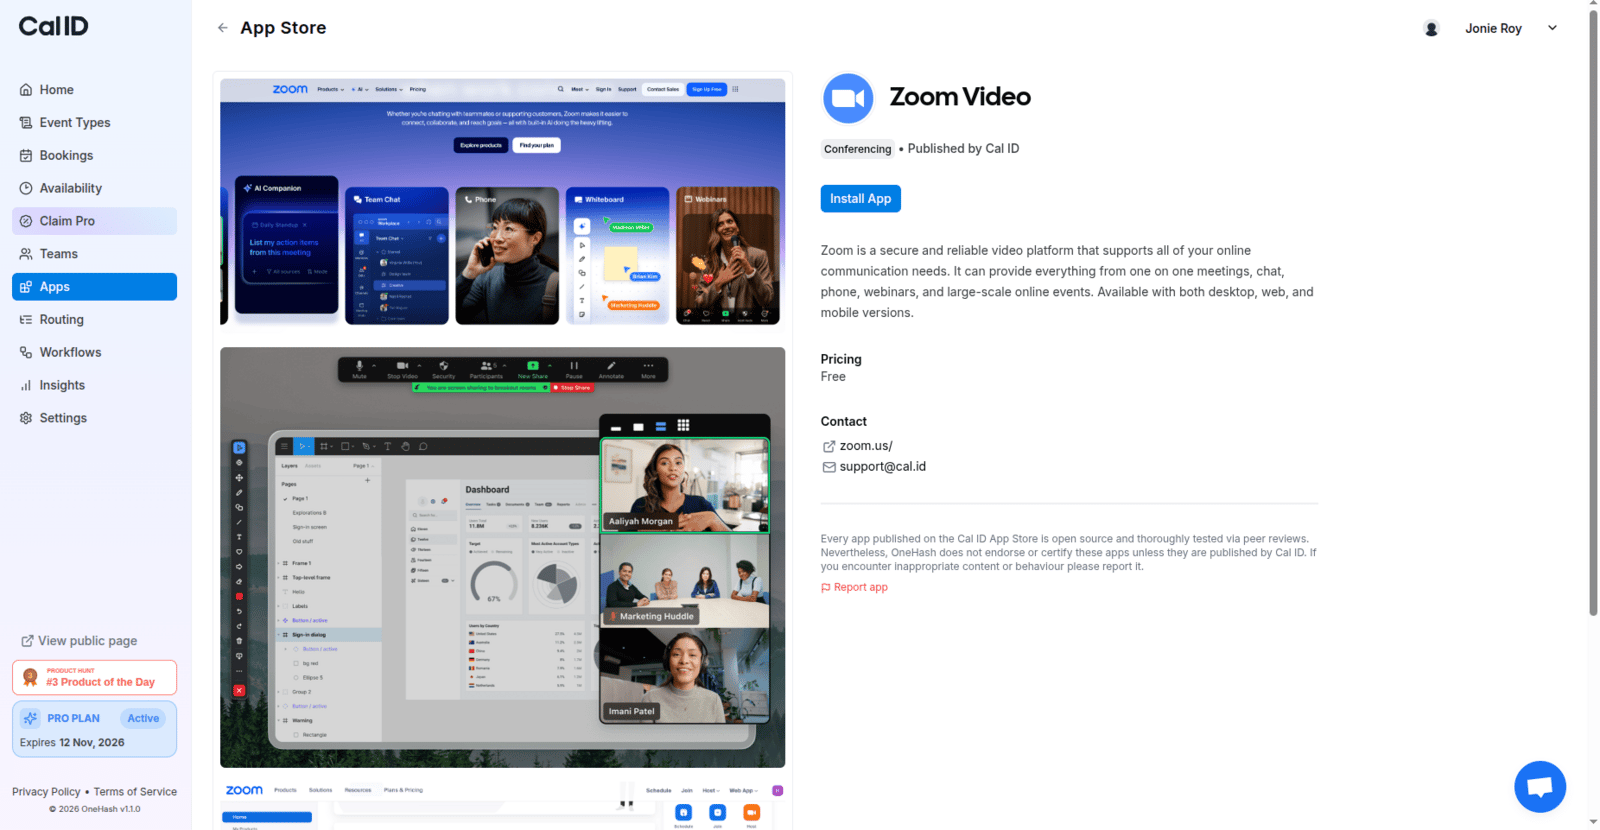
Once the Cal ID Zoom app page opens up, click on Install App.
Adding Zoom to your account
4
Authorize Zoom
Once you click on Install, you’ll be redirected to your Zoom account (sign in if you haven’t already) and allow the necessary permissions.
5
Confirm the installation
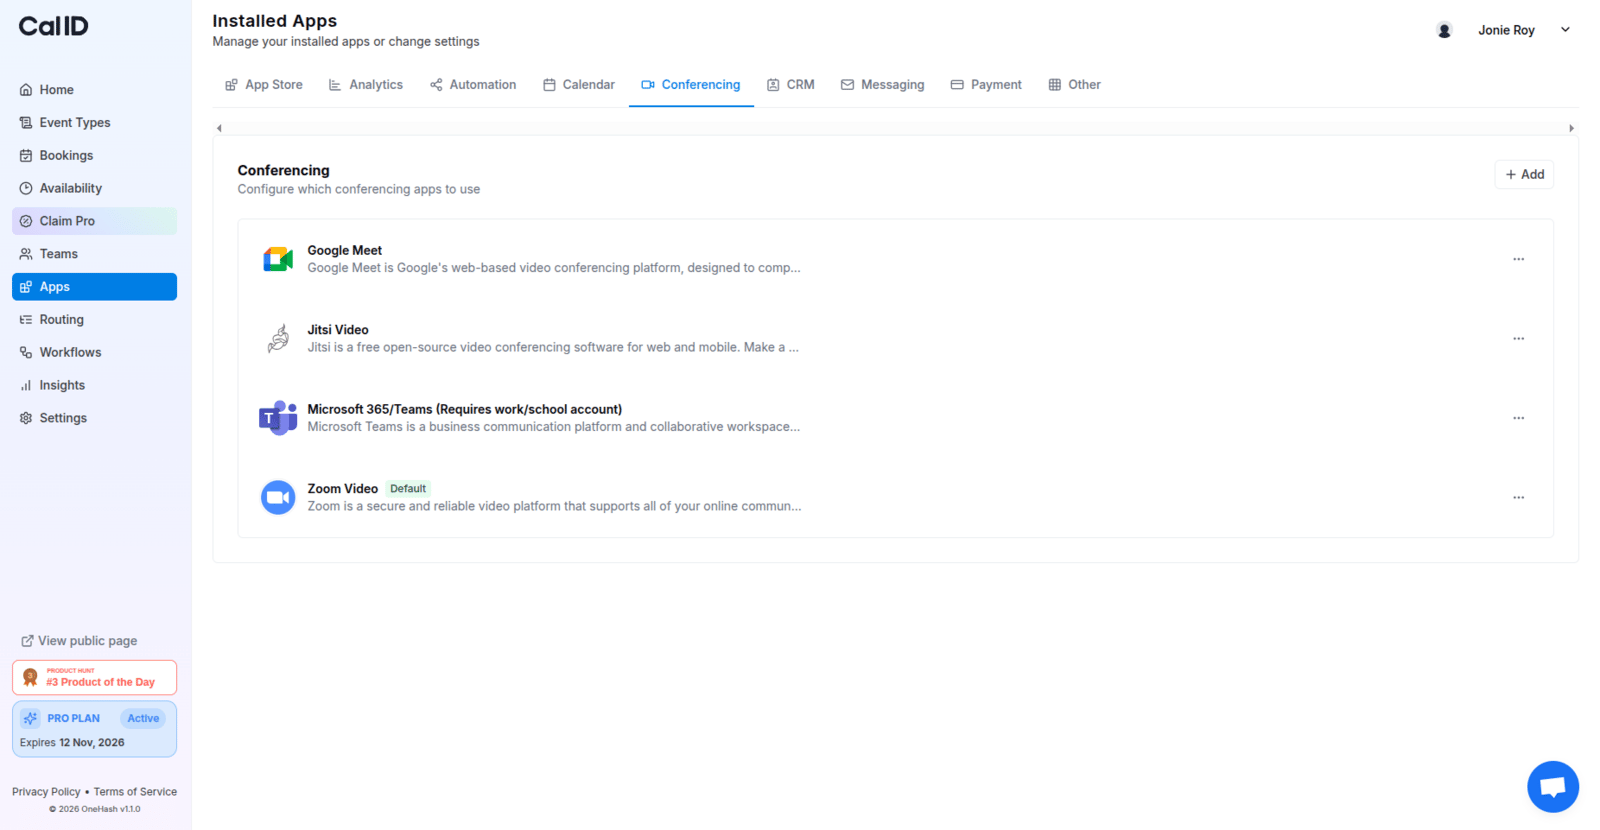
Now, you should be redirected to Cal ID’s Installed Apps page with the Conferencing tab selected, and you should see Zoom Video in the list. Zoom Video is now successfully installed in your Cal ID account.
Checking the install succeeded
6
Set Zoom as your default (optional)
If you want to make any video conferencing app your default, click on the three dots (on the right side) of that app and set it as default. Once you do this, every new event you create in the future will automatically use this video conferencing app, unless you change it again later.
7
Add Zoom as the event location
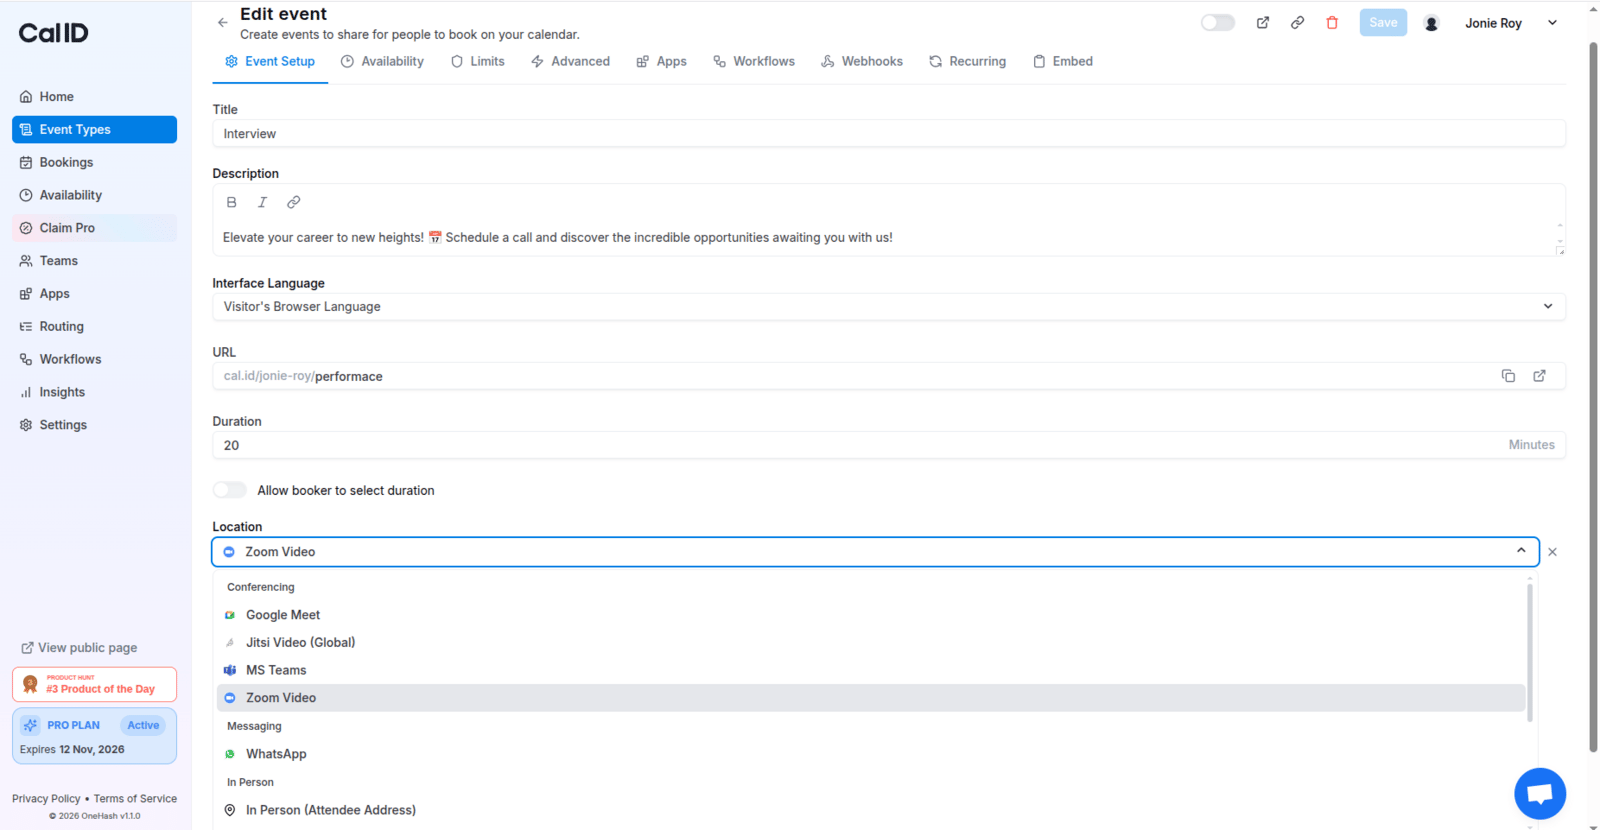
Now, you can head to your event type settings page and add a location following this guide. Once you have added Zoom Video as your event-type location, you will see it as shown in the image below. Click on Save and all your meetings should now have Zoom video as the default location.
Pointing bookings at Zoom
That’s it. Zoom is now the meeting location for your event type.