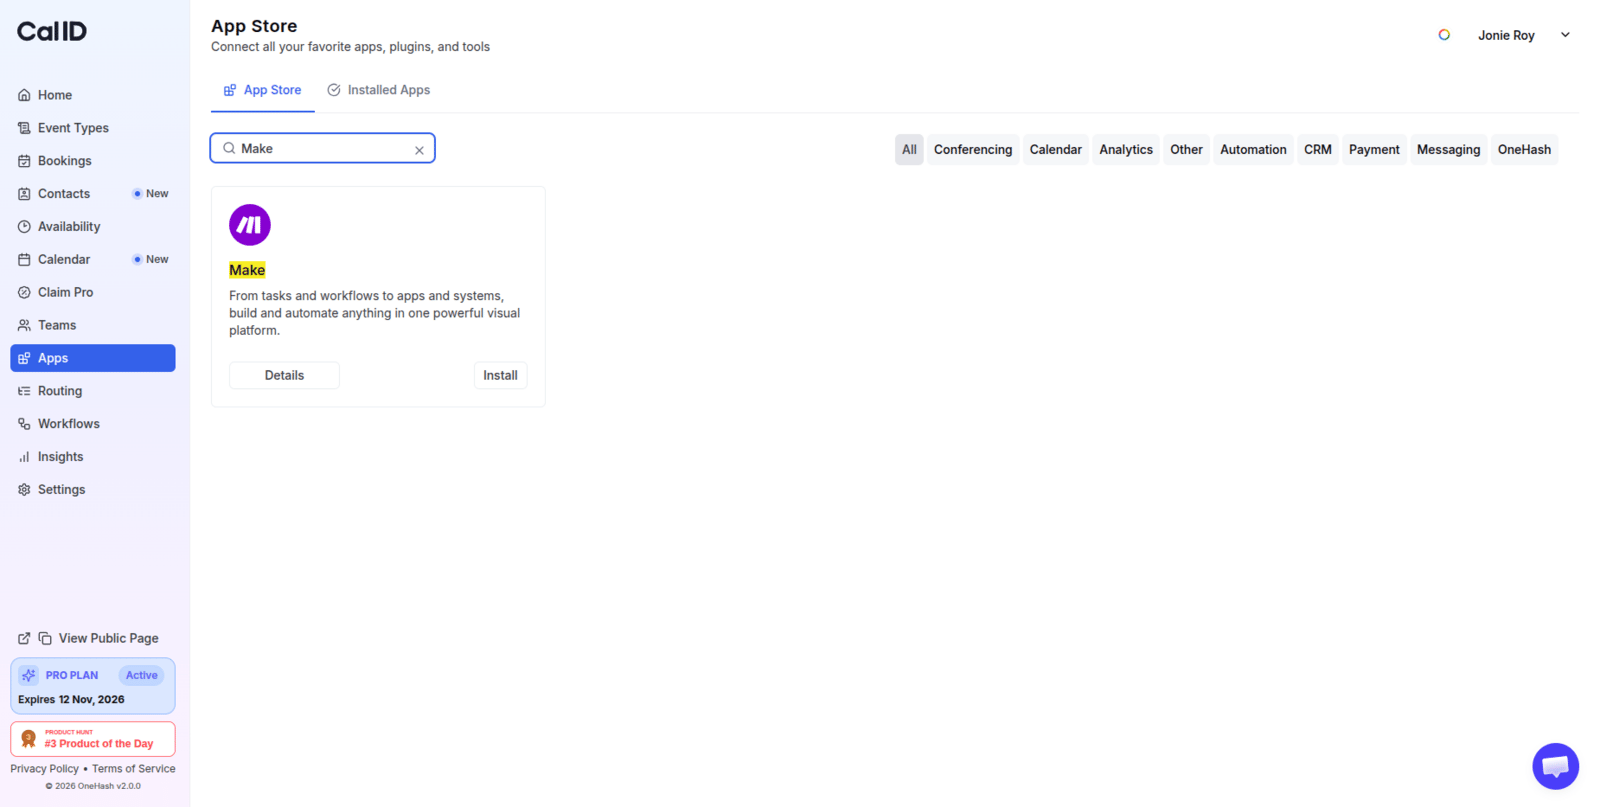
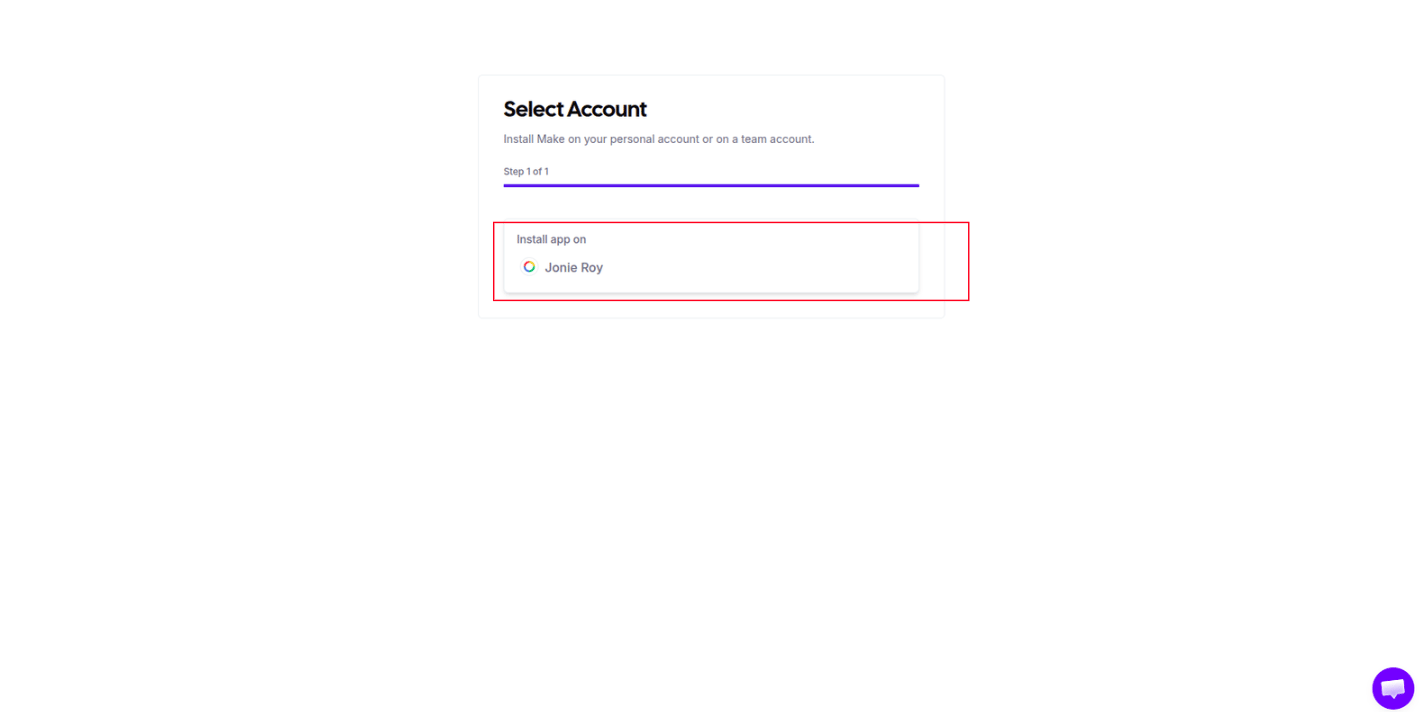
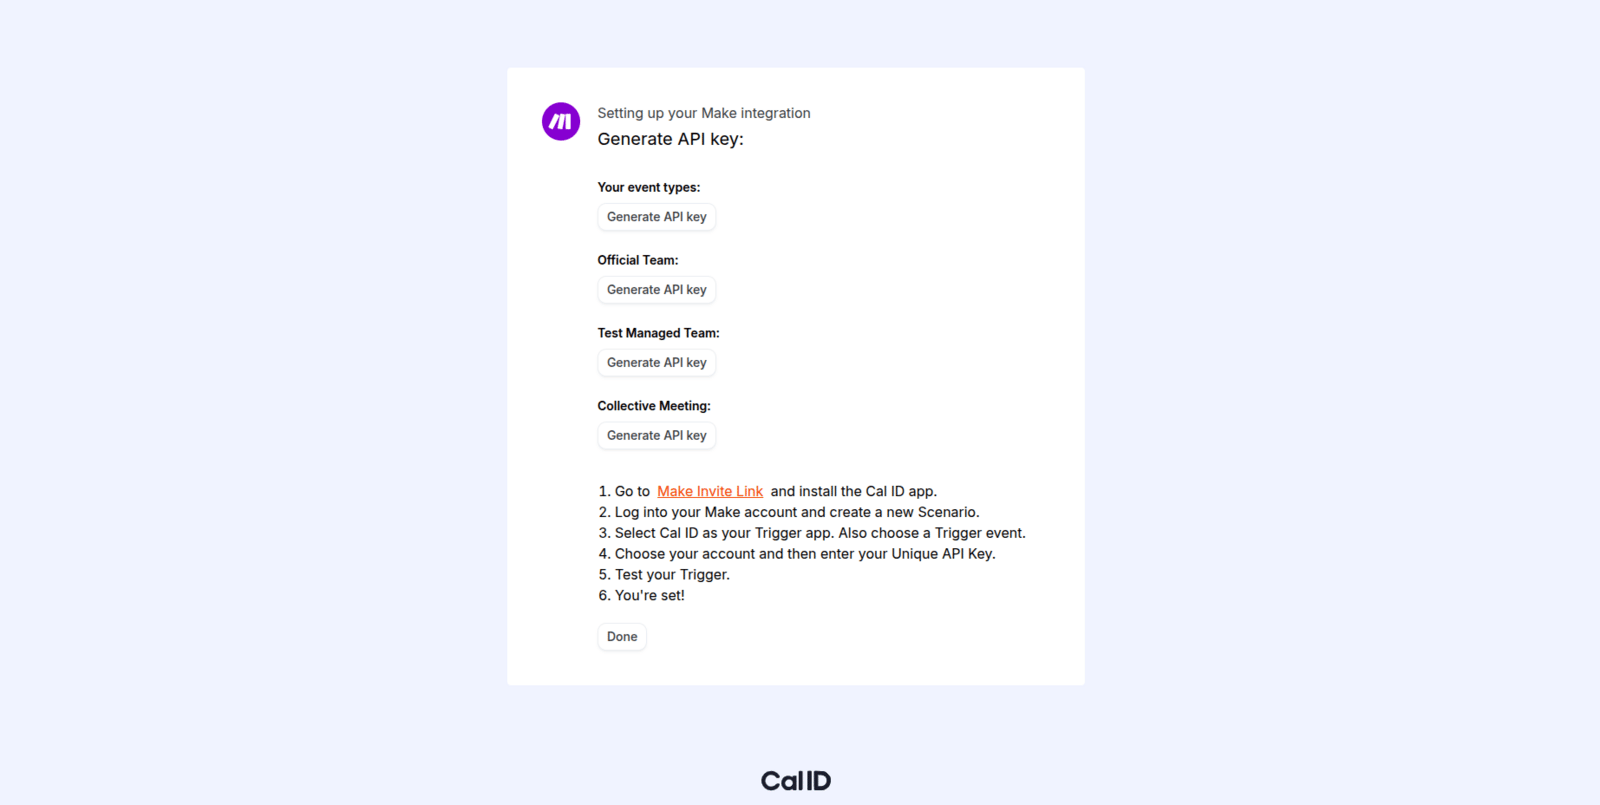
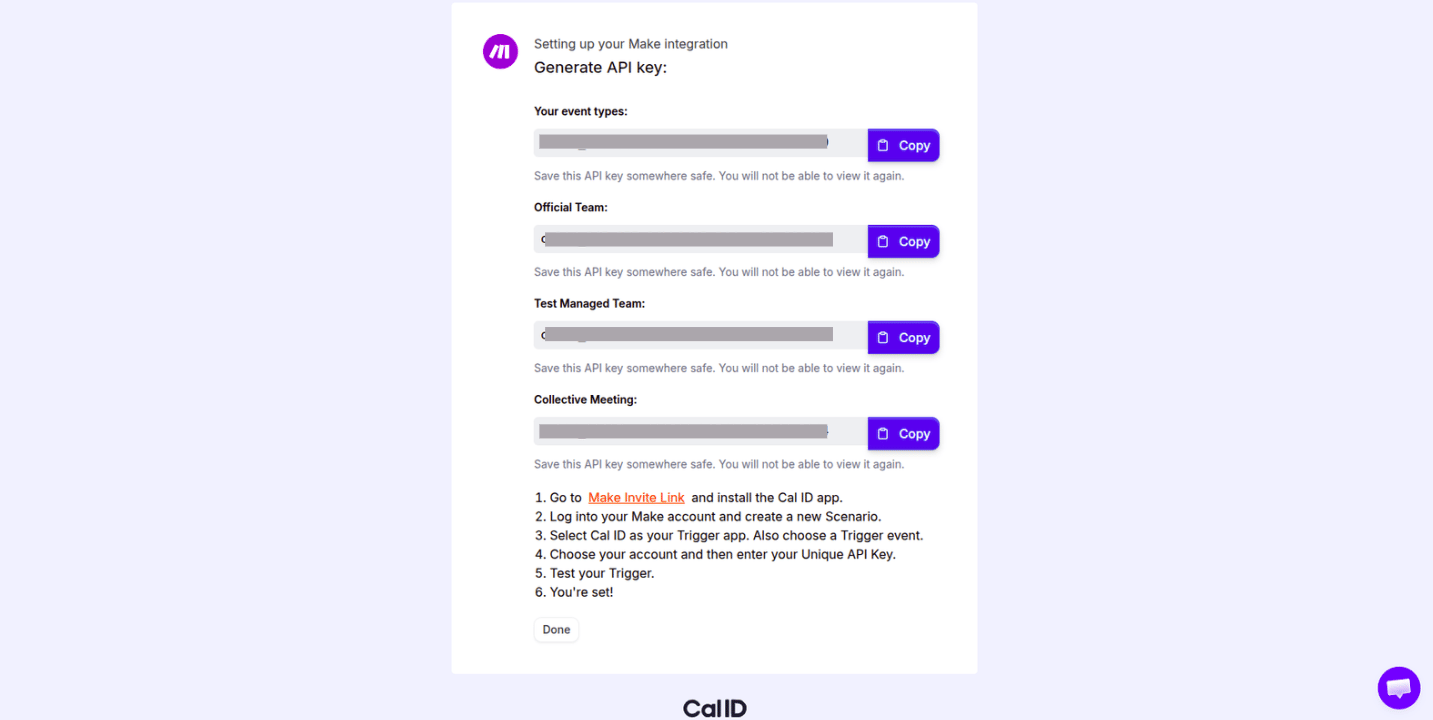
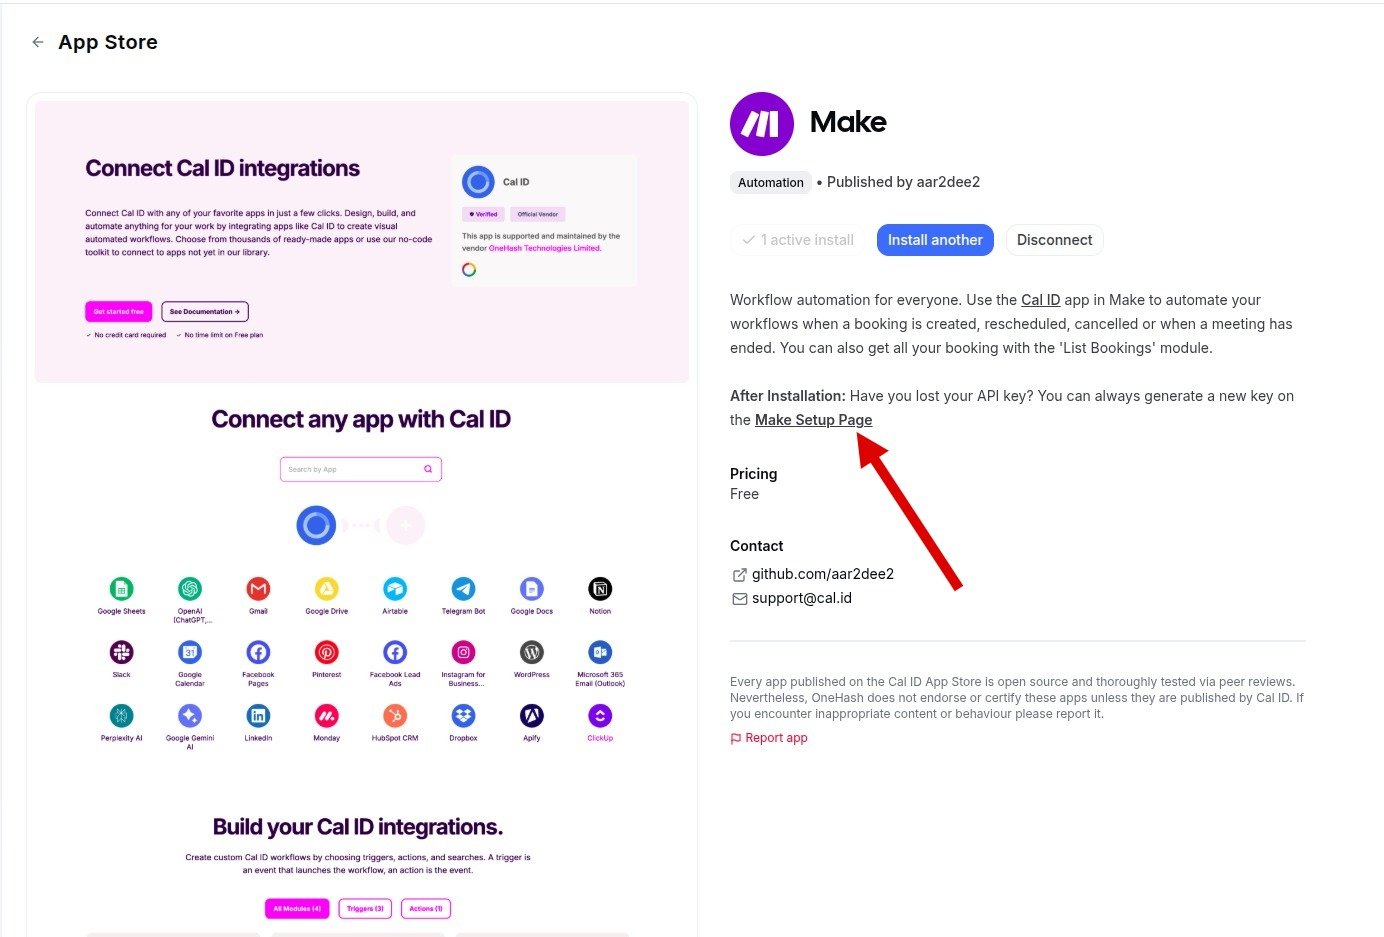
Connect Cal ID to Make with an API key so new bookings automatically trigger scenarios that send data to thousands of connected applications.
Make is an automation tool that connects Cal ID to thousands of other apps like Google Sheets, Slack, or your CRM. Set up this integration to send booking data to other platforms the moment a meeting is scheduled.
Make is one of several automation platforms Cal ID connects to. If you already build automations elsewhere, Zapier works the same way with an API key, and Pabbly uses webhooks instead.
Click the Create a new scenario button in the top right.
3
Add Cal ID
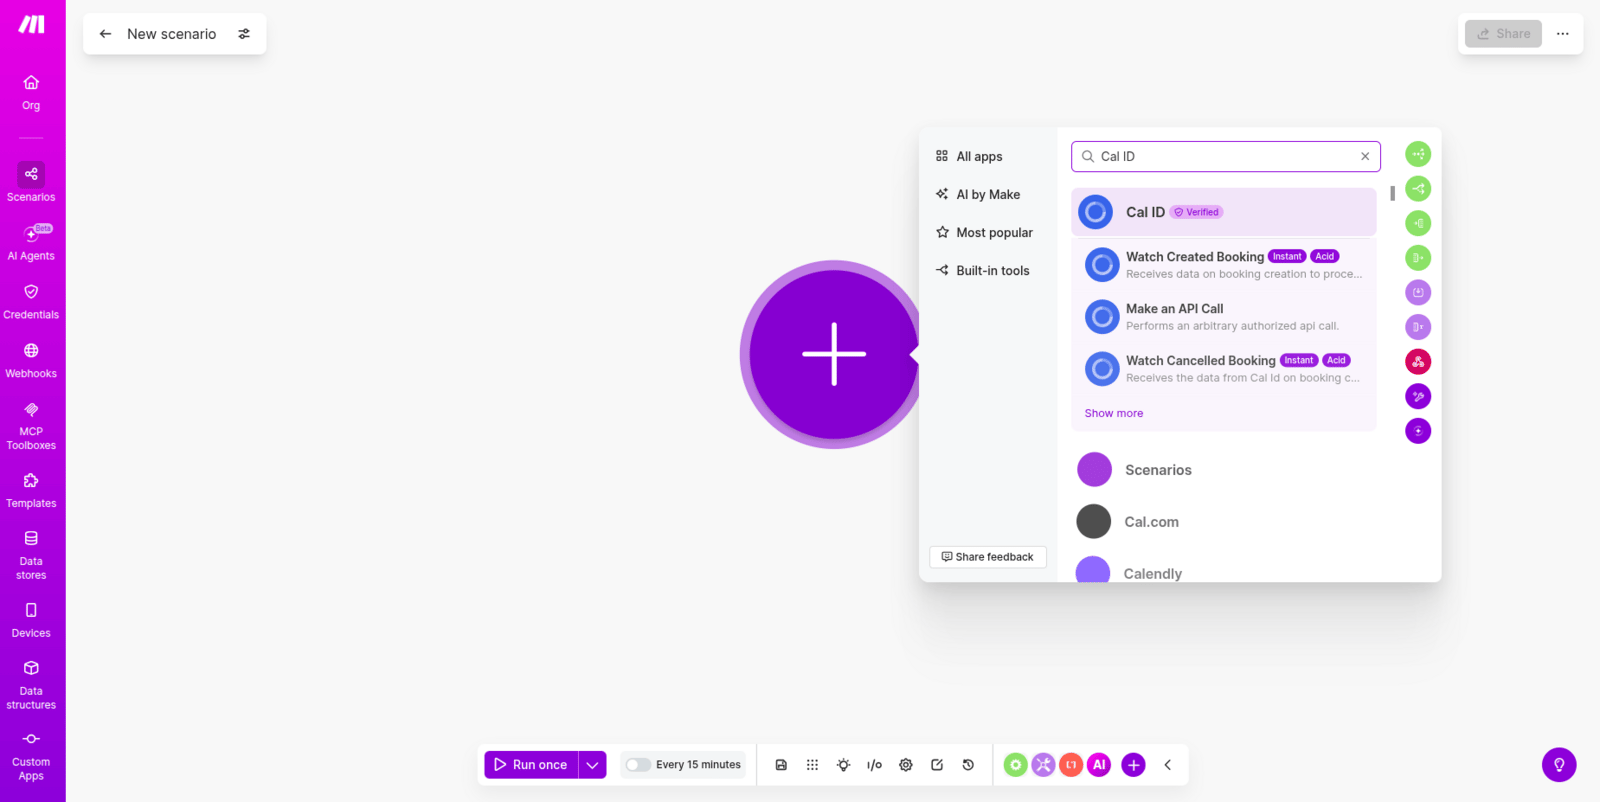
Click the large (+) button, search for “Cal ID,” and select it.
Picking Cal ID as the trigger app
4
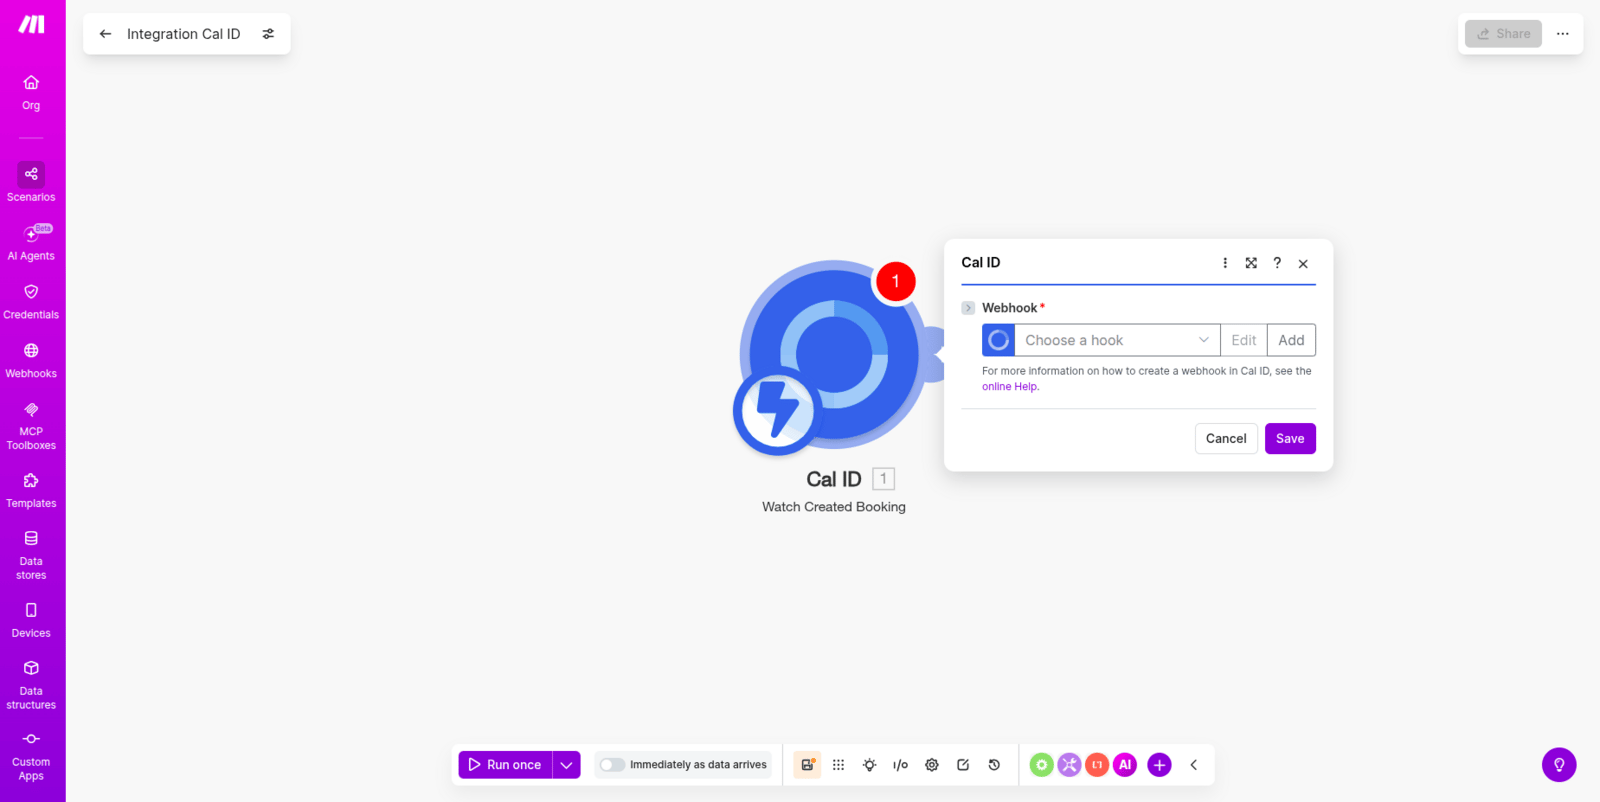
Choose a trigger
Select a trigger like “Watch New Bookings” (this tells Make to start the automation whenever someone books a call).
5
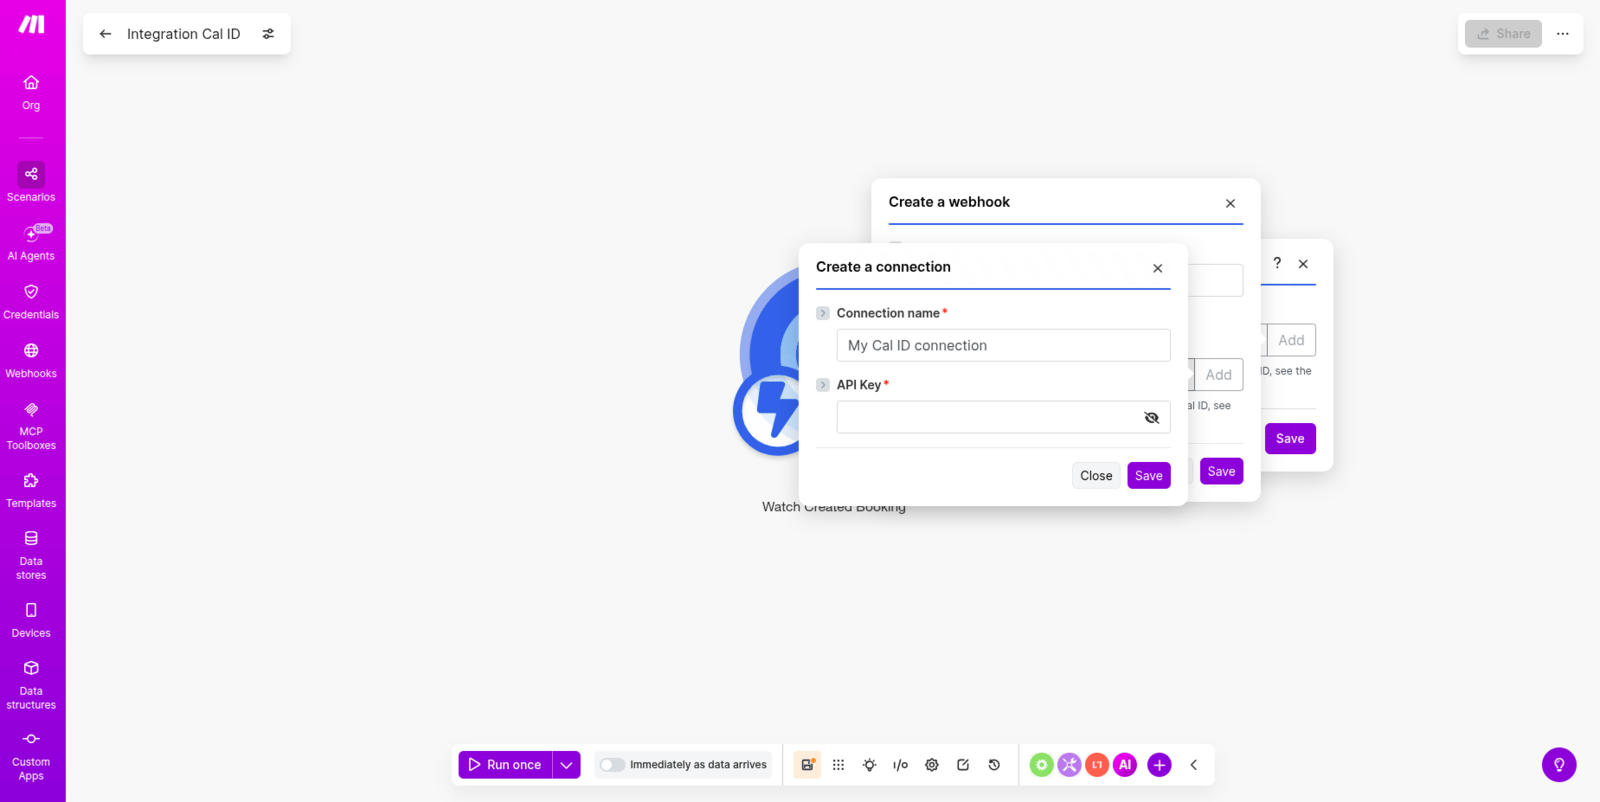
Add connection
Click the Add button in the module settings and paste the API Key you copied from Cal ID earlier, then click Save. Cal ID is now connected successfully with Make.