Open the booking link shared with you (e.g., cal.id/username). You’ll see all available event types (such as “Consultation,” “Discovery Call,” or “Technical Support”). Click the Schedule button on the event you want to book.
Choosing what kind of meeting to book
2
Select your date and time
Select a duration: If the host allows multiple lengths for the meeting (e.g., 15m or 30m), select your preferred duration from the options on the left side of the page.
Pick a date: Select an available date from the calendar.
Pick a time: Choose a specific time slot that works for you.
Adjust your timezone: Cal ID automatically detects your location and sets the booking to your local timezone by default. You can manually change it using the timezone dropdown on the left to ensure perfect coordination.
Picking a slot that works for you
3
Provide your details
Answer the specific questions the host has included to help prepare for the meeting.
Standard booking: For free meetings, click the Confirm button.
Payment (if applicable): If the host has set a fee, click Pay to Book to complete your payment securely via the integrated payment gateway.
Telling the host what they asked for
Paying to lock in the slot
4
Confirm your booking
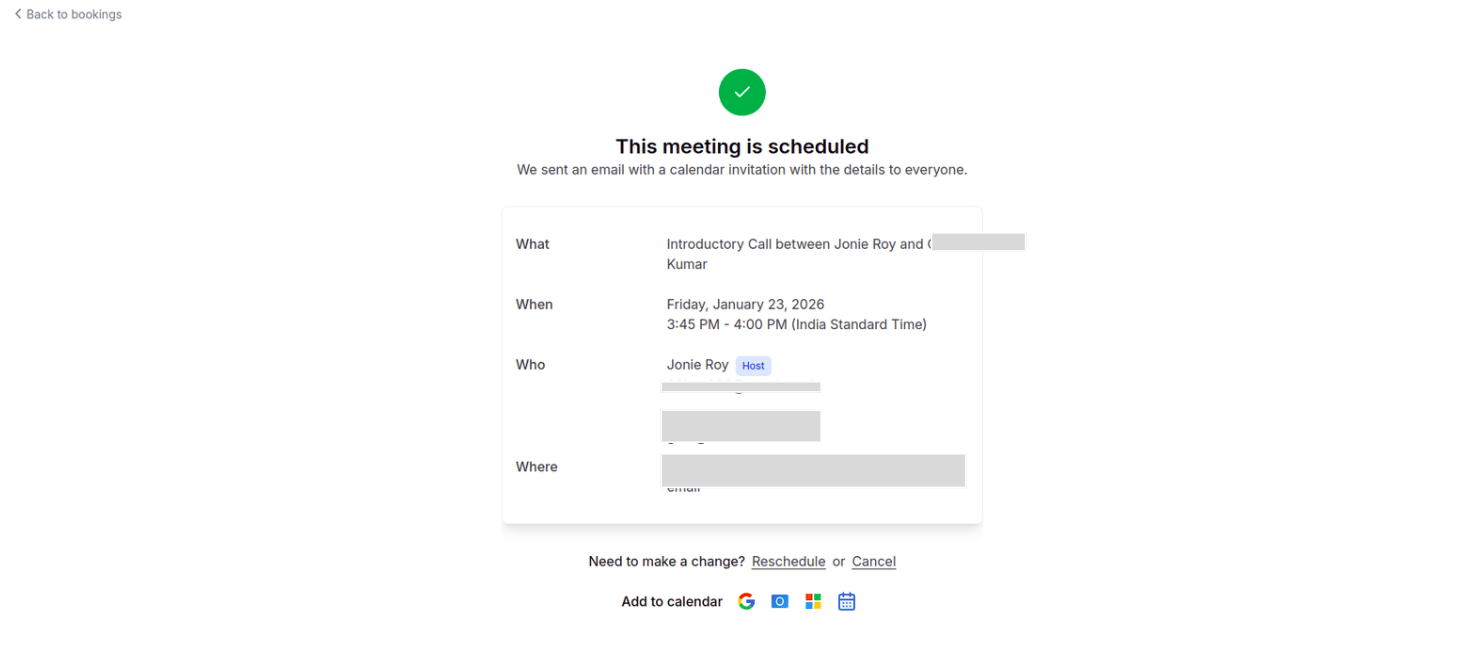
Instant confirmation: You’ll immediately see a “Booking Confirmed” page, and the Meeting URL (Zoom, Google Meet, etc.) will be sent directly to your confirmation email and added to your calendar invite.
Getting your meeting link straight away
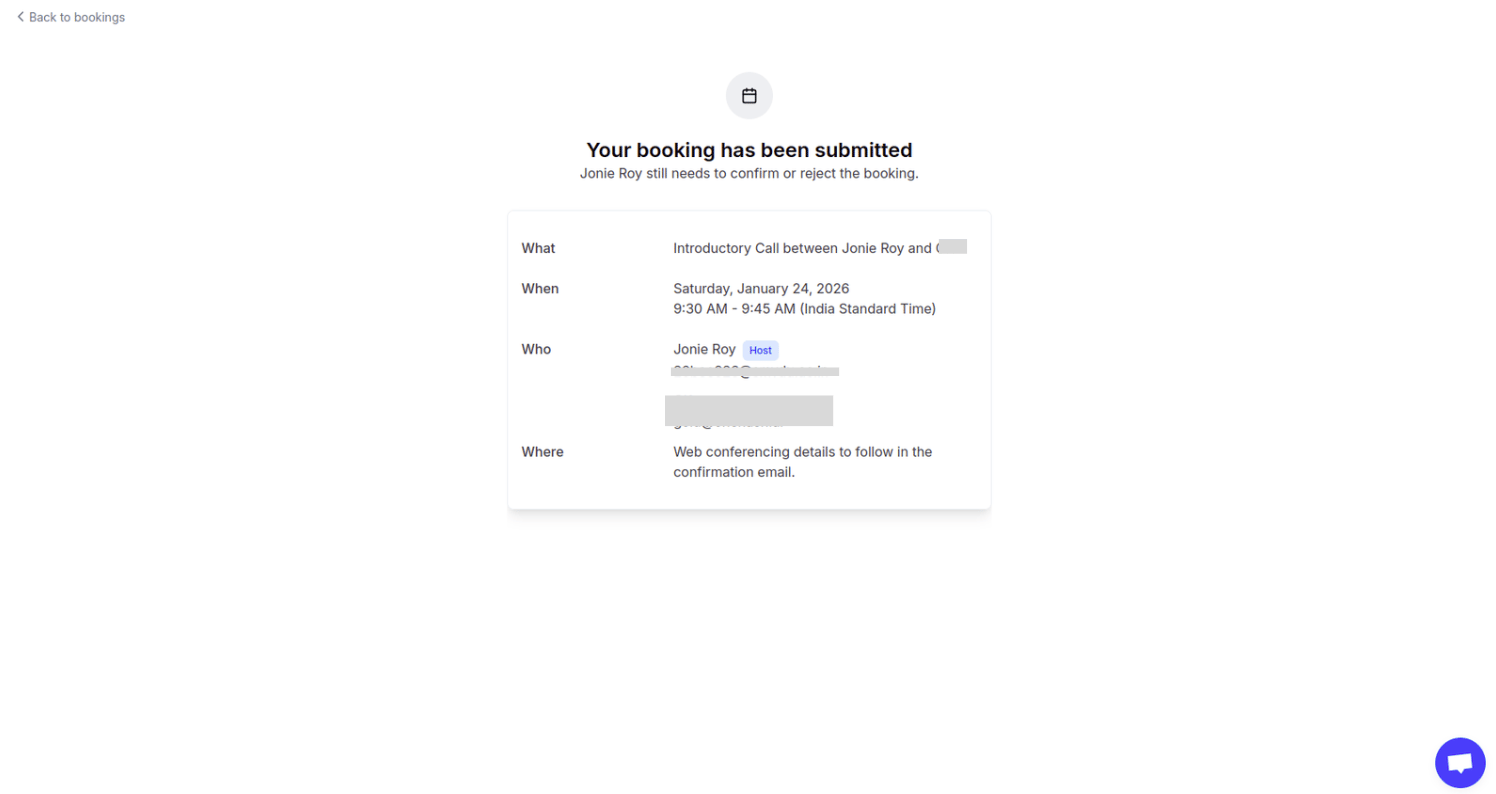
Requires confirmation: If the host has enabled “Requires Confirmation,” your booking is submitted as a request. You’ll receive a final confirmation or rejection email once the admin reviews it. Once confirmed, your Meeting URL is sent to your confirmation email and added to your calendar invite.
Waiting on the host to approve
You’re booked. Your spot is on the calendar and the meeting details are in your inbox.
Once your booking is finished, you can manage your appointment:
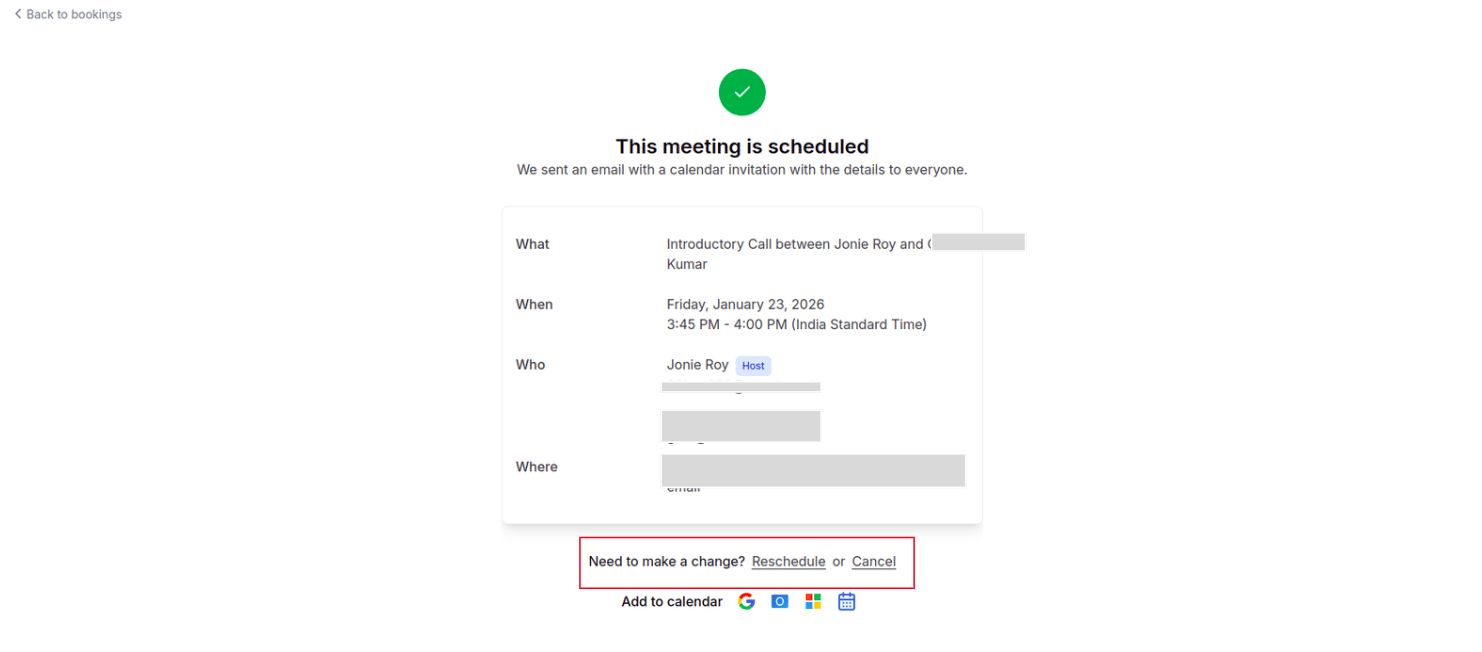
Two ways to manage: You can reschedule or cancel your meeting directly from the Booking Confirmation Page (shown right after you book) or through the Confirmation Email you receive in your inbox.
Changing your mind after booking
How to do it: Click the “Reschedule” or “Cancel” link provided in those locations to choose a new time or notify the host of a cancellation.
To maintain a steady schedule, some hosts disable cancellation and rescheduling. If you don’t see these options in your email or on the confirmation page, your booking is considered final, and you must contact the host directly for any changes.