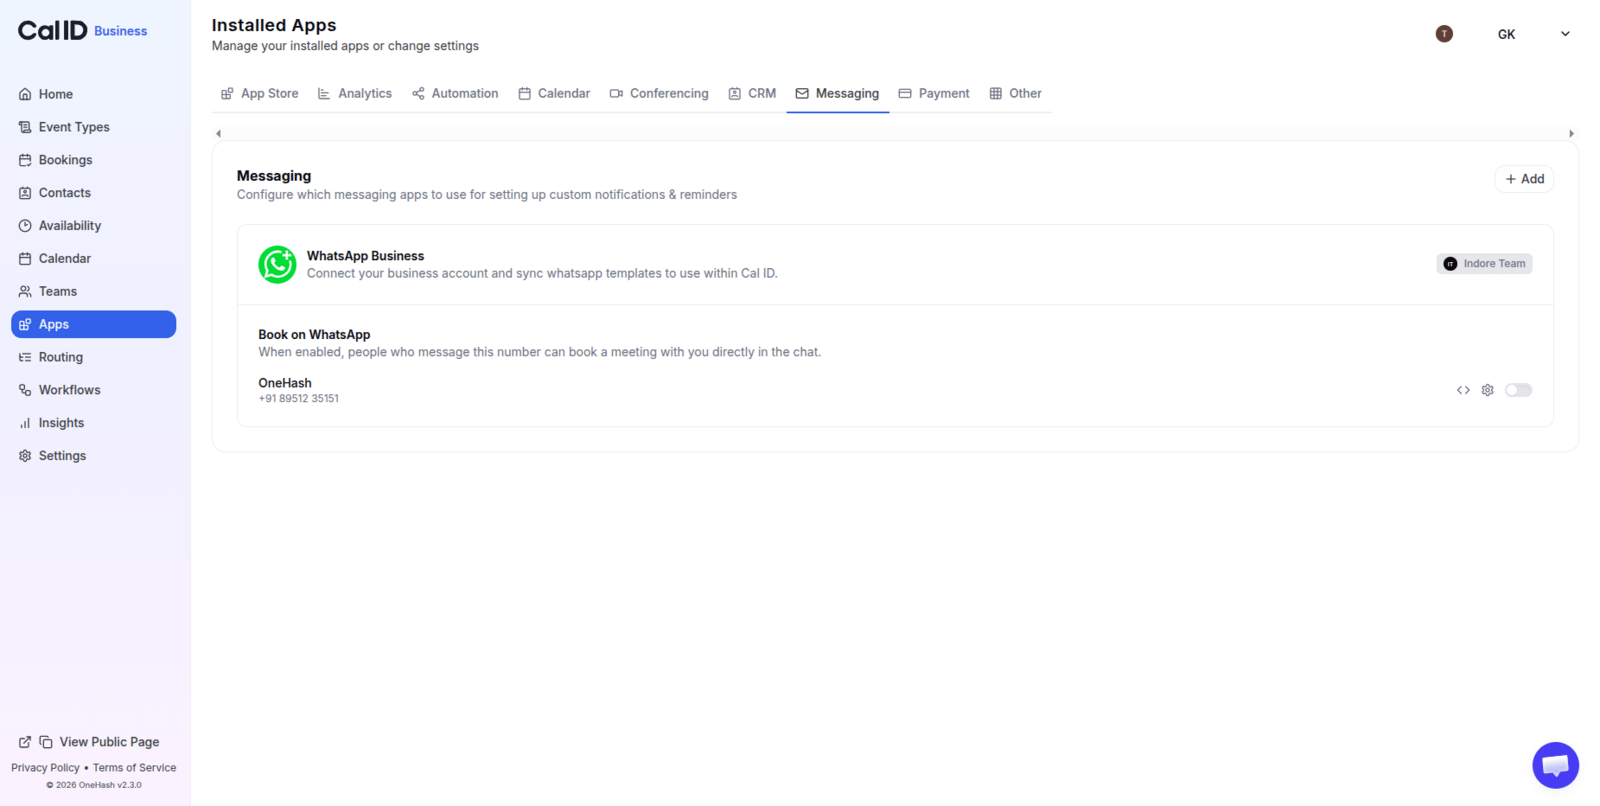
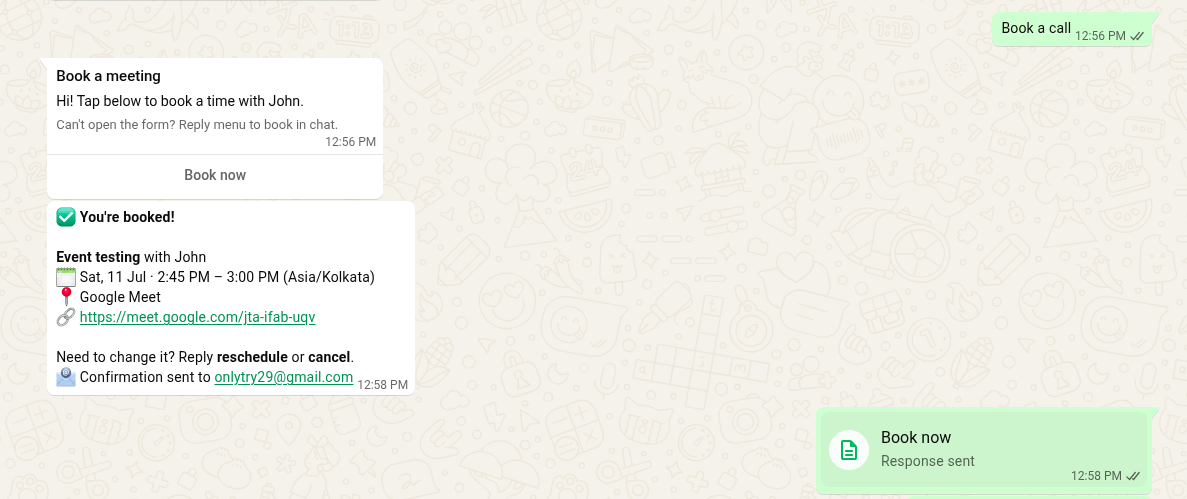
Let customers book, reschedule, and cancel Cal ID meetings inside a WhatsApp chat with Book on WhatsApp, without sending an external booking link.
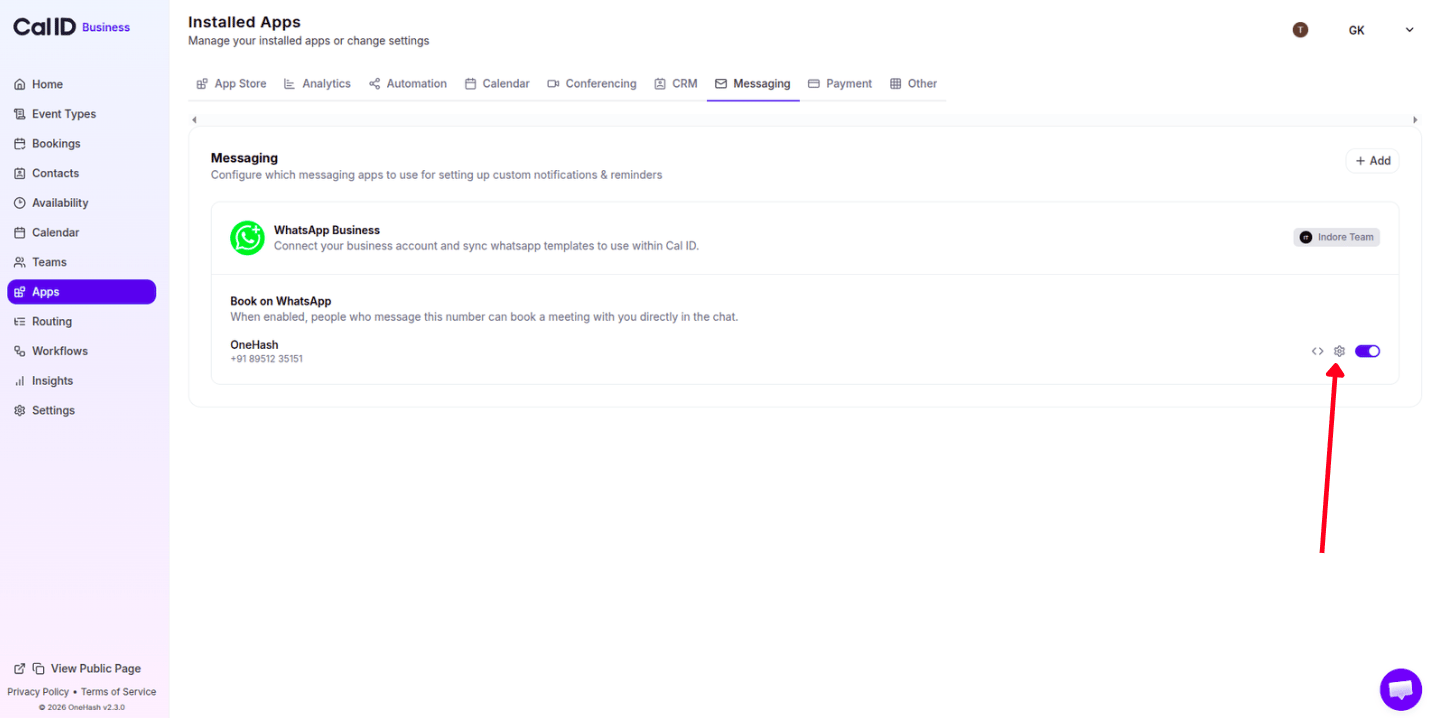
Book on WhatsApp Chat lets your customers schedule, reschedule, and cancel meetings directly in a WhatsApp conversation, with no external booking page. Instead of sending a link like cal.id/your-name, customers complete the whole booking inside WhatsApp.
When a customer messages your WhatsApp Business account, they can book in a few steps:
1
Open a chat
The customer opens a chat with your WhatsApp Business number.
2
Send a prompt
They send a prompt such as “Book a call”.
3
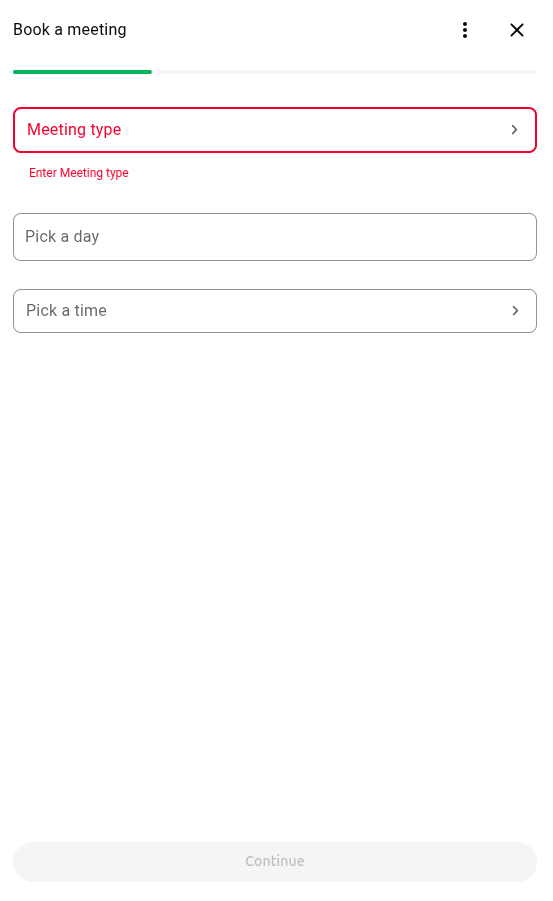
Select the event type
They pick which event type they want to book.
4
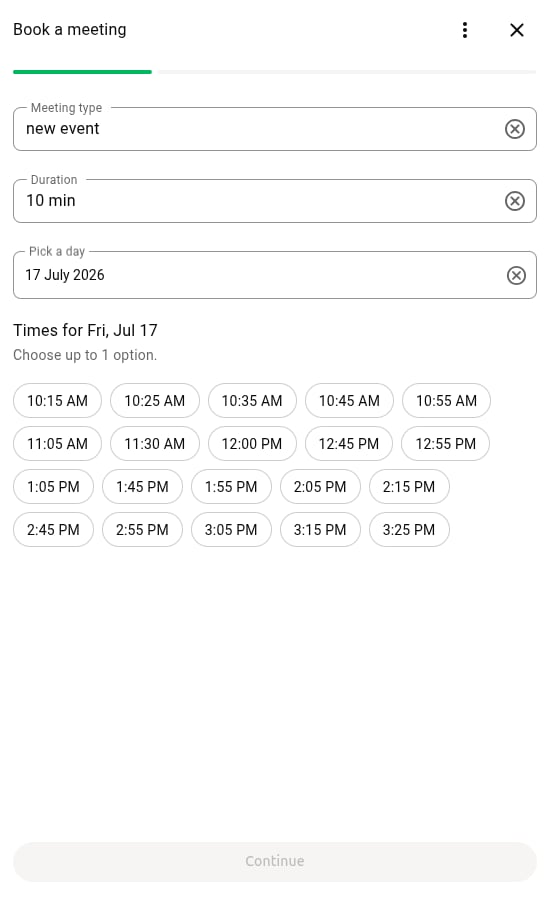
Choose a date and time
They select an available date and time slot.
5
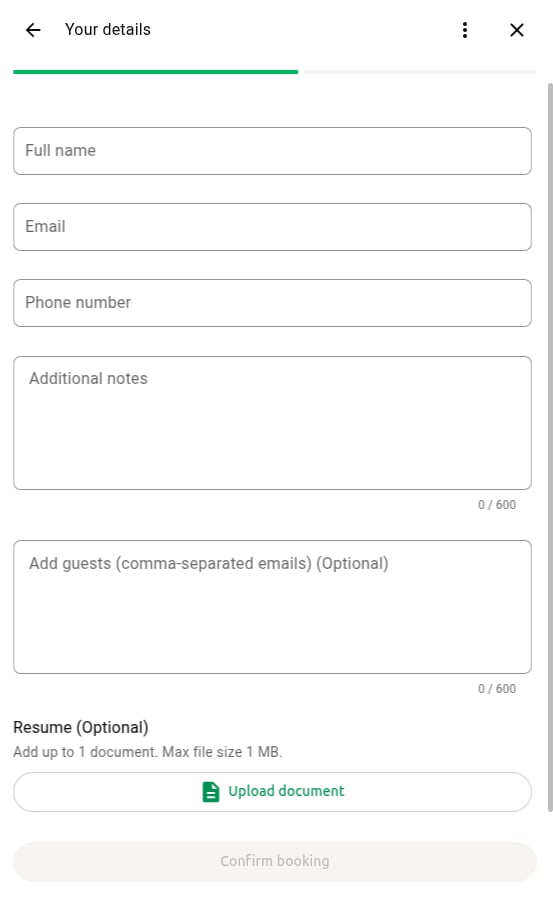
Fill in the booking questions
They answer the questions attached to that event type.
6
Confirm
They confirm the booking.
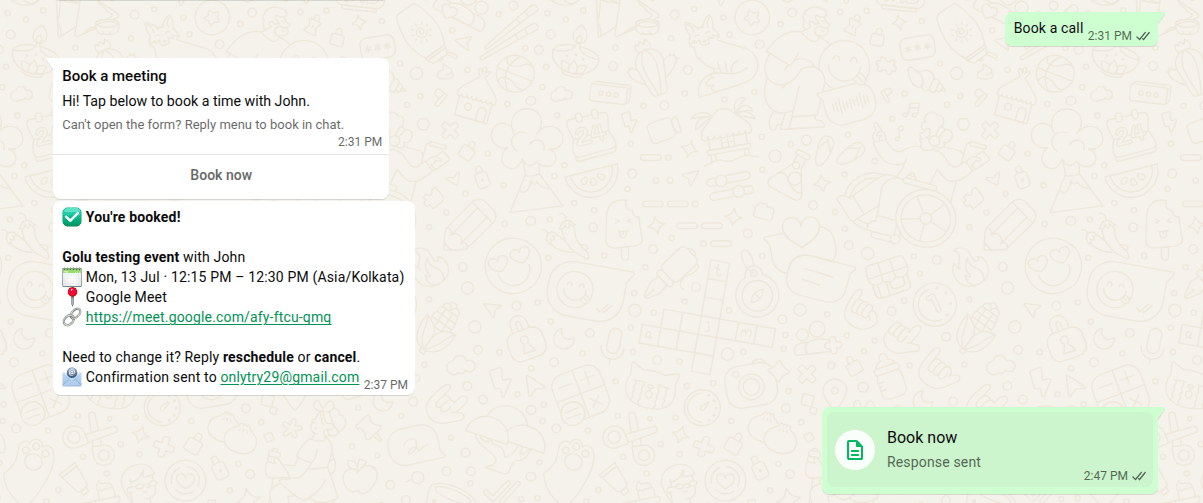
Once confirmed, the meeting is created in Cal ID, the attendee gets a confirmation card in WhatsApp, and both host and attendee get a confirmation email with the event name, date and time, and location (Google Meet, Zoom, Teams, or in person) — all without leaving WhatsApp.
Make sure your WhatsApp Business account is integrated with Cal ID and active, and that you have at least one active event type. See Integrate WhatsApp Business for the full setup.
The customer taps the booking button, and the scheduling views open natively in WhatsApp. They select the event type, date, and time, enter their details, and confirm.
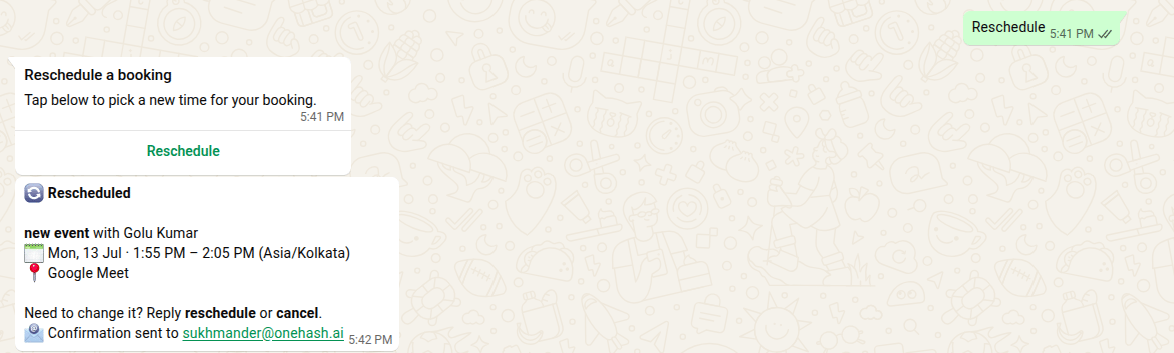
Customers manage bookings with text commands, with no dashboard login.Reschedule: the customer sends “Reschedule my booking”. The bot shows upcoming bookings, and the customer taps one and picks a new slot.
Rescheduling a booking from a WhatsApp chat
Cancel: the customer sends “Cancel my booking”. The bot shows active bookings, and the customer taps one to cancel.
Cancelling a booking from a WhatsApp chat
After any change, the attendee gets an updated confirmation card.
Confirming the change went through
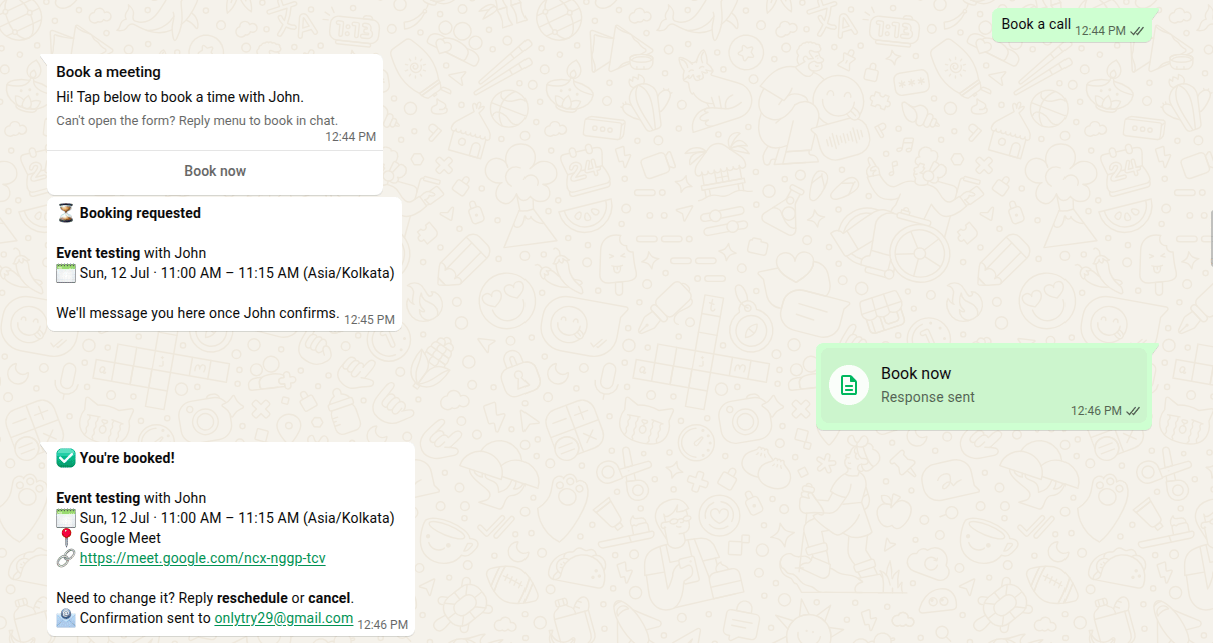
If your event type requires confirmation, the attendee sees a Booking requested status first.
Waiting on host approval
Once confirmed, a receipt card shows the event and host name, date, time and timezone, location or video link, attendee details, and status.