

View a booking’s details
1
Navigate to Bookings
Click the Bookings tab in the left-hand sidebar.
2
Choose a category
Select Upcoming, Past, Unconfirmed, or Cancelled at the top of the page.
3
Locate the booking
Find the specific event you want to review (for example, an “Interview” or “Personality” session).
4
Expand details
Click the Details arrow on the right side of the booking entry to reveal the full information panel.
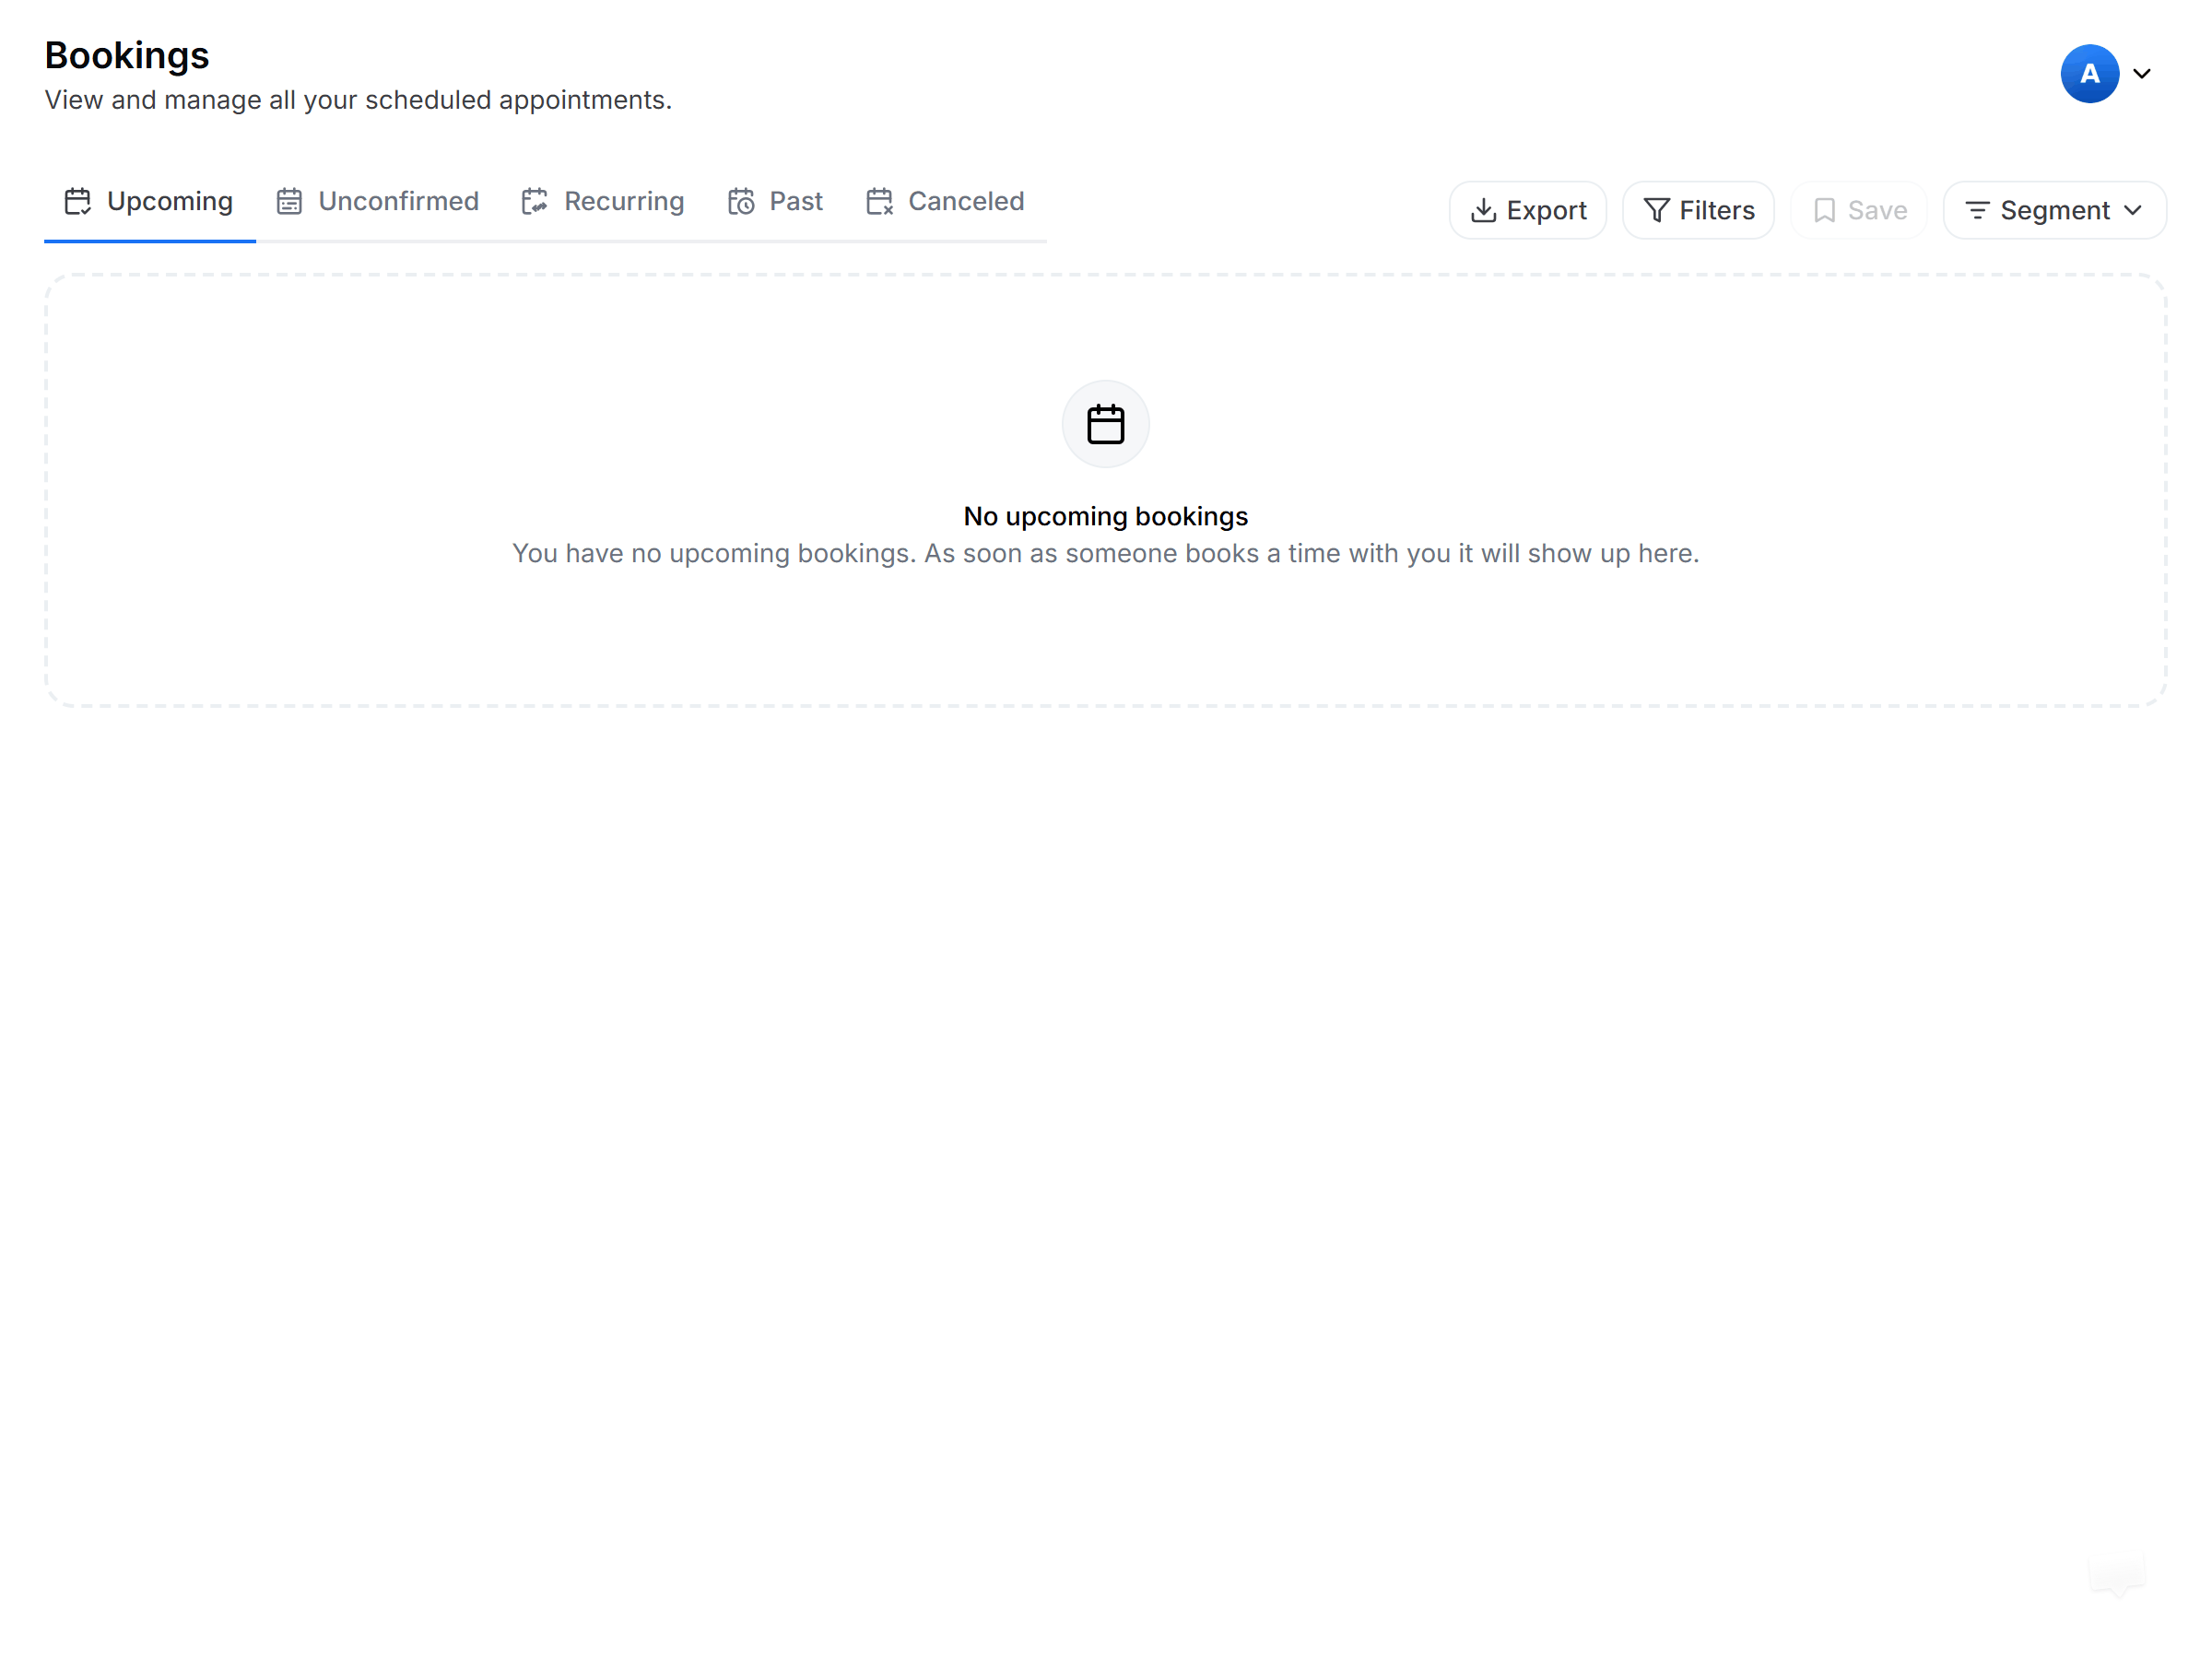
Scanning your schedule at a glance
Understanding booking categories
Each tab groups your bookings by their current state:Information available in details
Once you expand a booking, you can view and manage several key parameters:- Attendee details: View the booker’s name, email address, and their local timezone, along with any guests added to the booking.
- Meeting links: Access direct links to join the meeting, such as Google Meet.
- Workflow status: Check if any automated notifications or reminders have been triggered for this specific booking.
- Attendance management: For past bookings, you can use this section to Mark no-show or Unmark no-show.
- Meeting notes: View or add internal documentation relevant to that specific session.
Reschedule or cancel a booking
You can move or cancel any upcoming booking directly from the details panel.1
Open the booking
In the Upcoming tab, expand the booking’s Details panel.
2
Choose an action
Click Reschedule to pick a new time slot, or Cancel event to end the booking. Add an optional reason if prompted.
3
Confirm
Save the new time or confirm the cancellation.
What happens to the attendee. A reschedule or cancellation does not require the attendee to re-accept the meeting. Cal ID sends them an updated email automatically, moves the event on any connected calendar, and fires the
BOOKING_RESCHEDULED or BOOKING_CANCELLED webhook. The booking stays under Upcoming at its new time, or moves to Cancelled if you cancelled it. There is no separate “attendee confirmed” state to track after an organizer-initiated reschedule. If you need a paper trail that the attendee saw the change, ask them to reply to the update email, or check their RSVP status on your connected calendar.If Disable rescheduling or Disable cancelling is turned on for the event type, the buttons are hidden for both the host and the booker. See Disable rescheduling and cancelling.
What else you can do with a booking
Export booking details
Generate a CSV or Excel file of your booking data for reporting and analysis.
Mark attendees as no-show
Keep your history accurate by flagging attendees who didn’t appear.
Check workflow status
See whether every reminder and notification reached your attendees.
Booking performance
Analyze trends across your bookings in the Insights dashboard.