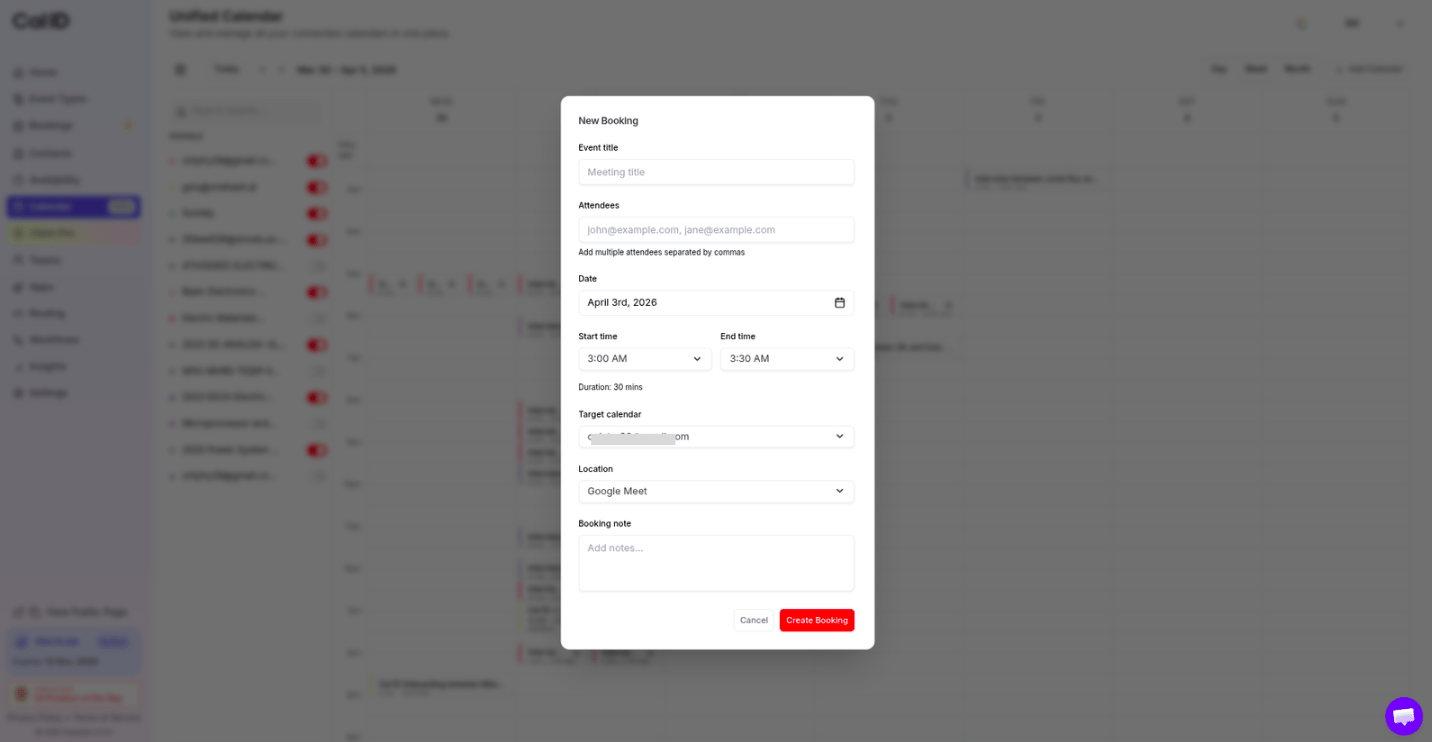
Use the Cal ID Unified Calendar to view, create, edit, and join meetings across all of your connected Google and Outlook calendars in one single place.
The Unified Calendar is your central hub for managing every appointment in one place. It brings together all your connected Google and Outlook calendars so you can view, create, edit, and join meetings without switching between platforms.
Syncing appointments: When you first enable calendar sync, Cal ID automatically pulls in all your meetings from the past 30 days and all upcoming meetings for the next 90 days.
Viewing options: Toggle between Day, Week, and Month views using the buttons in the top right corner to suit your planning style.
Manage multiple calendars: All your integrated Google and Outlook calendars appear in the left sidebar. Toggle them on or off to choose which events you want to see at any time.
Search for events: Use the search bar at the top left of the calendar to quickly find specific meetings by name.
Seeing every calendar in one view
Add new calendars: Connect additional calendars by clicking + Add Calendar in the top right corner of the calendar view.
Personalize your view by clicking the color circle next to a calendar’s name in the left sidebar to change its display color.
You have full control over your scheduled meetings directly within the calendar view.
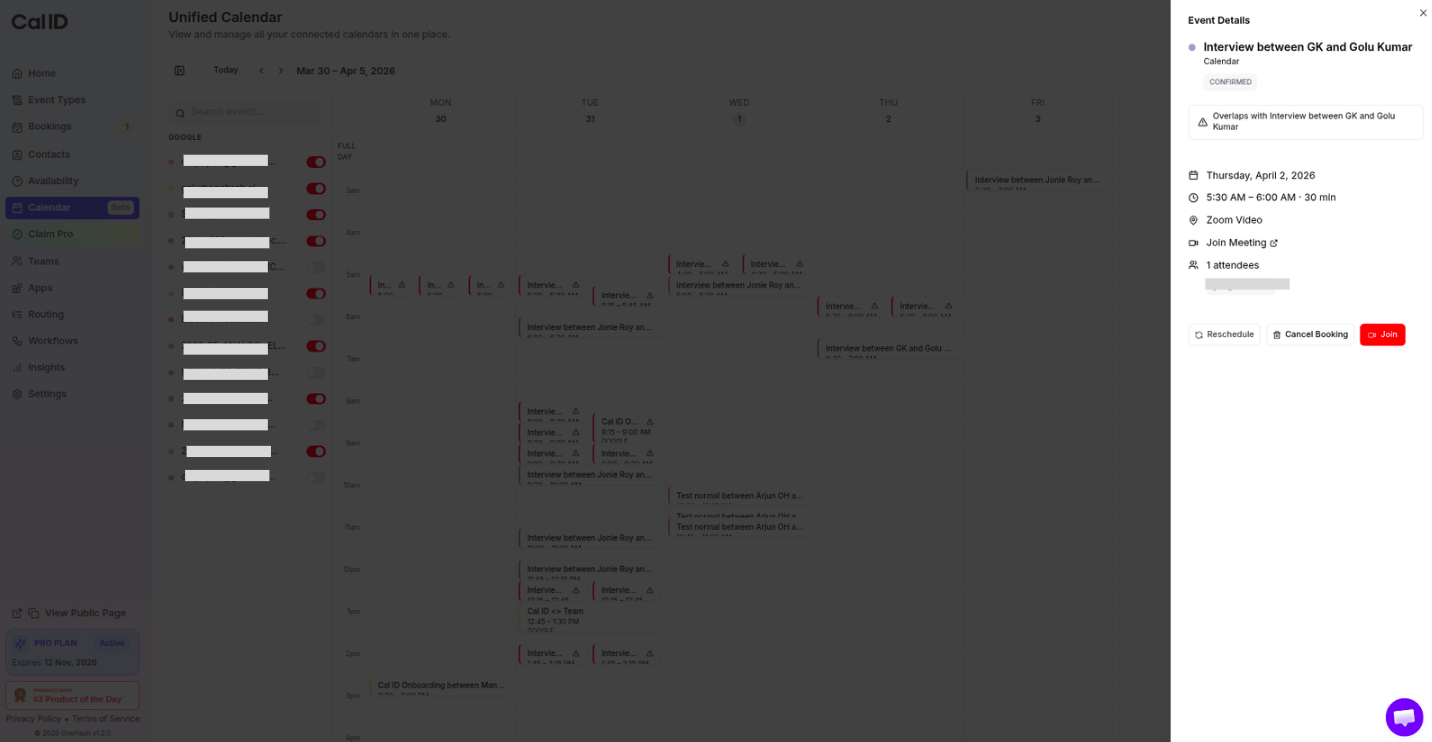
View details: Click on any existing booking to open the Event Details panel, which shows the time, attendees, and location.
Checking who is coming and where
Join meetings: In the Event Details panel, click Join to enter your call immediately.
Reschedule via drag-and-drop: Reschedule a meeting by clicking and holding the booking, then dragging it to a new time slot. Once you drop it, the attendee automatically receives a rescheduling email.
Reschedule or cancel: Alternatively, click the booking to open the Event Details panel and click Reschedule or Cancel Booking at the bottom of the panel.
Your attendees are always kept in the loop: Cal ID sends automatic emails whenever you reschedule or cancel a booking.