

These controls are available to Team Owners and Admins only. Regular members won’t see the Settings tab.
Access team settings
1
Log in to Cal ID
Open your account dashboard.
2
Go to Teams
Click the Teams icon in the left-hand sidebar.
3
Edit your team
Locate your team, click the three horizontal dots next to its name, and select Edit team.
4
Open Settings
Click the Settings tab at the top.
Available settings
Feature breakdown
User impersonation
Switch User impersonation to ON to let the Owners or Admins of your team log in temporarily as another member. Administrative roles can then access a member’s Cal ID interface to view their configuration or make necessary changes on their behalf.Delegate booking management
Use impersonation when someone needs to schedule and manage meetings on your behalf, such as an assistant booking events that you host:- Create a team and invite your delegate with the Admin role. Admin and Owner are the only roles that can impersonate.
- Switch User impersonation to ON in the team’s Settings tab.
- Your delegate can then log in as you to create, reschedule, or cancel bookings from your account. You remain the host on those bookings even if the delegate doesn’t attend the meeting.
Impersonation is a team feature, so both accounts must belong to the same Cal ID team.
Private team
Switch Private team to ON to hide the team roster from non-administrative members. When it is on:- Team members will not be able to see each other.
- Members who attempt to view the roster will see a message stating: “Only admins can see members of this team.”
Limit booking frequency
Prevents your team from being overbooked by limiting how many appointments a member can take within a specific timeframe. Switch Limit booking frequency to ON to activate the restriction.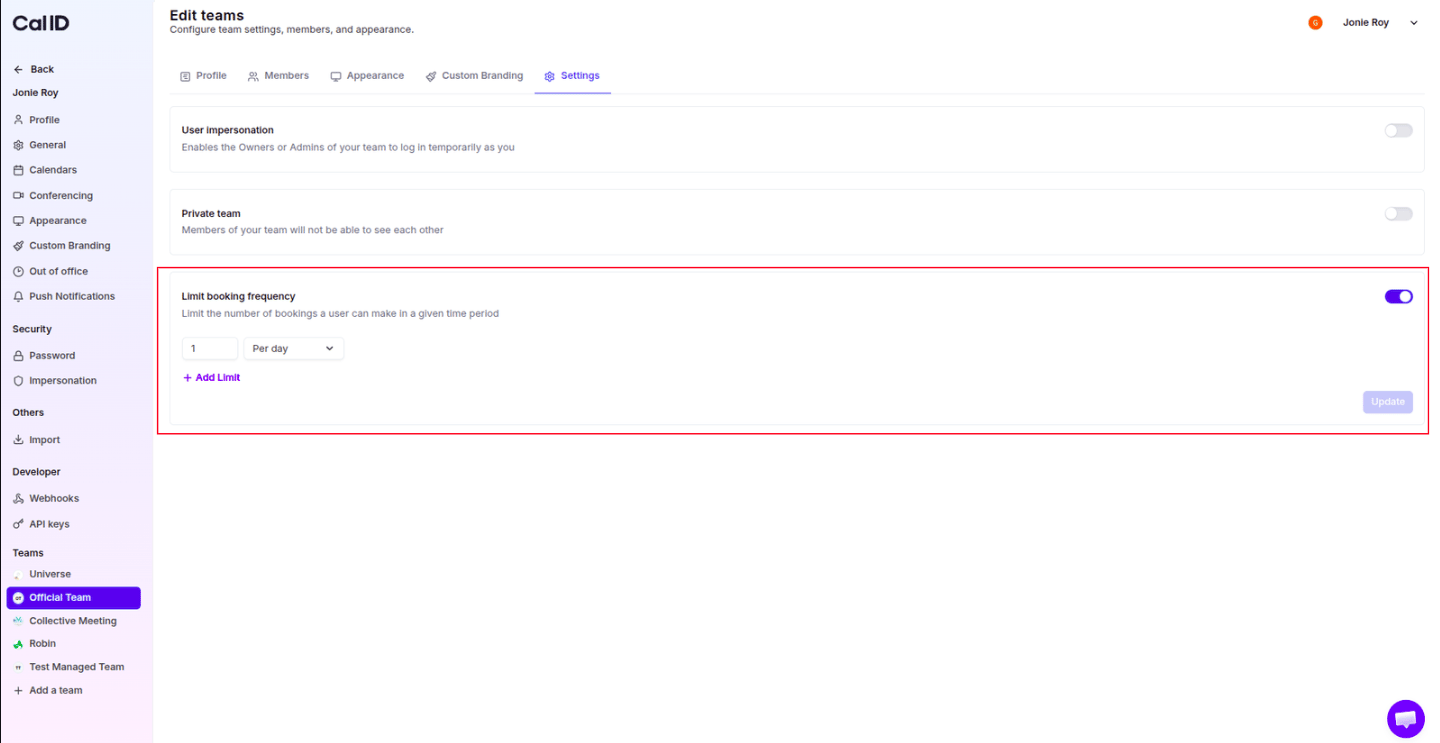
Capping how often members get booked
- Set the Count: Enter a number (e.g., 1) to define the maximum bookings allowed.
- Set the Interval: Choose the timeframe from the dropdown menu (e.g., Per day, Per week, or Per month).
- Multiple Limits: Click + Add Limit to set tiered restrictions (for example, 1 booking per day AND 3 bookings per week).
More team administration
Team Profile
Edit the team’s name, bio, and logo, or disband the team.
Teams in Cal ID
Review how teams share availability and distribute bookings.
Invite Team Members
Add new members and assign their roles.
Managed Events
Push consistent event types to every team member.