

Only Owners or Admins have permission to change these settings or disband a team.
Edit team settings
1
Log in to Cal ID
Access your account dashboard.
2
Go to Teams
Click on the Teams icon in the left-hand sidebar.
3
Access the team menu
Locate the team you want to edit and click on the three horizontal dots next to the team name.
4
Open the edit page
Select Edit team from the dropdown menu.
5
Edit the profile
- Team Name — modify the name of your team in the Team Name field.
- Bio — add or update the description for your team in the Bio editor.
- Profile Picture (Logo) — click Upload logo to add a branded image for the team. In the modal that appears, click Choose a file to select an image from your computer (at most 5MB in size), then click Save.
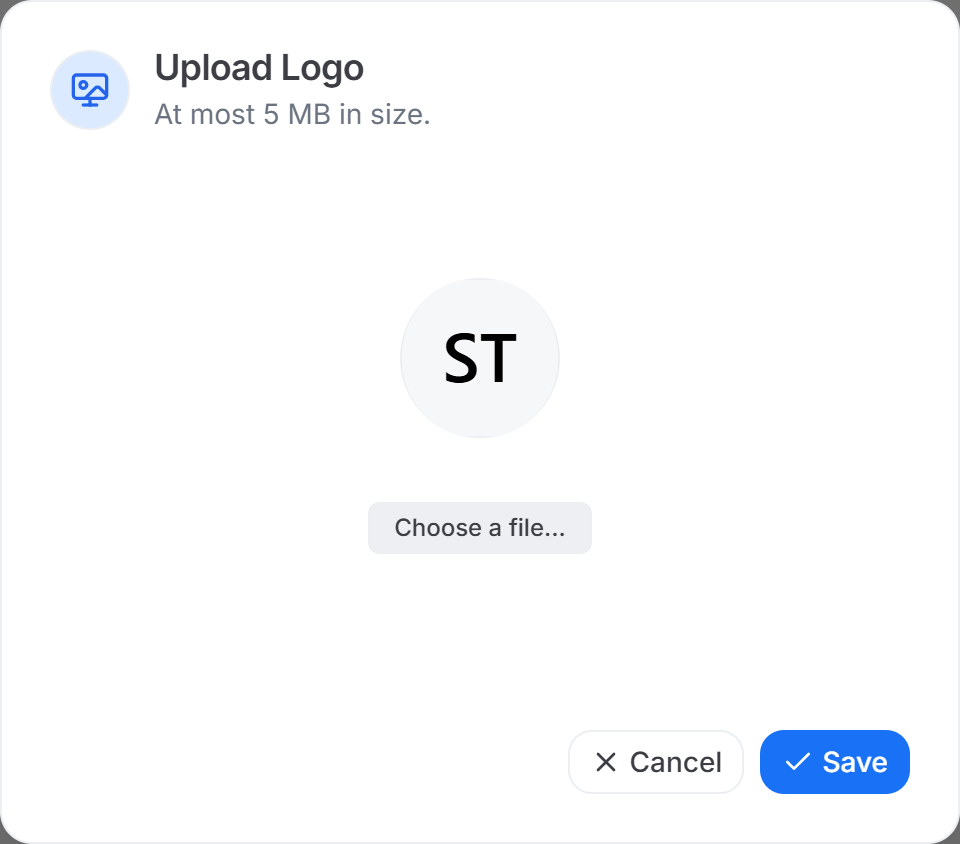
Putting your brand on the team
6
Save changes
Click the Update button at the bottom of the page to save your new settings.
Disband (delete) a team
1
Open the edit page
Follow steps 1-4 from the section above to reach the Edit team page.
2
Locate the Danger zone
Scroll to the bottom of the page to find the Danger zone section.
3
Disband
Click the red Disband team button in the Danger zone.
4
Confirm
Follow the on-screen prompts to permanently delete the team.
More team configuration
Team Advanced Settings
Control privacy, impersonation, and booking limits.
Invite Team Members
Add new members and assign their roles.
Custom Branding
Apply your brand to the team’s booking pages.
Team Appearance
Adjust how your team page looks.