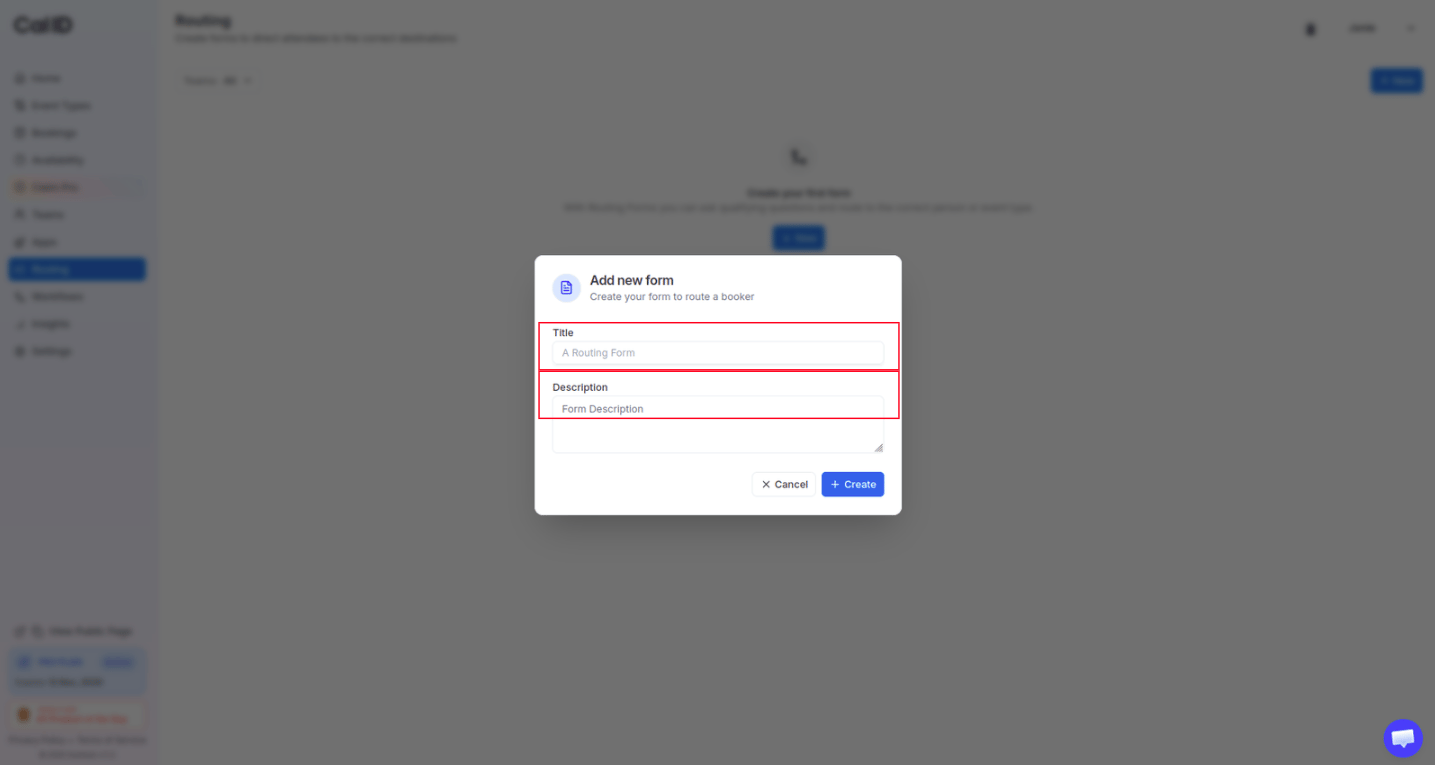
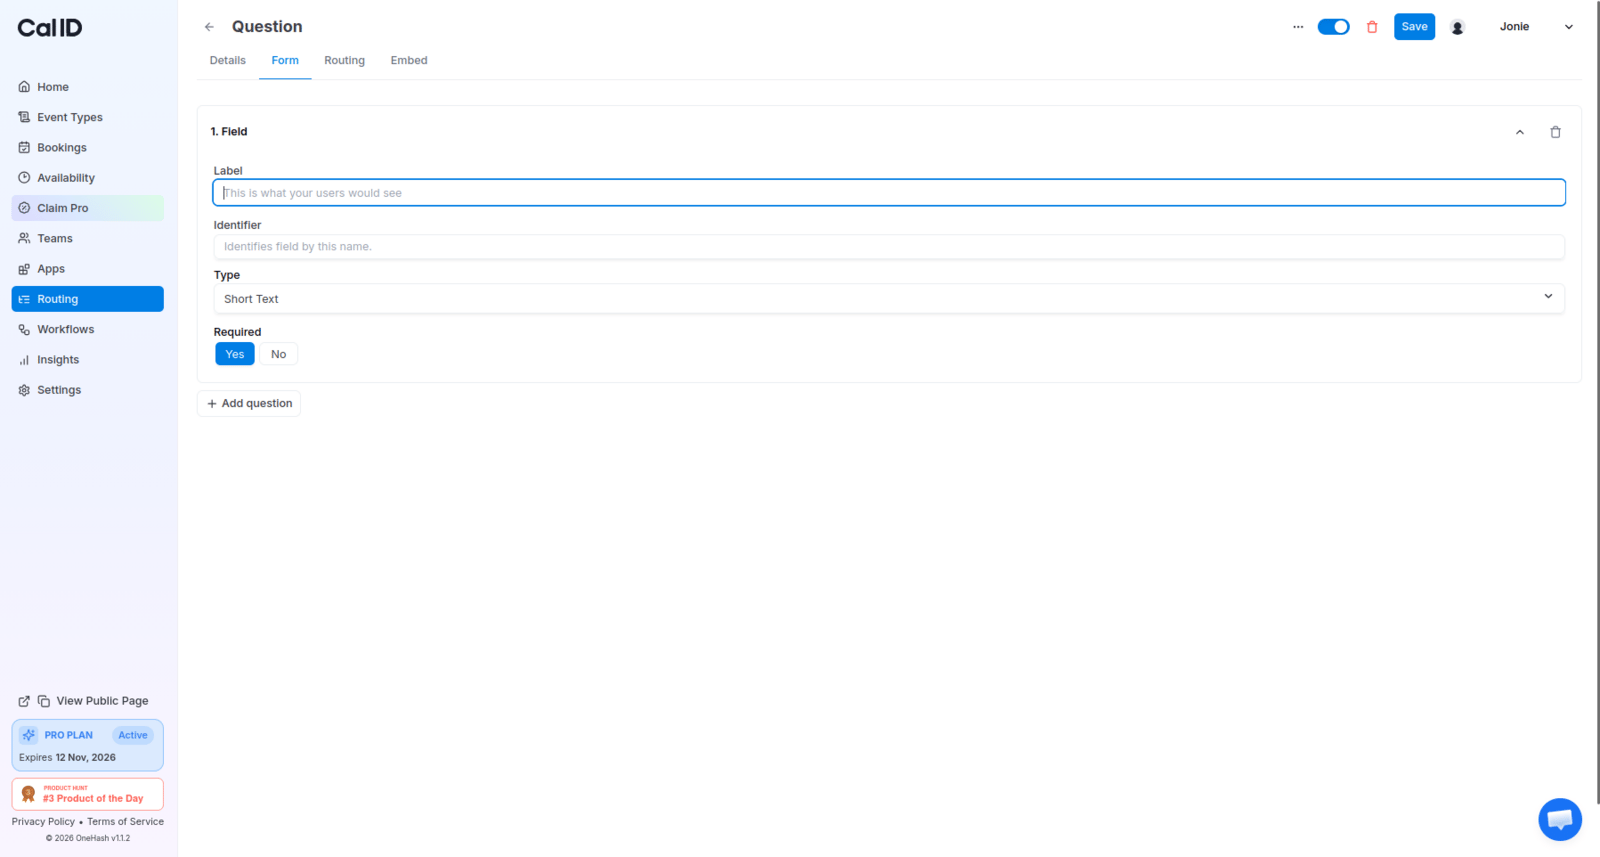
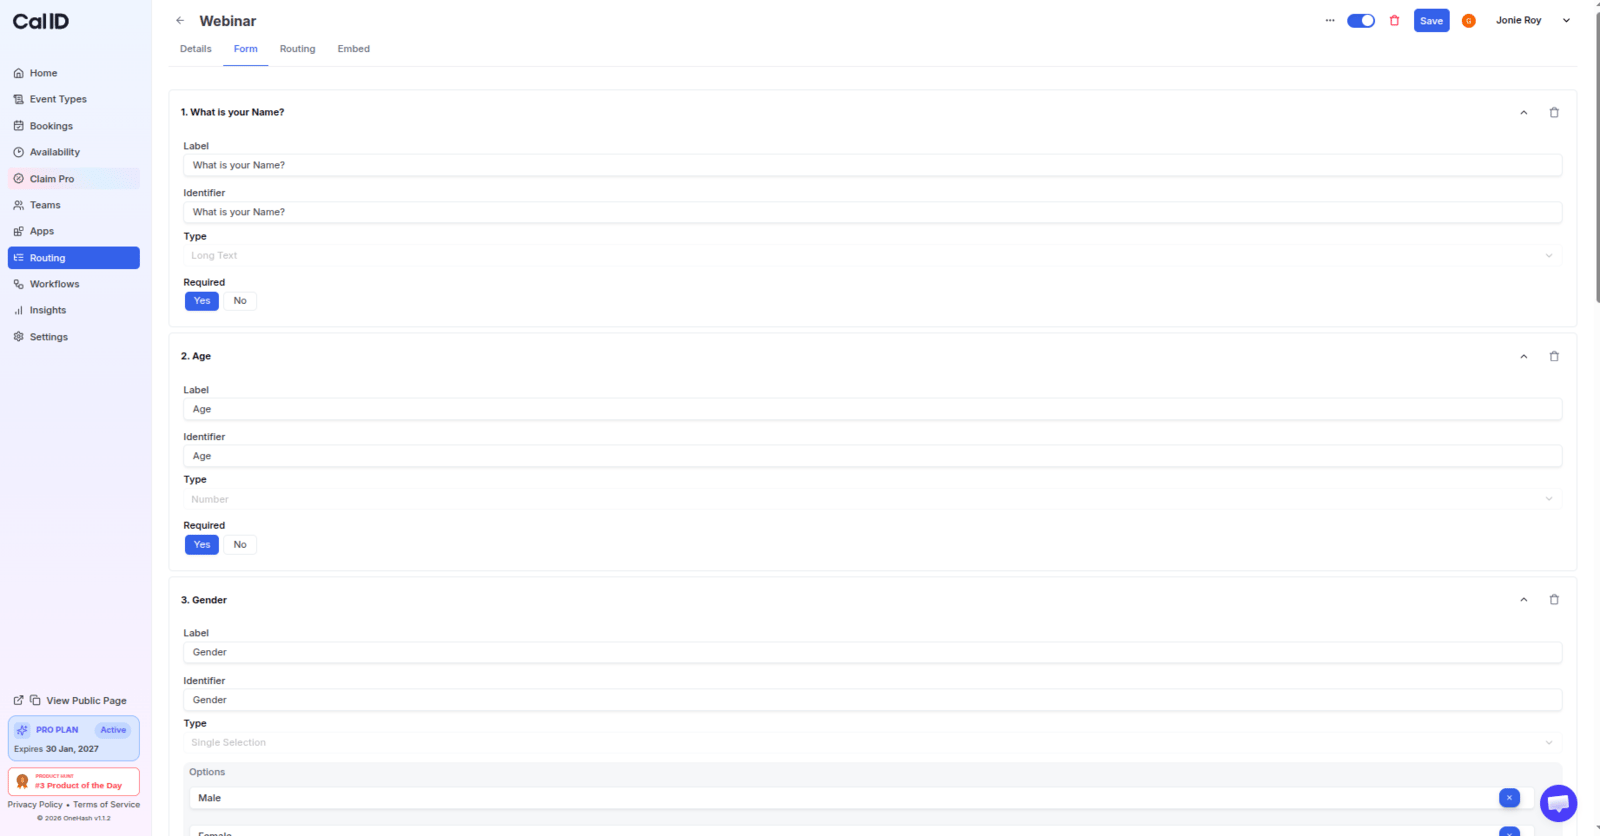
Build a Cal ID routing form that asks a few qualifying questions and automatically directs bookers to the right person, event type, or external URL.
Cal ID’s Routing Forms help people quickly book the right appointment with the right person.It works by asking the booker a few questions. Based on their answers, the system automatically directs them to the correct person, a specific event, or an external website — saving time for everyone and avoiding mistakes like booking with the wrong person or choosing the wrong type of meeting.
Routing rules read the booker’s answers and match them against conditions you define. A qualified lead can be sent straight to a specific event type or a team’s round-robin queue, while everyone else falls through to a fallback route — so the right people always land on the right booking page.
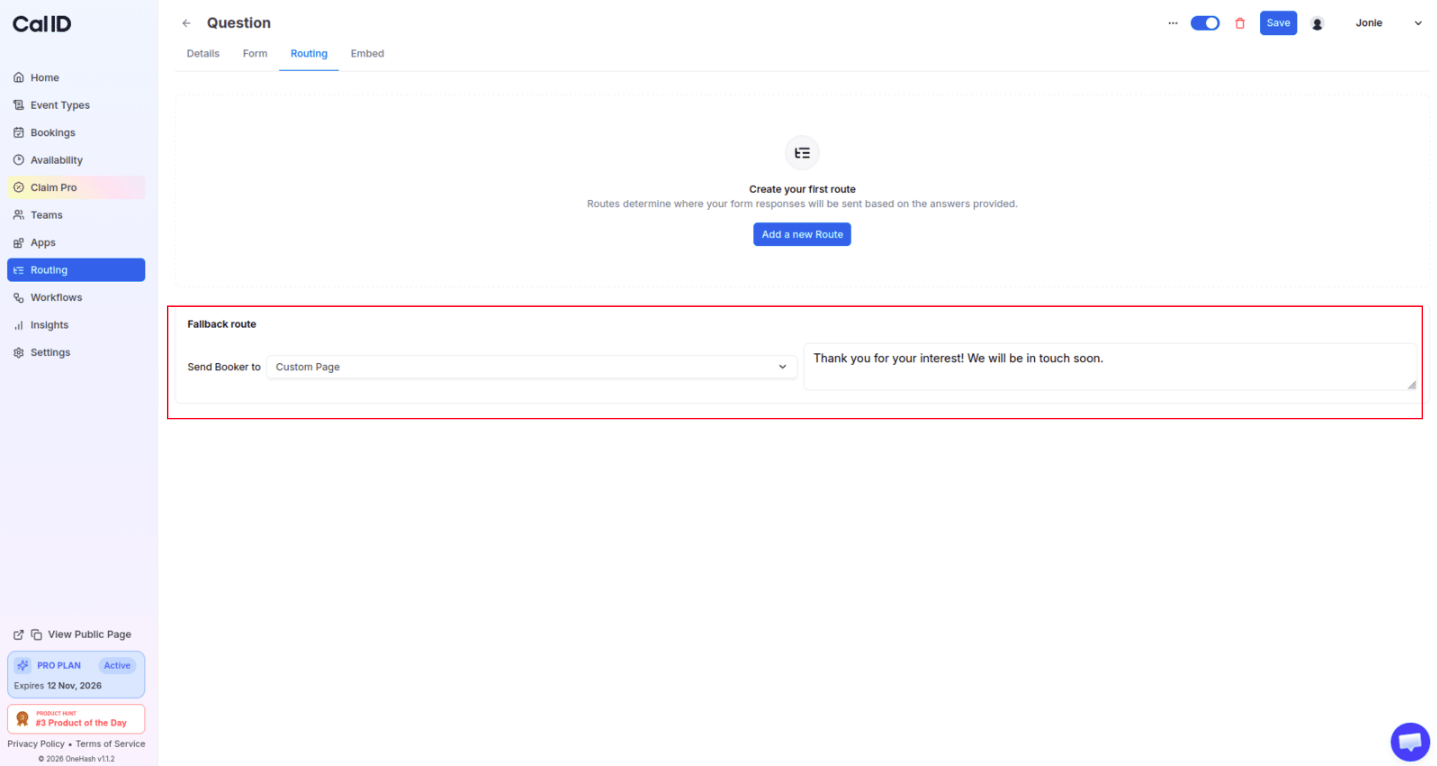
Navigate to the Routing tab to decide where bookers go based on their answers.If you don’t want to add any route, then set the Fallback route, where you want to send the booker after they fill out the required questions.
Choosing where unmatched bookers land
To add a route:
1
Add a new route
Click + Add a new Route at the bottom of the Routing tab.
2
Add rules
Inside the new route, click + Add rule to link a question to a value (for example, “If Budget is Greater than 5000”).
3
Define logic
If you add more than one rule, you have to define logic. Next to “For responses matching the following criteria,” select a logic filter:
All: The booker must meet every rule in this route to be redirected.
Any: The booker only needs to meet one of the rules.
None: The route applies if the booker meets none of the rules.
4
Select a destination (Send Booker To)
Open the Send Booker To dropdown and pick one of these destinations:
Custom Page: Display a specific “Thank You” or “Waitlist” message.
External Redirect: Send the booker to another website (for example, your homepage).
Event Redirect: Send the booker directly to a specific booking page (for example, a “Career Counselling” event).
5
Set a fallback route
At the bottom of the Routing tab, set a Fallback route for bookers who do not match any of your specific rules.
Rules are evaluated top to bottom, and the first matching route wins — so place your most specific routes first and rely on the fallback route to catch everyone else.
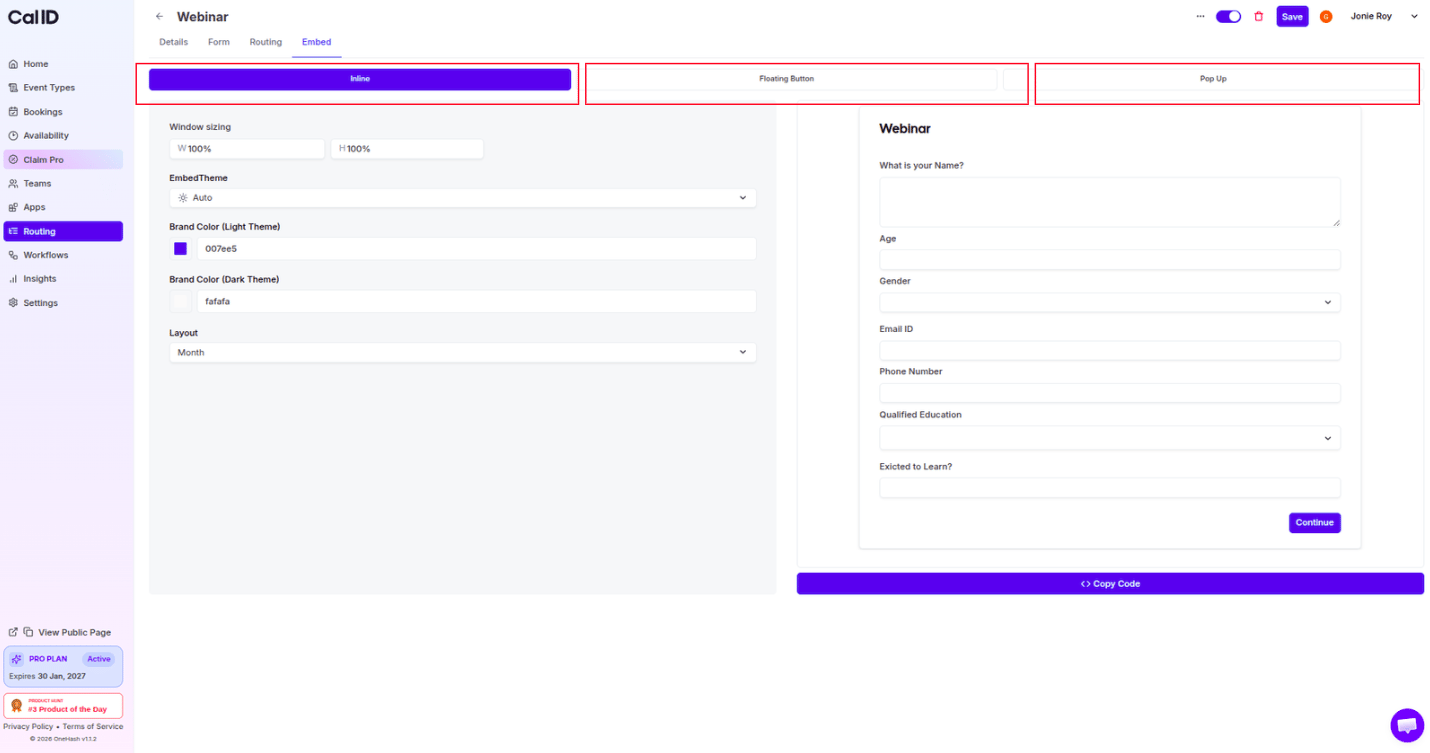
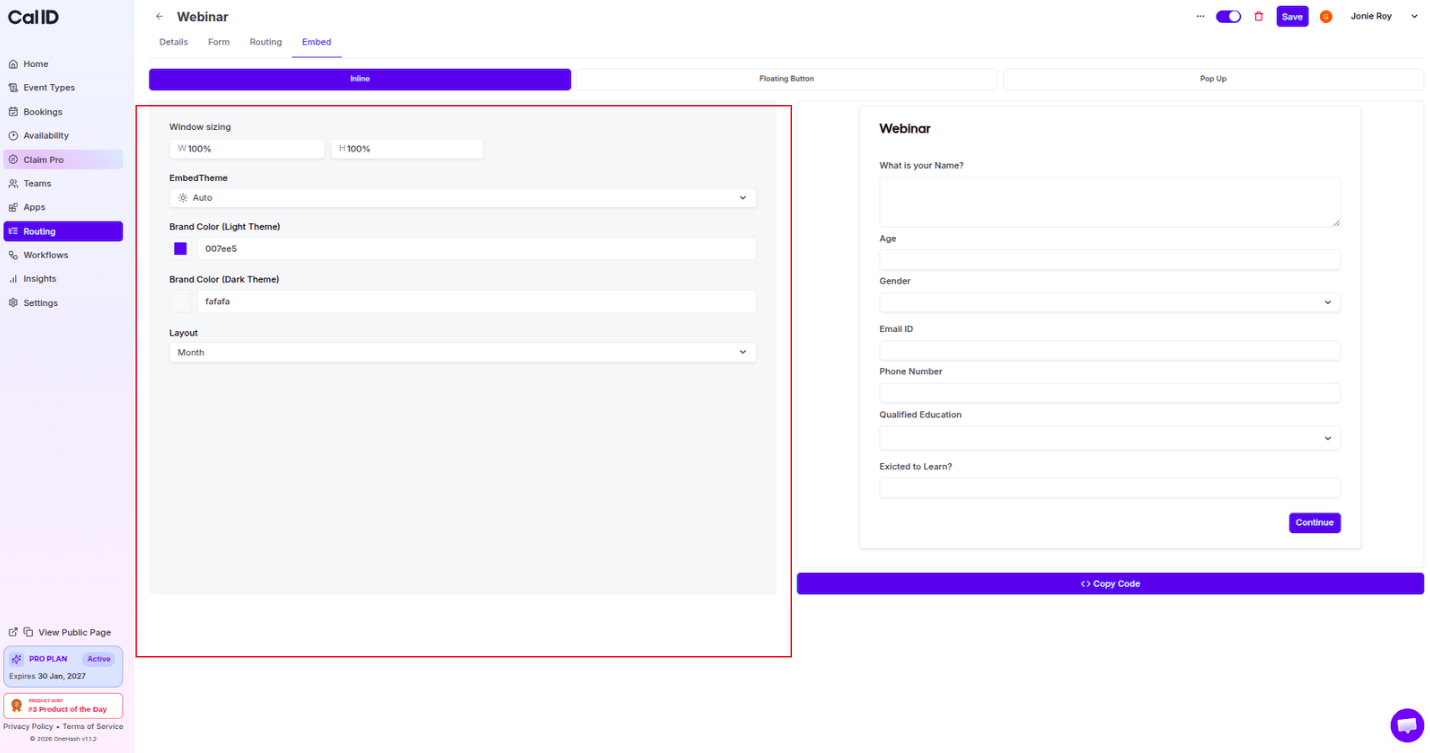
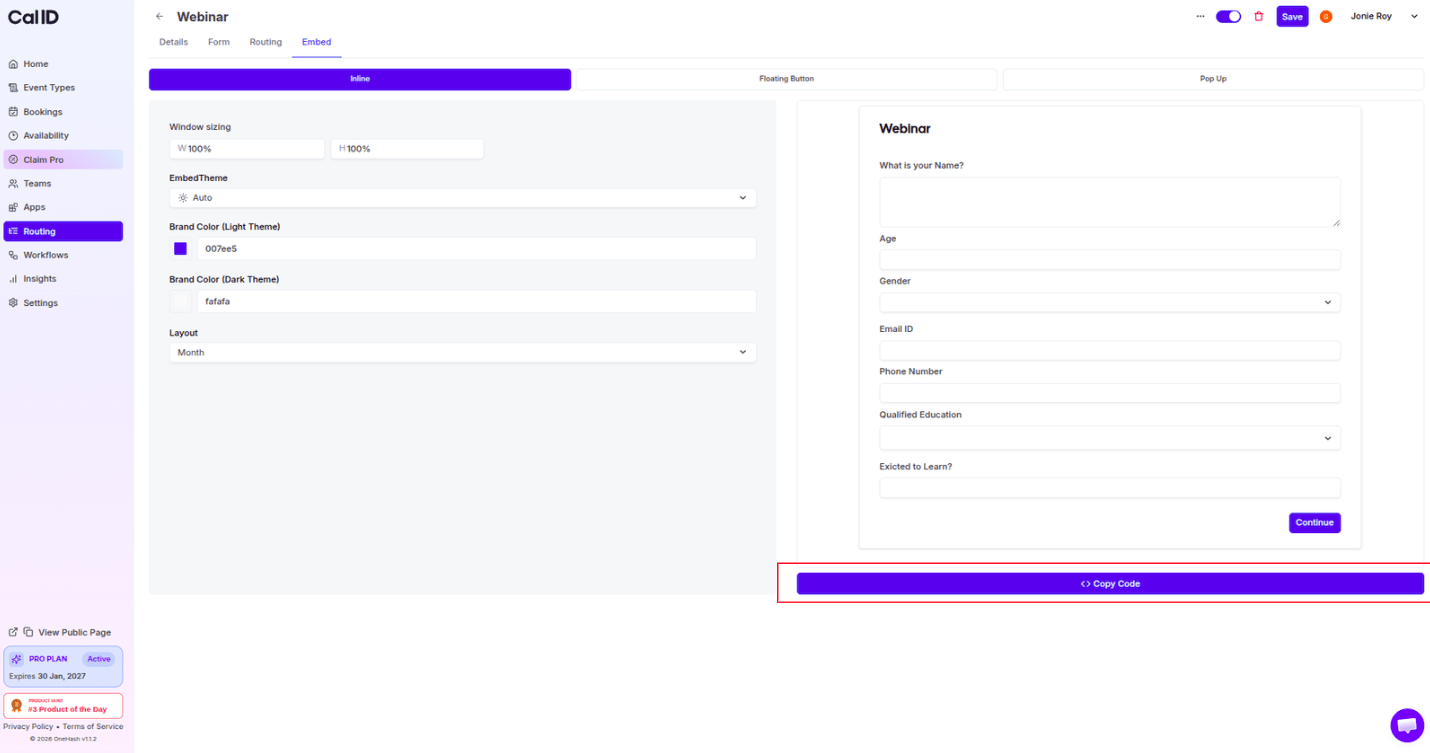
If you want to embed the routing form on your website or page, continue with the next section.