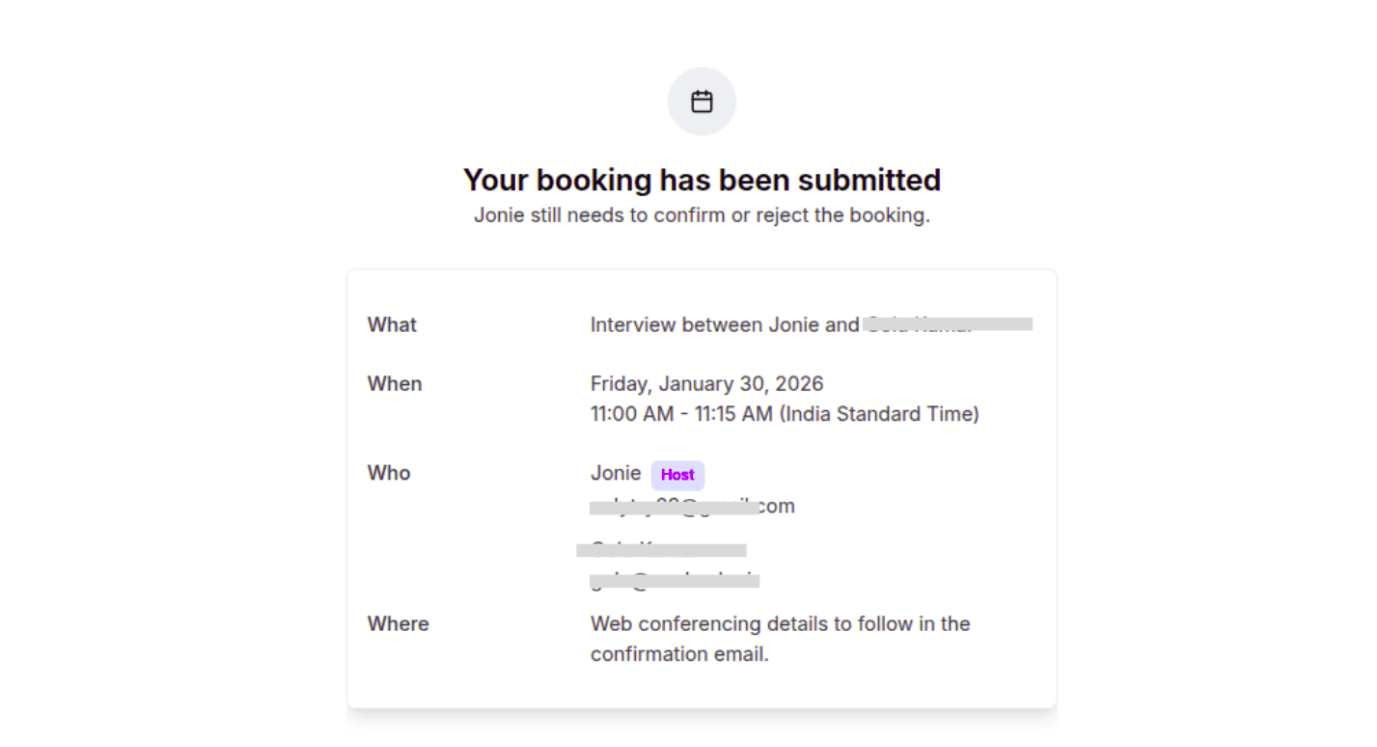
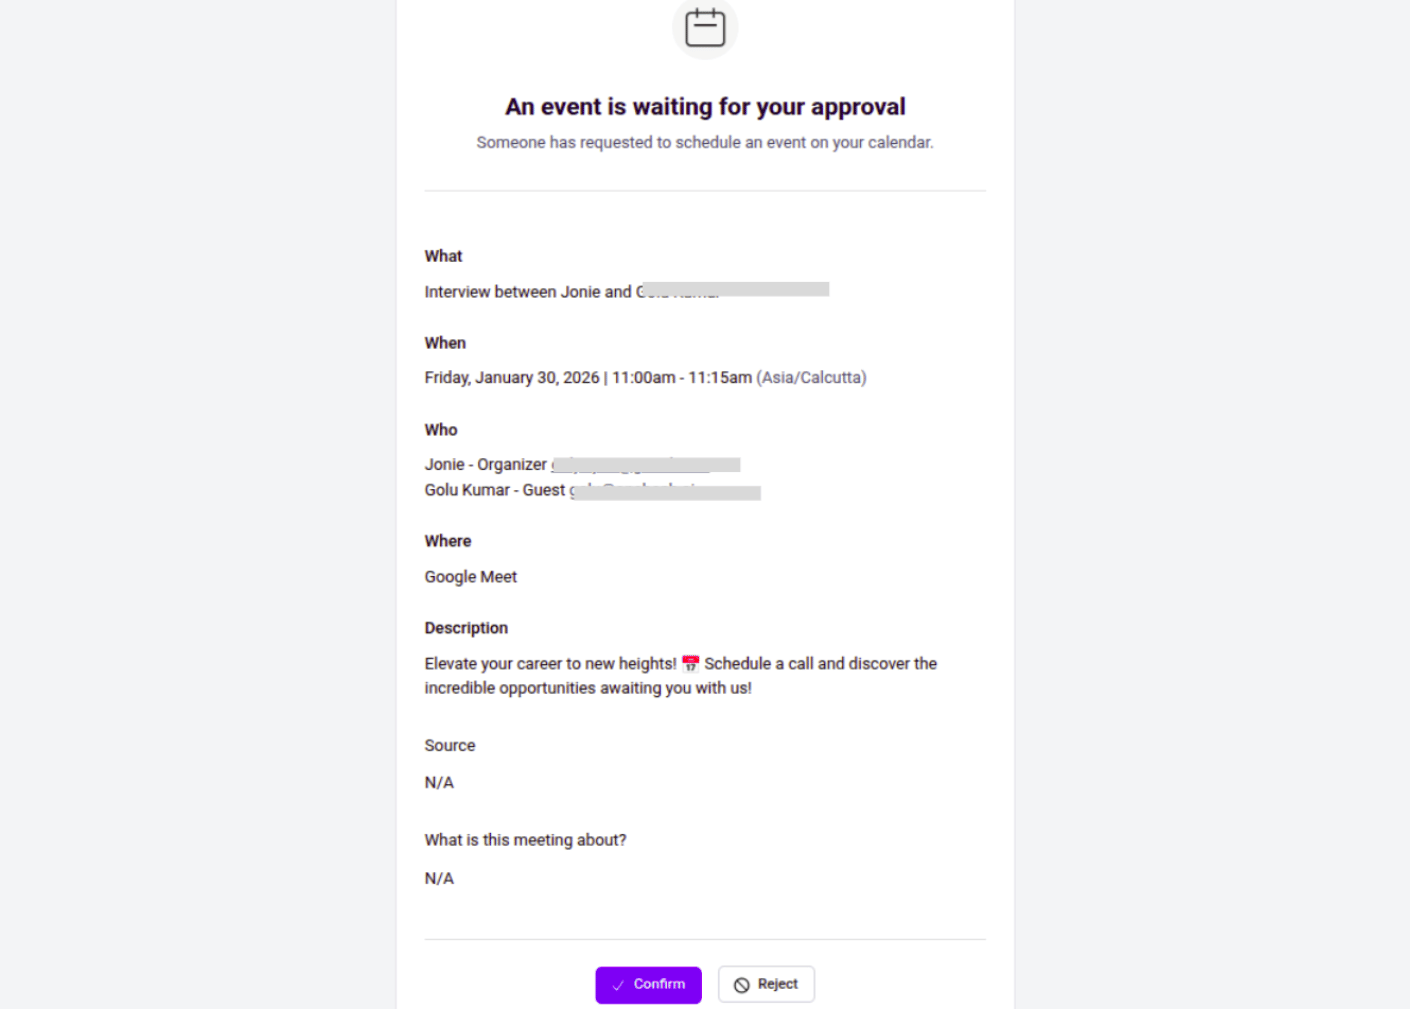
Manually approve every incoming Cal ID booking request before it is finalized, synced to calendars, or confirmed to bookers so you stay in control of scheduling.
Keep the final say over who gets on your calendar. With Requires confirmation enabled, bookings for an event type wait for your manual approval before anything is finalized.
Requires confirmation acts as a “gatekeeper” for your appointments. When enabled, bookings must be manually approved before they are finalized, pushed to your calendar integrations, or a confirmation email is sent to the booker.
Once you toggle the feature ON, you can customize exactly when and how confirmation is triggered:
Option
What it does
Always
Every single booking for this event type will require your manual approval.
When booked with less than [X] notice
(e.g., 30 mins/hours/days) Allows “instant” bookings if they are far in the future, but requires your approval for last-minute requests that might disrupt your immediate flow.
Unconfirmed bookings still block calendar slots
If checked, the time slot the booker requested will be held (marked as busy) while you decide whether to approve or reject it.
Only require confirmation for free email providers
Automatically approves bookers using professional/work domains (e.g., @company.com) while requiring you to manually vet bookers using free services like @gmail.com or @outlook.com.
What happens when more than one booking is submitted for the same slot and date?
If more than one booker submits a booking request for confirmation for the same slot and date, you can accept only one booking from those requests. Once you accept a booking, the remaining bookings will remain in unconfirmed status.If you want to accept another booker’s booking from the remaining requests, you must first cancel the booking that was previously accepted for that slot and date. After canceling that booking, you will then be able to accept another booking request.