

Attendees don’t book each session one by one. They pick a starting slot on your booking page, choose (or confirm) how many sessions the series includes, and a single confirmation books every occurrence at once — that’s how they “subscribe” to the series.
How to enable recurring events
1
Open Event Types
From your Cal ID dashboard, click on Event Types in the left-hand menu.
2
Edit your event
Find the event you want to make recurring and click the Edit (pencil) icon.
3
Go to the Recurring tab
In the top settings bar, click on Recurring.
4
Turn it on
Switch the Recurring Event toggle to ON.
5
Set the frequency
- Repeats every: Enter a number and choose the interval (Daily, Weekly, Monthly, or Yearly).
- Example: “Repeats every 1 week” means the meeting happens every seven days.
Choosing the booking style
Cal ID gives you two ways to handle how many sessions an attendee books.- Attendee chooses (flexible)
- Fixed number of sessions (mandatory)
Use this if you want the attendee to decide how many sessions they need within your limits.
- Select this option, then set the maximum number of occurrences. The attendee decides how many sessions to book, up to that maximum.
- Maximum occurrences: The number of sessions available in the series.
- Minimum occurrences: The smallest number of sessions the booker must book to complete the checkout.
- Default occurrences: The number of sessions that will be automatically selected when the attendee opens the page.
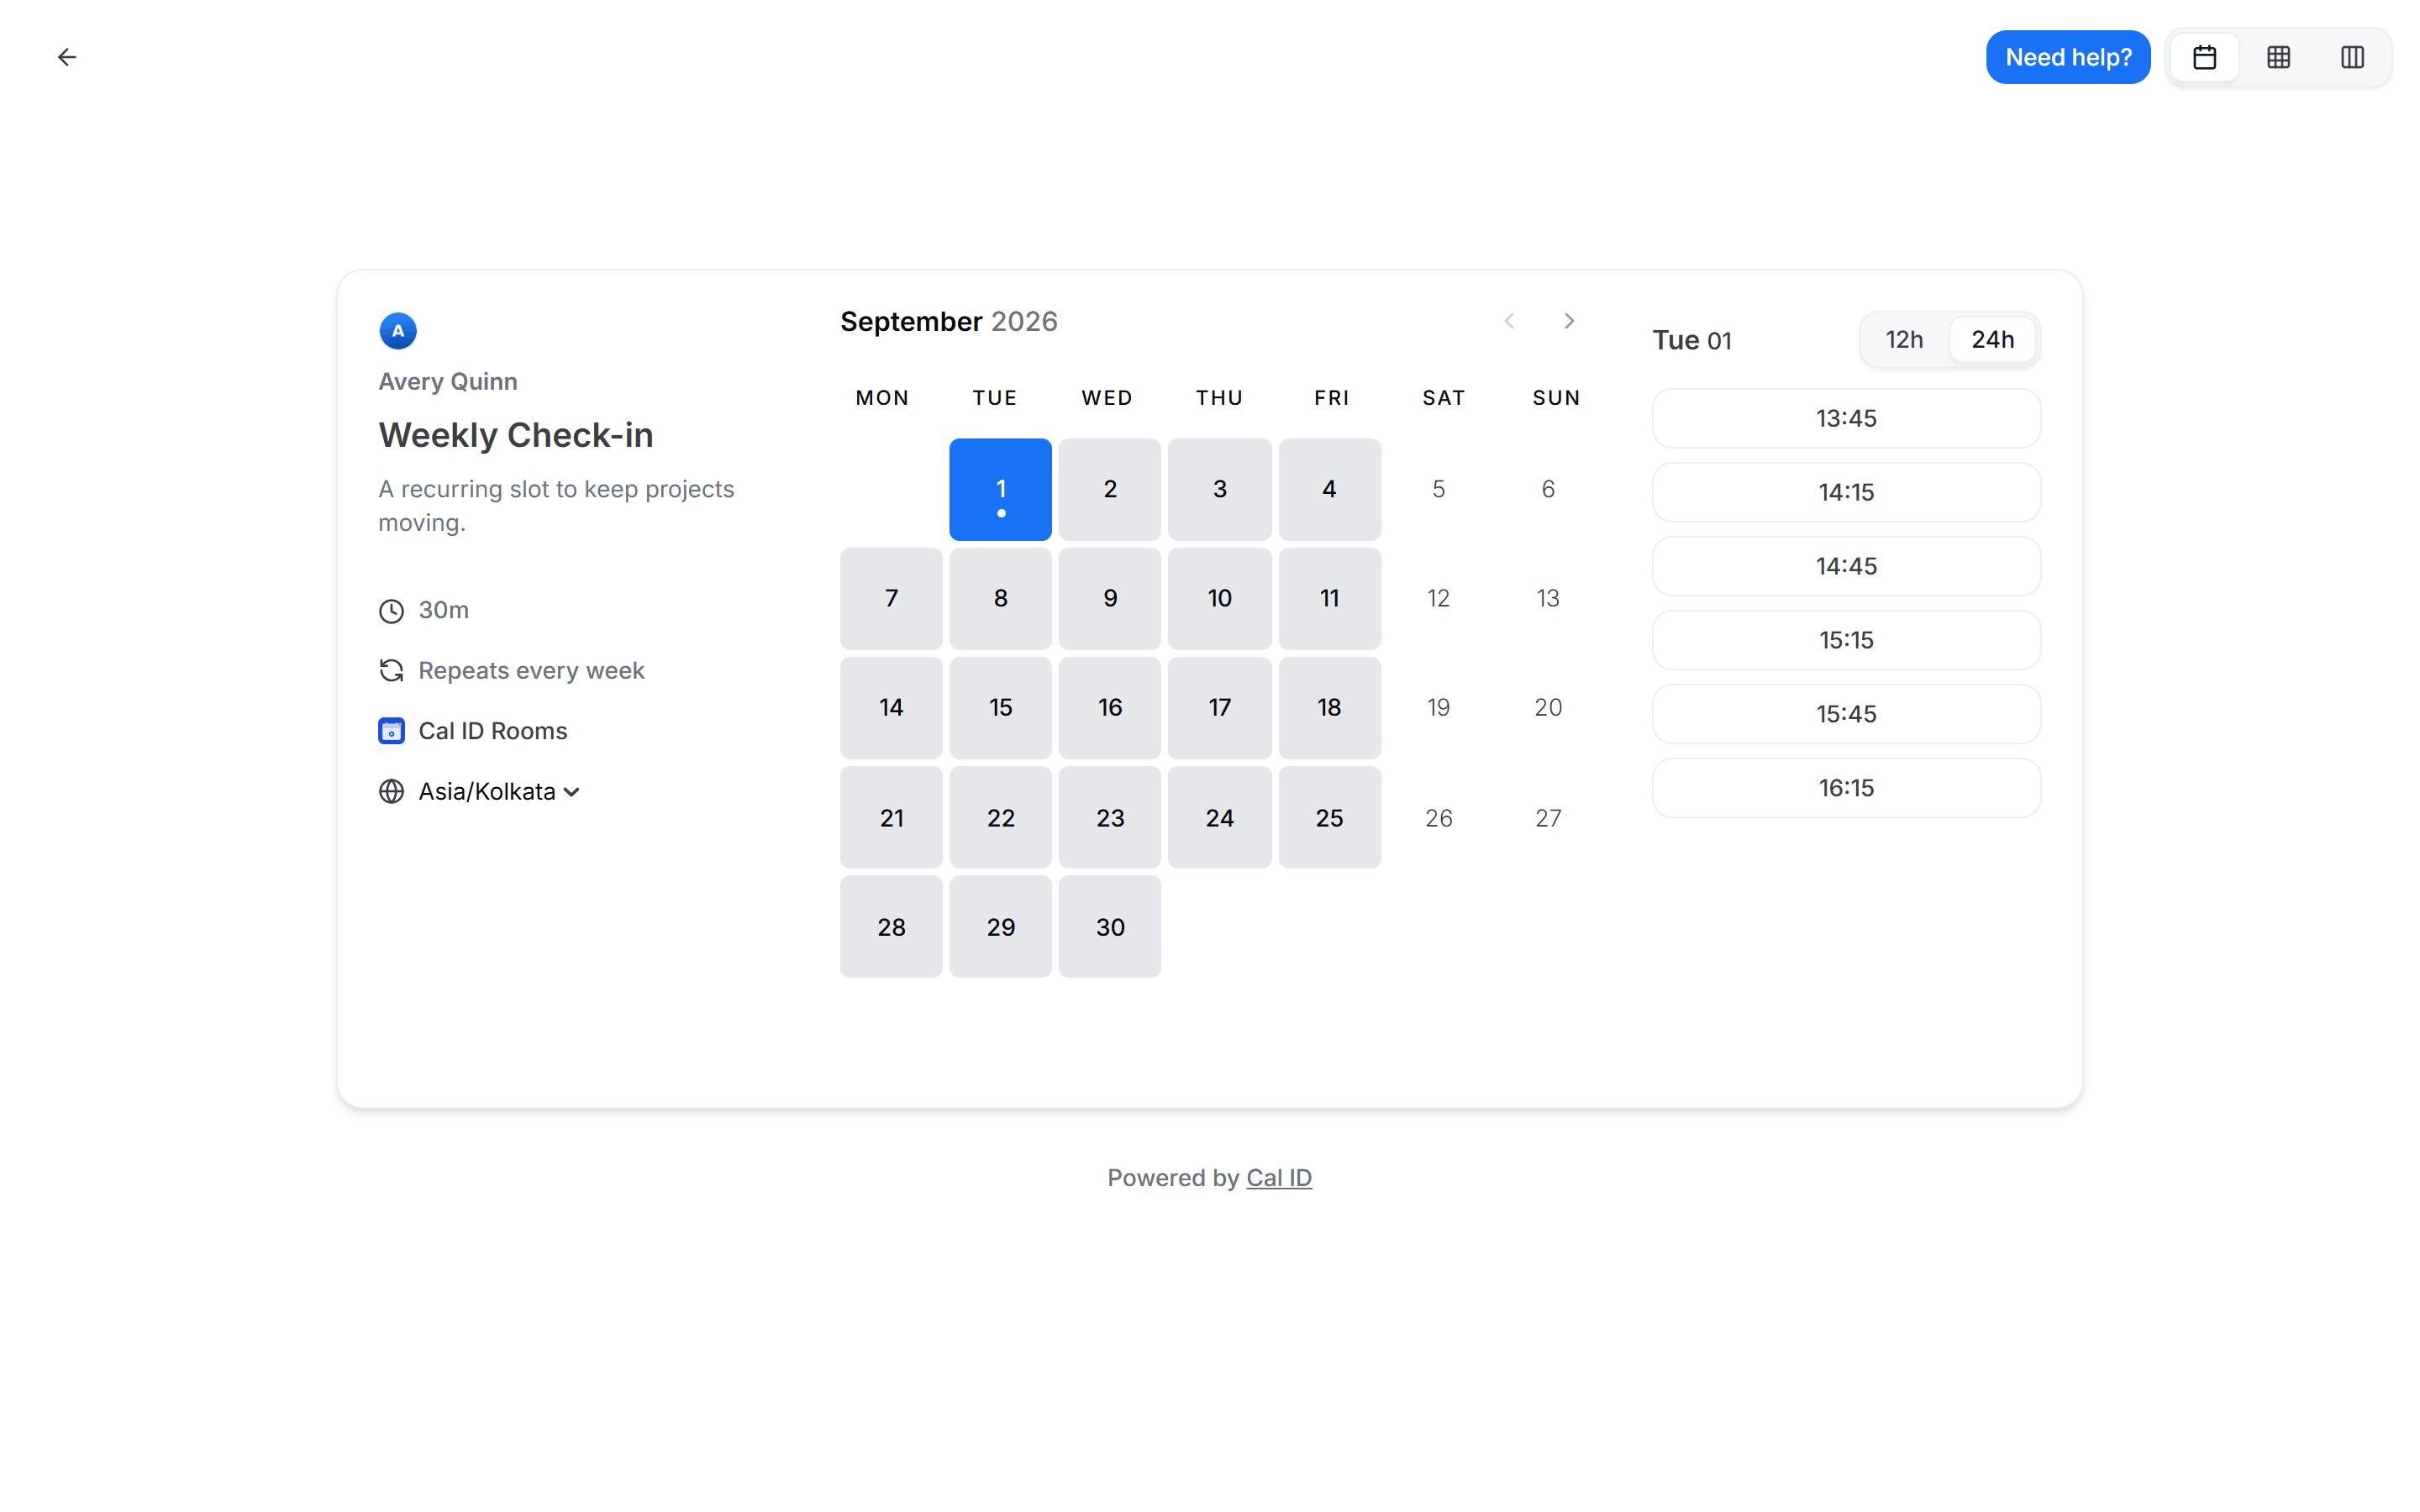
How it works for the attendee
1
Pick the first slot
The attendee chooses their starting date and time.
2
Select quantity
If you enabled “User-Defined” occurrences, the attendee can use a +, - symbol or enter the value to choose how many sessions they want.
- They cannot go below your Minimum or above your Maximum.
3
Confirm
Once they click Confirm, all sessions are booked simultaneously.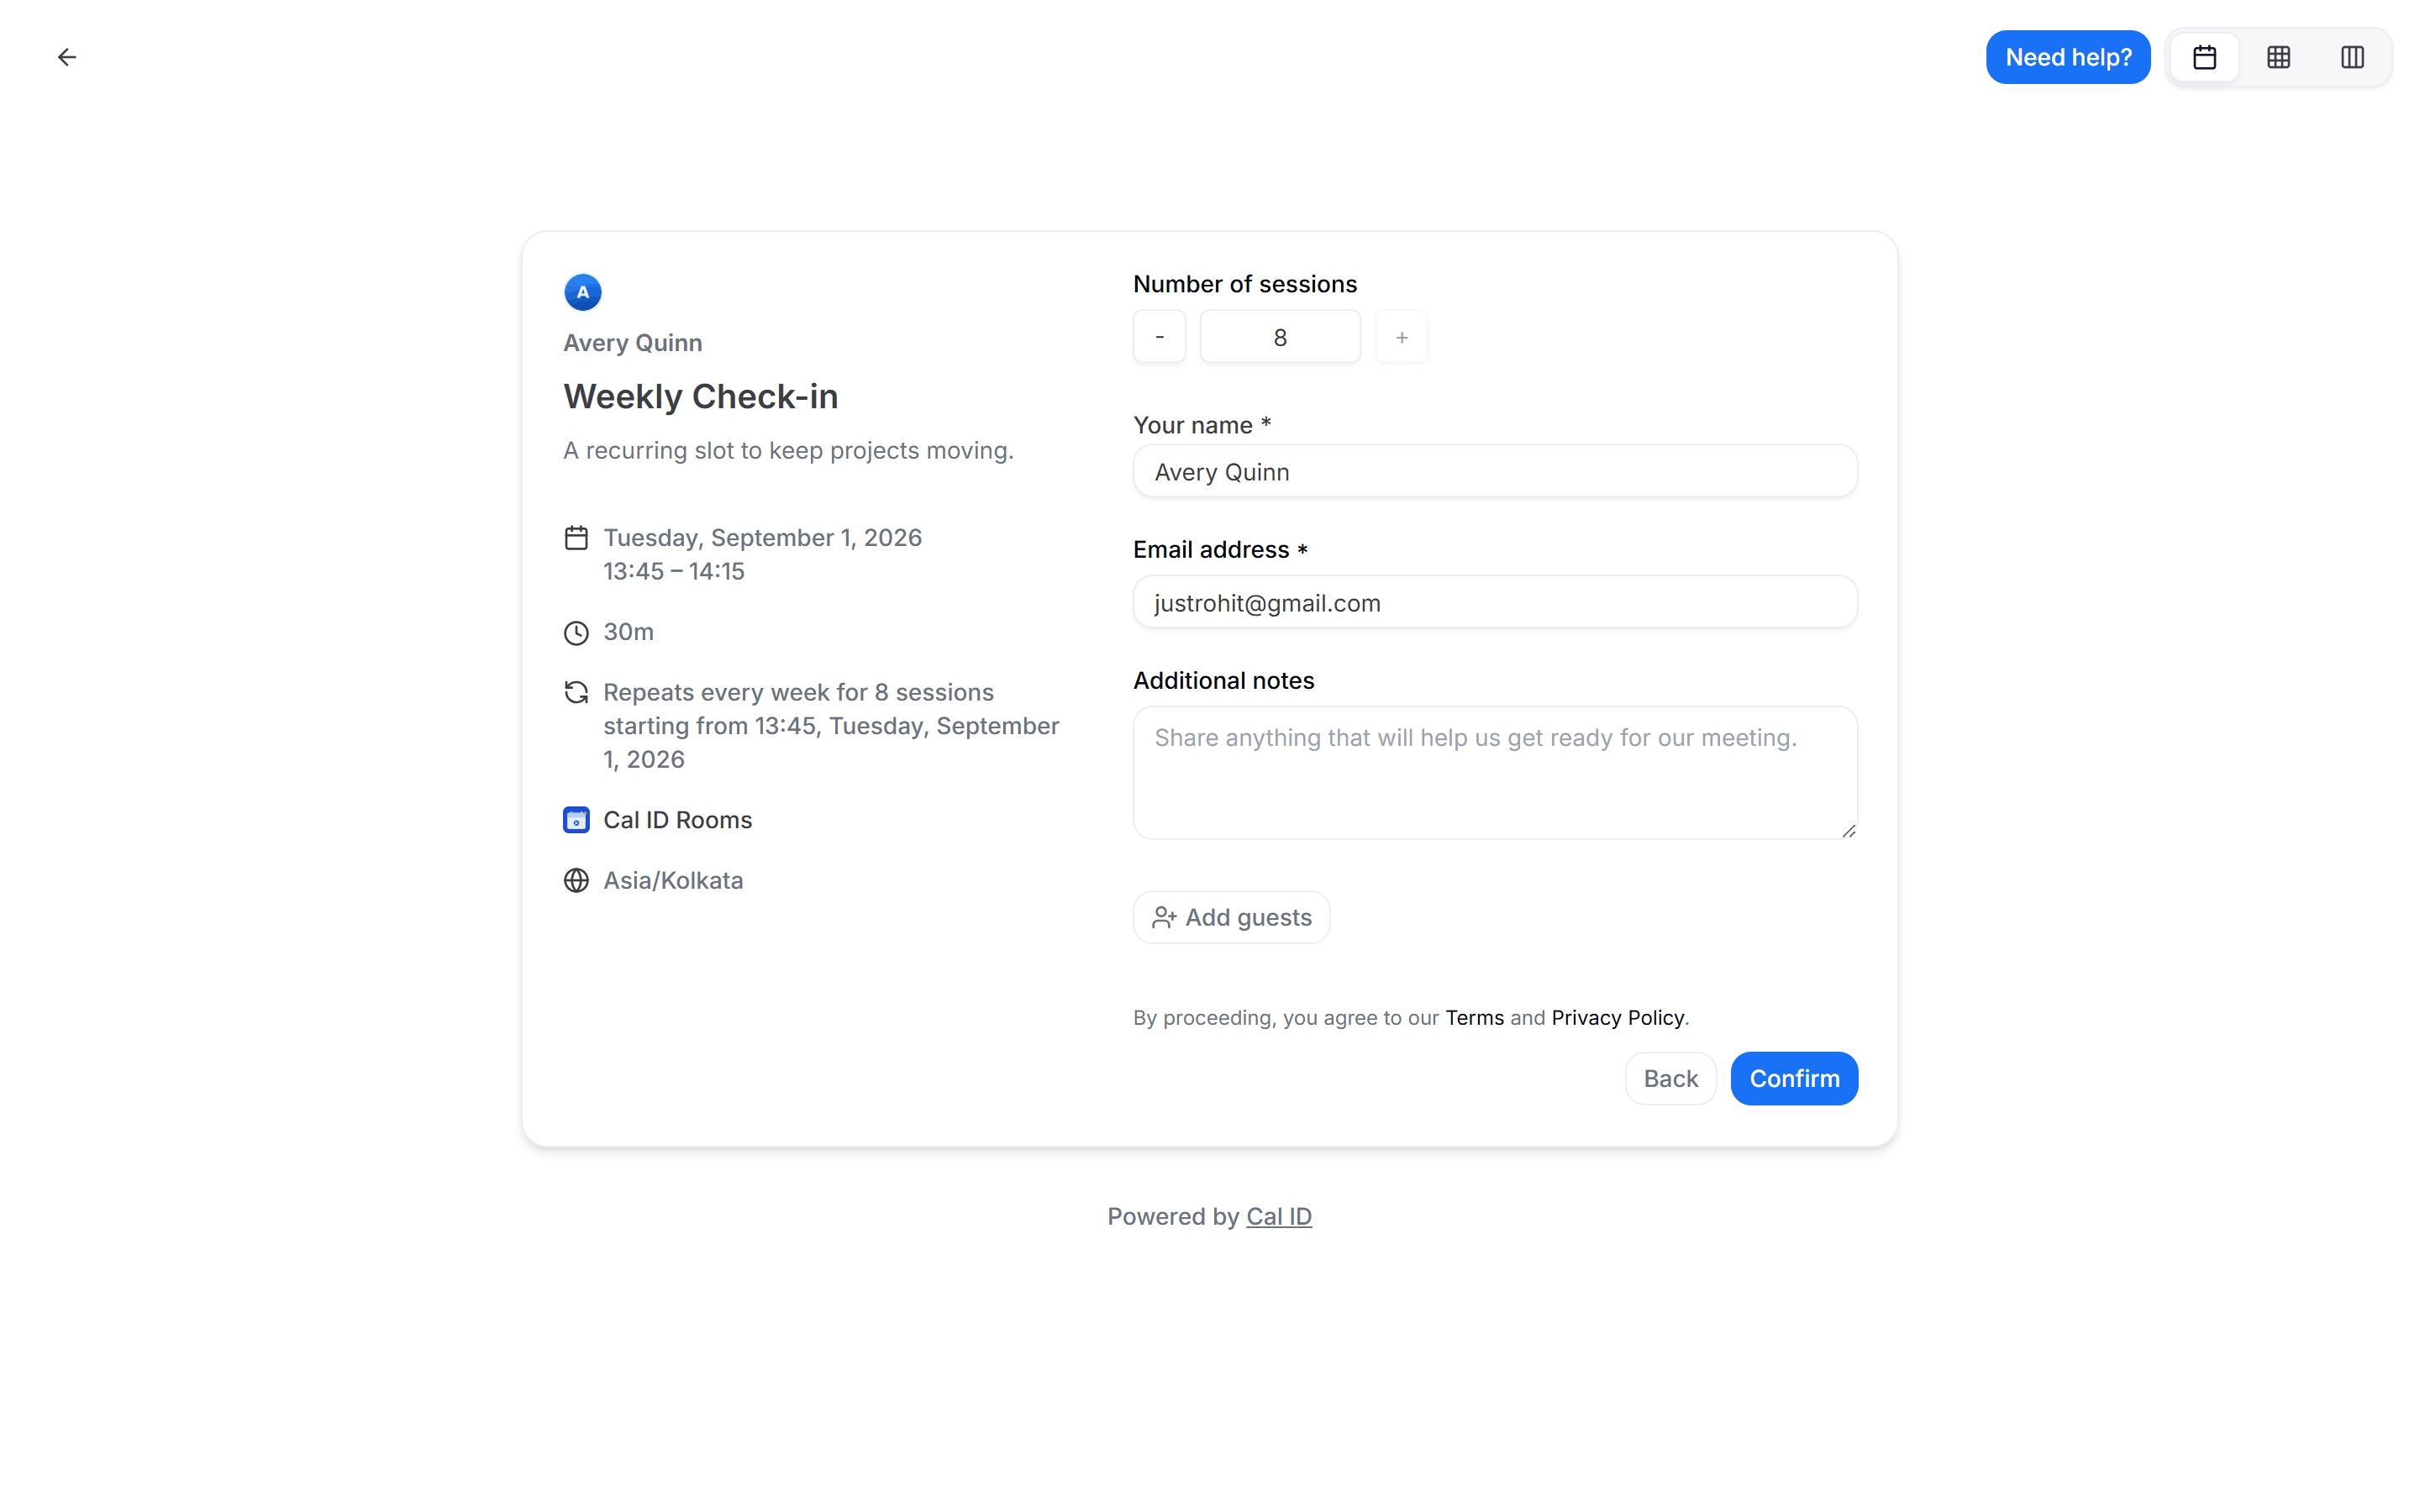
Booking the whole series at once
Recurring settings
Related event formats
Group Events
Host a one-time webinar or GD where many attendees share a single slot.
Multiple Durations
Let attendees pick from several meeting lengths on the same event type.